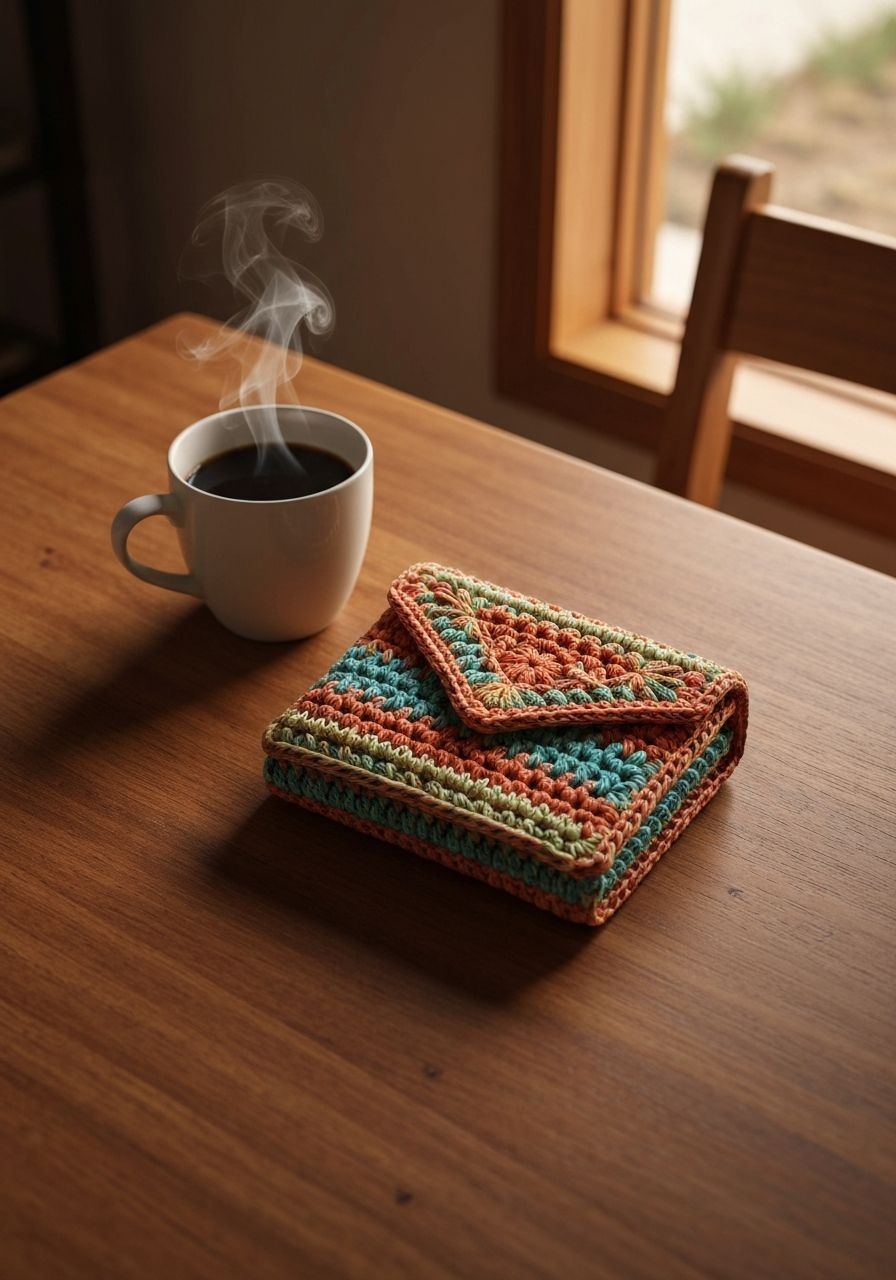
Imagine reaching into your bag and pulling out a beautifully handcrafted accessory, made with your own two hands, that perfectly organizes your essentials. That's the joy waiting for you with our fantastic crochet wallet pattern! Say goodbye to generic, store-bought wallets and hello to a personalized, chic, and incredibly practical pouch that reflects your unique style and keeps your cards and cash neatly tucked away.
Welcome, fellow fiber artist! If you’ve been searching for a rewarding project that combines utility with personal flair, you’ve found it. This free crochet wallet pattern is designed to be accessible for intermediate crocheters, but ambitious beginners will also find it achievable with a little patience. We'll guide you through creating a sturdy, compact wallet complete with card slots and a secure flap closure. It's perfect for gifts, craft fairs, or simply treating yourself to a bespoke accessory. Grab your hook, pick your favorite yarn, and let's create something truly special!
Why You'll Love This Pattern
- Customization Galore: Choose your favorite colors, add embellishments, or even modify the size slightly to fit your specific needs.
- Practical & Functional: Designed with dedicated card slots and a main compartment for cash, keeping your essentials organized and easily accessible.
- Skill-Building Project: Practice fundamental stitches like single crochet and half double crochet, while also learning techniques for creating structure and assembling multiple pieces.
- Quick to Create: While detailed, this pattern works up relatively fast, making it a satisfying weekend project or a thoughtful last-minute gift.
- Eco-Friendly Alternative: Reduce your reliance on mass-produced items by crafting a durable, reusable accessory that truly lasts.
- Budget-Friendly: Often, you can use yarn scraps from previous projects, making this an economical way to create a high-value item.
Materials Needed
- Worsted Weight (Category 4) Cotton Yarn: Approximately 100-120 yards (e.g., Lily Sugar'n Cream, Dishie Cotton) - Choose a sturdy cotton for durability.
- Crochet Hook: 4.0 mm (G-6) or size needed to obtain gauge.
- Yarn Needle: For weaving in ends and assembly.
- Scissors.
- Stitch Markers: Helpful for marking rounds and important stitches.
- Button: Approximately 0.75 - 1 inch (2-2.5 cm) in diameter, for the flap closure.
- Optional: Fabric glue or needle and thread for securing button more firmly.
Gauge & Sizing
Achieving the correct gauge is crucial for your wallet to turn out the intended size and have enough structure. If your gauge is off, your wallet might be too loose or too small for your cards.
Gauge Swatch: 16 sc and 18 rows = 4 inches (10 cm) using a 4.0 mm hook.
To check your gauge, chain 18, then single crochet in the 2nd chain from hook and across (17 sc). Work 17 more rows of sc. Measure your swatch. If it's larger, try a smaller hook. If it's smaller, try a larger hook.
Finished Wallet Dimensions: Approximately 4.5 inches (11.5 cm) wide x 4 inches (10 cm) tall (when closed, excluding flap).
Abbreviations
- ch: chain
- sl st: slip stitch
- sc: single crochet
- hdc: half double crochet
- dc: double crochet
- inc: increase (2 sc in the same stitch)
- dec: decrease (sc2tog - single crochet 2 stitches together)
- st(s): stitch(es)
- rnd(s): round(s)
- row(s): row(s)
- FO: fasten off
Step-by-Step Pattern
Part 1: Wallet Main Body
This section creates the main rectangular piece that will fold to form the wallet's structure, including the flap.
- Ch 31.
- Row 1: Sc in the 2nd ch from hook and in each ch across. (30 sc)
- Row 2: Ch 1, turn. Sc in each st across. (30 sc)
- Repeat Row 2 until your piece measures approximately 12 inches (30.5 cm) from the starting edge. This will be roughly 54 rows. Do not fasten off.
- Now we'll create the button loop for the flap.
- Next Row (Button Loop): Ch 1, turn. Sc in the first 14 sts, ch 4 (adjust chain length if your button is larger/smaller), skip 2 sts, sc in the last 14 sts. (28 sc, 1 ch-4 loop)
- Next Row: Ch 1, turn. Sc in the first 14 sts, 4 sc into the ch-4 space, sc in the last 14 sts. (32 sc)
- Next Row: Ch 1, turn. Sc in each st across. (32 sc)
- FO, leaving a long tail for sewing (approx. 20 inches / 50 cm).
Part 2: Interior Card Pockets (Make 2)
These pockets will be sewn onto the inside of the main wallet body. They are designed to hold standard credit cards.
- Ch 19.
- Row 1: Sc in the 2nd ch from hook and in each ch across. (18 sc)
- Row 2: Ch 1, turn. Sc in each st across. (18 sc)
- Repeat Row 2 until your piece measures approximately 2.5 inches (6.5 cm) tall (about 11 rows).
- FO, leaving a long tail for sewing (approx. 15 inches / 38 cm).
Part 3: Assembly
This is where your wallet starts to take shape! Take your time with the sewing for a neat finish.
- Prepare the Main Body: Lay your main wallet body flat. Identify the end with the button loop; this will be your flap.
- Fold the Wallet: Fold the opposite end (the starting edge) up towards the middle, so it overlaps approximately 4 inches (10 cm). This creates the main cash compartment. Pin the sides to hold it in place.
- Sew the Sides of the Main Compartment: Using the long tail from the main body and your yarn needle, whip stitch or mattress stitch up each side seam of the folded main compartment. Make sure your stitches are neat and secure to prevent items from falling out. Weave in any remaining ends.
- Attach Card Pockets:
- Take one card pocket. Position it centered on the inside of the folded main compartment, just below the top edge of the main compartment. It should sit flat against one side of the wallet.
- Using the long tail from the pocket, sew the bottom and side edges of the pocket to the main wallet body. Be careful to only sew through one layer of the main wallet body to avoid stitching through to the outside.
- Repeat with the second card pocket, placing it on the opposite inside wall of the main compartment.
- Secure the Flap: Fold the flap (the part with the button loop) down over the front of the wallet. Mark where the button loop naturally aligns with the front of the wallet.
- Attach the Button: Using your needle and thread (or fabric glue), securely sew the button onto the front of the wallet at the marked spot. Ensure it's firm enough to withstand repeated use.
- Final Touches: Weave in any remaining loose ends securely. Give your wallet a gentle block if needed to help it hold its shape.
Pro Tips
- Yarn Choice Matters: Cotton yarn is recommended for its durability and stitch definition, which is great for a structured item like a wallet. Acrylic can be used, but may be stretchier over time.
- Stitch Markers are Your Friends: Use them to mark the beginning of rows, specific stitches, or even the fold lines during assembly to ensure accuracy.
- Invisible Seams: For a professional finish, practice the mattress stitch for joining pieces. It creates a nearly invisible seam. If you prefer whip stitch, try to keep your stitches tight and even.
- Blocking for Perfection: After assembly, a light blocking (dampening and shaping) can help your wallet lay flat and give it a polished, finished look.
- Personalize It: Consider adding a small embroidered initial, a contrasting color stripe, or even a small charm for extra personality.
- Reinforce the Button: Wallets get a lot of use! Consider adding a small piece of felt or a backing fabric on the inside of the wallet where the button is attached to provide extra reinforcement.
Frequently Asked Questions
Can I use a different yarn weight?
While you can, it will significantly alter the size and drape of your wallet. If you use a bulkier yarn, your wallet will be larger and might not fit standard cards as snugly. A thinner yarn will result in a smaller, potentially flimsier wallet. If you change yarn weight, be sure to adjust your hook size accordingly and re-check your gauge to achieve a similar fabric density, though the overall dimensions will still change.
How do I make the wallet larger or smaller?
To adjust the width, add or subtract stitches from your starting chain in multiples of 2. For every 2 stitches you add/subtract, the width will change by approximately 0.5 inches (1.25 cm). To adjust the height, add or subtract rows from the main body and the card pockets. Remember to adjust the button loop placement if you change the flap length significantly.
What if my edges aren't straight?
Wavy or uneven edges are a common issue, especially with single crochet. Ensure you are chaining 1 and turning at the end of each row, and always inserting your hook into the very first and very last stitch of the row. It can be helpful to place a stitch marker in the first stitch of each row immediately after you make it, so you know exactly where to work your last stitch on the next row.
And there you have it – your very own handmade crochet wallet! This project is a testament to the fact that crochet isn't just for blankets and scarves; it can create beautiful, functional items for everyday use. We hope you enjoyed crafting this piece as much as we enjoyed designing it for you. Show off your creation with pride, knowing you've made something truly unique and useful. Happy crocheting!