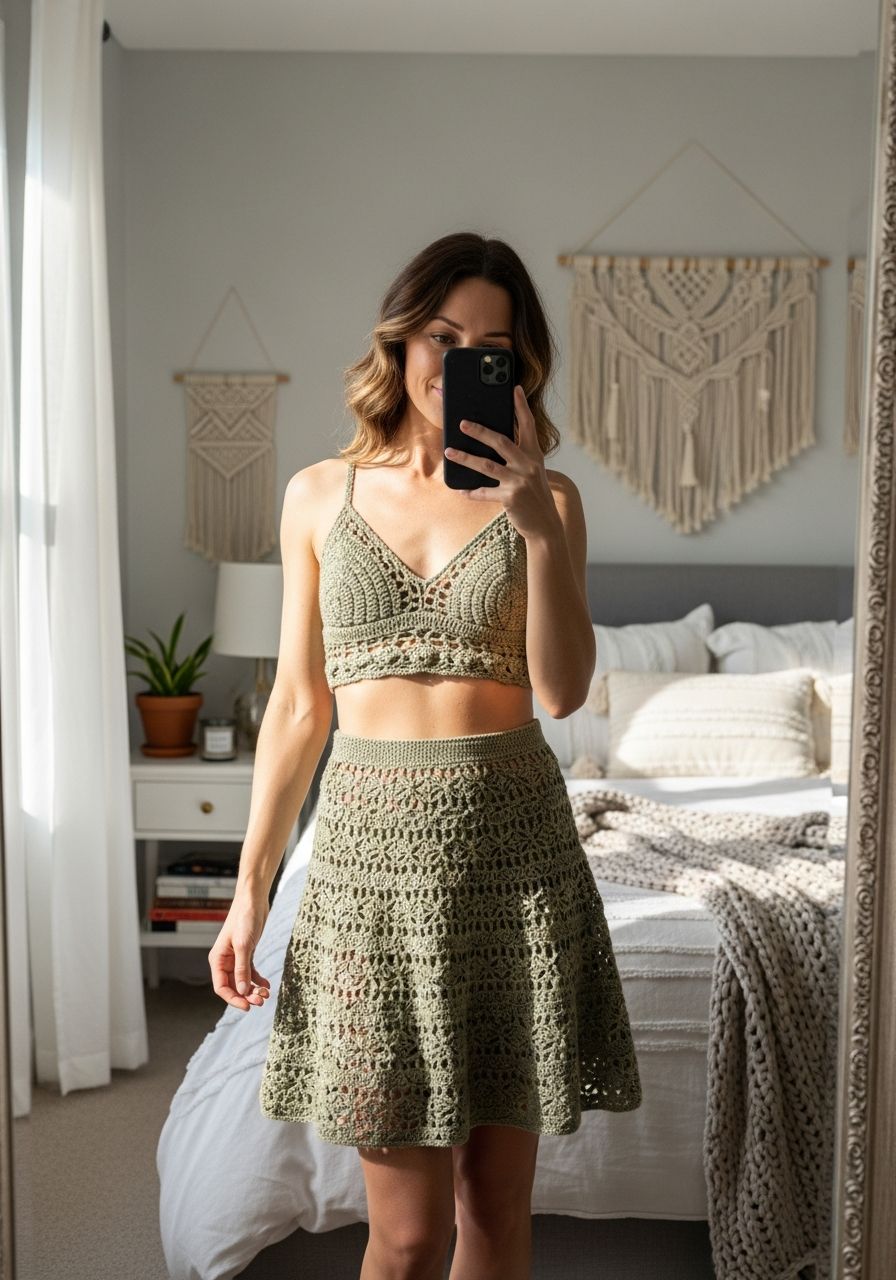
Imagine stepping out, feeling the warm sun on your skin, adorned in a stunning outfit you created with your own hands. That feeling of pride, comfort, and unique style is exactly what awaits you with our incredible Crochet Two Piece Set pattern! This isn't just a project; it's an invitation to craft a versatile, head-turning ensemble that perfectly embodies your personal flair. Whether you're dreaming of beach days, festival vibes, or simply a chic lounge look, this set—featuring a breezy halter top and comfortable high-waisted shorts—is designed to make you feel fabulous, confident, and utterly accomplished.
Welcome, fellow fiber artist, to a journey of creativity and style! In this comprehensive guide, we're not just providing a pattern; we're empowering you to create a wardrobe staple that celebrates the joy of handmade fashion. This free pattern for a beautiful two-piece set is perfect for adventurous beginners and seasoned crocheters alike, offering clear instructions and plenty of tips to ensure your finished project is nothing short of spectacular. Get ready to transform yarn into your new favorite outfit!
Why You'll Love This Pattern
This Crochet Two Piece Set isn't just another project; it's an opportunity to create something truly special and personalized. You'll adore the versatility of this design – wear the pieces together for a cohesive, stylish look, or mix and match them with other items in your wardrobe. The halter top pairs beautifully with skirts or jeans, while the high-waisted shorts can be dressed up or down with various tops. The sense of accomplishment you'll feel wearing something you made yourself is unparalleled, and the ability to choose your own colors and yarn textures means your set will be uniquely yours. It's a fantastic way to practice new techniques or perfect your basic stitches, resulting in a trendy, comfortable, and sustainable addition to your closet. Plus, it's perfect for warm weather and evokes those perfect summer vibes!
Materials Needed
- Yarn: Approximately 600-800 yards of DK (Weight 3) or Worsted (Weight 4) cotton or cotton blend yarn. Cotton is recommended for its breathability and drape, especially for garments. (e.g., Lion Brand 24/7 Cotton, Paintbox Yarns Cotton DK).
- Crochet Hook: 4.0mm (G/6) or size needed to obtain gauge.
- Tapestry Needle: For weaving in ends.
- Stitch Markers: Essential for marking rounds, increases, and specific stitches.
- Scissors: For cutting yarn.
- Measuring Tape: For checking gauge and sizing.
Gauge & Sizing
Gauge is crucial! It ensures your finished garment matches the intended size and fit. Take time to make a swatch before starting.
Gauge Swatch: With 4.0mm hook, chain 17. Work 15 rows of half double crochet (hdc). Your swatch should measure 4 inches (10 cm) by 4 inches (10 cm). If your swatch is too small, try a larger hook. If it's too large, try a smaller hook.
This pattern is written for a women's size Small (S). Adjustments for Medium (M) and Large (L) are noted in parentheses where applicable, or by adding/subtracting stitch repeats. Always try on your pieces as you go to ensure the best fit!
- Small (S): Bust 32-34 inches, Hip 35-37 inches
- Medium (M): Bust 36-38 inches, Hip 38-40 inches
- Large (L): Bust 40-42 inches, Hip 41-43 inches
Abbreviations
- ch: chain
- st(s): stitch(es)
- sl st: slip stitch
- sc: single crochet
- hdc: half double crochet
- dc: double crochet
- inc: increase (usually 2 sc or hdc in one st)
- dec: decrease (sc2tog or hdc2tog)
- FO: fasten off
- rep: repeat
- sk: skip
- MR: magic ring (or chain 2 and work into 2nd ch from hook)
Step-by-Step Pattern
Top Piece: Crop Halter
The top is worked in two separate triangle cups, then joined with a band and straps.
Make 2 Cups (Triangle Panel)
- Row 1: Ch 2. In 2nd ch from hook, work (2 sc, ch 1, 2 sc). (4 sc)
- Row 2: Ch 1, turn. Sc in first st, (sc, ch 1, sc) in ch-1 space, sc in last st. (6 sc)
- Row 3: Ch 1, turn. Sc in first 2 sts, (sc, ch 1, sc) in ch-1 space, sc in last 2 sts. (8 sc)
- Row 4: Ch 1, turn. Sc in first 3 sts, (sc, ch 1, sc) in ch-1 space, sc in last 3 sts. (10 sc)
- Repeat Row 4: Continue repeating Row 4, adding 2 sc to each side of the ch-1 space in each subsequent row, until your cup reaches desired width/height. For S, typically 14-16 rows (approx. 6-7 inches wide at widest point). For M, 16-18 rows. For L, 18-20 rows. FO after the last row of the second cup, but do NOT FO on the first cup.
Joining Cups & Bottom Band
- With the first cup still on your hook, ch 5 (this will be the bridge between the cups).
- Join with a sl st to the bottom corner of the second cup.
- Bottom Band Row 1: Ch 1. Work sc stitches evenly along the bottom edge of the first cup (this will be the side opposite the ch-1 point). Work 5 sc into the ch-5 bridge. Work sc evenly along the bottom edge of the second cup. Your goal is to have a flat, even edge. (Approximately 30-34 sc for S, 36-40 sc for M, 42-46 sc for L).
- Bottom Band Row 2: Ch 1, turn. Hdc in each sc across.
- Repeat Row 2: Continue working hdc rows until the band reaches your desired width. For a crop top, 3-5 rows is common. FO.
Neck & Back Straps
- Neck Straps: Join yarn with a sl st to the top point (ch-1 space) of one cup. Ch 50-70 (adjust for desired length). Sl st back down the chain, or FO and make a separate chain and attach. Repeat for the other cup.
- Back Straps: Join yarn with a sl st to the bottom corner of the top band on one side. Ch 70-100 (adjust for desired length to tie around back). FO. Repeat for the other side.
Bottom Piece: High-Waisted Shorts
The shorts are worked from the top down, starting with the waistband.
Waistband
- Row 1 (Foundation Chain): Ch 70 (S) | 80 (M) | 90 (L). Sl st to the first ch to form a ring, being careful not to twist.
- Round 1: Ch 2 (does not count as st). Hdc in each ch around. Sl st to first hdc to join. (70 (S) | 80 (M) | 90 (L) hdc)
- Round 2: Ch 2. Hdc in each hdc around. Sl st to join.
- Repeat Round 2: Continue working hdc rounds until your waistband measures approximately 2-3 inches wide. (e.g., 5-7 rounds).
Body of Shorts
- Round 1 (Increase for Hip): Ch 2. *Hdc in next 9 (S) | 10 (M) | 11 (L) sts, inc (2 hdc in next st)*. Repeat from * to * around. (77 (S) | 88 (M) | 99 (L) hdc)
- Round 2: Ch 2. Hdc in each st around. Sl st to join.
- Round 3 (Increase): Ch 2. *Hdc in next 10 (S) | 11 (M) | 12 (L) sts, inc*. Repeat from * to * around. (84 (S) | 96 (M) | 108 (L) hdc)
- Rounds 4-8 (or until desired rise): Ch 2. Hdc in each st around. Sl st to join. Continue working even rounds until the piece reaches your desired rise (from waistband to crotch). Try on frequently. For S, typically 10-12 total rounds from start of Body section.
Crotch Foundation & Leg Separation
- Crotch Chain: Ch 5 (S) | 6 (M) | 7 (L).
- Join for First Leg: Sk half of the stitches on the main body. (e.g., for S with 84 sts, sk 42 sts). Sl st into the 43rd st from where your Ch 5 began to form the first leg opening. Mark this joining point and the beginning of your ch-5.
- First Leg - Round 1: Ch 2. Hdc in each st around the first half of the body (42 sts for S). Then, work 5 hdc (S) | 6 hdc (M) | 7 hdc (L) into the ch-5 (or equivalent) foundation chain. Sl st to first hdc to join. (47 (S) | 54 (M) | 61 (L) hdc)
- First Leg - Rounds 2-6 (or desired length): Ch 2. Hdc in each st around. Sl st to join. Continue for desired shorts length. FO.
- Second Leg: Rejoin yarn where you originally started your crotch chain.
- Second Leg - Round 1: Ch 2. Hdc in remaining body stitches. Work 5 hdc (S) | 6 hdc (M) | 7 hdc (L) into the underside of the crotch chain. Sl st to first hdc to join. (47 (S) | 54 (M) | 61 (L) hdc)
- Second Leg - Rounds 2-6 (or desired length): Ch 2. Hdc in each st around. Sl st to join. Continue for desired shorts length. FO.
Finishing
- Weave in all loose ends securely with your tapestry needle.
- (Optional) Block your finished pieces to even out stitches and improve drape.
Pro Tips
- Yarn Choice Matters: For garments, choose breathable fibers like cotton, linen, or bamboo blends. They drape well and are comfortable against the skin. Acrylic can work but might be warmer.
- Check Your Tension: Consistent tension is key for even stitches and a professional-looking finish. If you notice your stitches getting tighter or looser, take a break or adjust your grip.
- Try On As You Go: Especially for garments, frequent try-ons are your best friend! This allows you to make adjustments to length, width, and fit before you've gone too far.
- Blocking is Your Friend: While optional, wet or steam blocking can dramatically improve the drape, evenness, and overall appearance of your finished crocheted garments.
- Customize Your Length: Feel free to add or subtract rows to the top for a longer or shorter crop, or to the shorts for a different leg length. Make it truly yours!
- Secure Straps: When attaching straps, use a slip stitch or sew them firmly to prevent them from coming undone with wear.
Frequently Asked Questions
Q: Can I use a different yarn weight for this pattern?
A: Yes, you can! However, be aware that changing yarn weight will significantly impact your gauge and the overall size of the finished set. If you use a heavier yarn (e.g., bulky), your set will be larger and require fewer stitches. If you use a lighter yarn (e.g., sport weight), it will be smaller and require more stitches. Always make a gauge swatch with your chosen yarn and hook, and be prepared to adjust stitch counts and hook size accordingly to achieve your desired dimensions.
Q: How do I adjust the sizing for a perfect fit?
A: The best way to adjust sizing is by trying on the pieces as you crochet. For the top, you can add or subtract rows to the triangle cups for more or less coverage. For the bottom band and straps, simply crochet to your desired length. For the shorts, adjust the initial chain for the waistband to fit your waist circumference, and then modify the increase rounds and overall length to fit your hips and preferred shorts length. Remember to always work an even number of increases/decreases around for a symmetrical garment.
Q: Is this pattern suitable for beginners?
A: This pattern is suitable for adventurous beginners or those with some basic crochet experience. You should be comfortable with chaining, slip stitches, single crochet, and half double crochet. The concept of working in the round and increasing/decreasing might be new to absolute beginners, but the step-by-step instructions are detailed enough to guide you through. Don't be afraid to try! Practicing the basic stitches before starting will build your confidence.
And there you have it – your complete guide to crocheting a stunning two-piece set that's as unique as you are! We hope this pattern sparks joy in your creative journey and leaves you with a finished garment you'll absolutely adore. Wear it with pride, knowing every stitch was crafted by your own hands. Happy crocheting!