Imagine the peace of mind knowing all your little treasures – from delicate jewelry to charging cables, makeup brushes to stitch markers – are perfectly organized and protected, whether you're jet-setting across the globe or simply tidying up your craft space. This isn't just a dream; it's a delightful reality waiting to be crocheted! Dive into the joy of creating your very own versatile and charming Crochet Travel Pouch with our free, easy-to-follow pattern. Get ready to add a touch of handmade elegance and practicality to your life, or craft a heartfelt gift that will be cherished.
Introduction
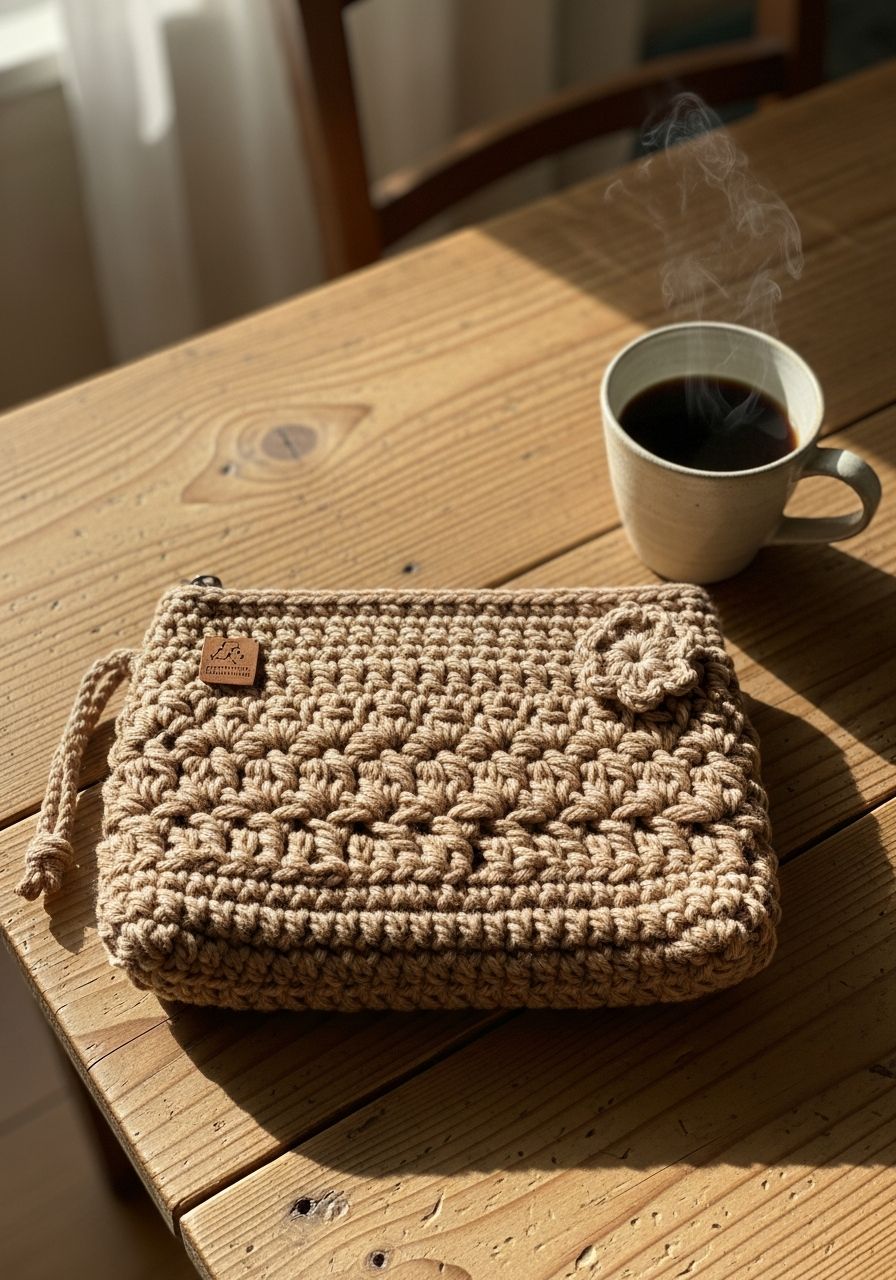
Welcome to your next favorite crochet project! This article brings you a comprehensive guide to crafting a beautiful and functional Crochet Travel Pouch. Designed with both aesthetics and utility in mind, this pouch is perfect for storing a myriad of items – be it your travel-sized toiletries, small electronics, craft notions, or even as a cute coin purse. Its customizable nature means you can whip it up in any color to match your style or a specific need. We'll walk you through every stitch, ensuring a rewarding experience from start to finish.
Why You'll Love This Pattern
There are countless reasons why this Crochet Travel Pouch will quickly become a go-to pattern in your repertoire. First and foremost, its versatility is unmatched. Need a secure place for your earbuds and charger when commuting? Check. A stylish holder for your lip balms and hand cream in your purse? Absolutely. A neat way to organize your crochet hooks and stitch markers? You got it!
Beyond its functionality, this pattern is incredibly satisfying to make. It utilizes basic crochet stitches, making it accessible for ambitious beginners while still offering enough engaging repetition to keep experienced crocheters entertained. You'll love watching the pouch take shape, transforming simple yarn into a durable and attractive accessory.
It's also a fantastic stash-buster project, requiring only a moderate amount of yarn, so you can finally use up those beautiful skeins you've been saving. Plus, handmade gifts carry a special sentiment, and a custom-made travel pouch is a thoughtful present for friends, family, or anyone who appreciates a touch of handmade charm. You can personalize it with their favorite colors, making it truly unique. Finally, opting for a reusable, washable crochet pouch is a small step towards a more sustainable lifestyle, reducing the need for single-use plastic bags for your belongings.
Materials Needed
- Yarn: Approximately 100-120 yards of Worsted Weight (Category 4) cotton or cotton blend yarn. Cotton is recommended for its durability, washability, and structure, perfect for a travel item.
- Crochet Hook: 4.0mm (G/6) hook.
- Scissors: For cutting yarn tails.
- Tapestry Needle: For weaving in ends and sewing the drawstring.
- Stitch Marker: Highly recommended to keep track of rounds, especially when working in continuous rounds or with similar stitch counts.
- Measuring Tape: To check gauge and finished size.
Gauge & Sizing
Gauge: 16 single crochet stitches and 18 rows = 4 inches (10 cm) in single crochet. While gauge isn't always critical for accessories like this, meeting it will help ensure your pouch turns out close to the intended size. To check your gauge, create a small swatch: Chain 17, then single crochet in the second chain from the hook and across (16 sc). Chain 1, turn, and single crochet across for 18 rows. Measure your swatch to ensure it matches the gauge.
Finished Size: Approximately 6 inches (15 cm) wide by 7.5 inches (19 cm) tall when laid flat and cinched. The size can be easily adjusted by adding or subtracting rounds, or by starting with a longer or shorter initial chain for the base (see Pro Tips for customization).
Abbreviations
- ch: Chain
- sl st: Slip Stitch
- sc: Single Crochet
- hdc: Half Double Crochet
- dc: Double Crochet
- inc: Increase (work 2 stitches into the same stitch)
- dec: Decrease (work 2 stitches together)
- BLO: Back Loop Only
- FLO: Front Loop Only
- st(s): Stitch(es)
- rep: Repeat
- rnd(s): Round(s)
- yo: Yarn Over
Step-by-Step Pattern
This pattern is worked in continuous rounds for the base and then in joined rounds for the body to ensure a straight seam. Use your stitch marker to keep track of the beginning of your rounds.
Pouch Base
- Ch 21.
- Rnd 1: Sc in 2nd ch from hook, sc in next 18 ch, 3 sc in last ch. Working along the other side of the starting chain: sc in next 18 ch, 2 sc in the last ch (the same chain as the first sc). Join with a sl st to the first sc of the round. (42 sts)
- Rnd 2: Ch 1 (does not count as a stitch here and throughout), 2 sc in same st, sc in next 18 sts, (2 sc in next st) 3 times, sc in next 18 sts, (2 sc in next st) 2 times. Join with a sl st to the first sc. (48 sts)
- Rnd 3: Ch 1, sc in BLO in each st around. Join with a sl st to the first sc. (48 sts) This round creates a nice defined edge for the base of your pouch.
Pouch Body
- Rnd 4-18: Ch 1, sc in each st around. Join with a sl st to the first sc. (48 sts) (You can adjust the height of your pouch by adding or subtracting these plain sc rounds.)
- Rnd 19 (Drawstring Eyelets): Ch 1, (sc in next 2 sts, ch 2, skip 2 sts) rep around. Join with a sl st to the first sc. (12 sc groups, 12 ch-2 spaces)
- Rnd 20: Ch 1, (sc in next 2 sts, 2 sc into the ch-2 space) rep around. Join with a sl st to the first sc. (48 sts)
- Rnd 21: Ch 1, sc in each st around. Join with a sl st to the first sc. (48 sts)
- Fasten off and weave in all ends securely.
Drawstring
- Chain 70-80 stitches. (Adjust length as desired for how much dangle you want.)
- Carefully weave the chain through the ch-2 spaces created in Rnd 19 of the Pouch Body. Start from the front center of the pouch, weave it in and out, ensuring both ends emerge from the front center.
- Tie the ends of the drawstring together in a knot, or add beads for a decorative touch.
Pro Tips
- Yarn Choice Matters: While cotton is recommended for its durability and structure, you can experiment with other fibers. Acrylic is also a good, washable option, but may result in a softer, less structured pouch. Wool blends can offer warmth and a luxurious feel, but might require more delicate care.
- Color Play: Don't be afraid to experiment with colors! Use a different color for the base, a contrasting color for the drawstring, or even create stripes for a fun, vibrant look. This is a great project for using up smaller amounts of leftover yarn.
- Stitch Markers are Your Friend: Especially when working in the round, a stitch marker placed in the first stitch of each round can save you from constantly counting and potential mistakes.
- Blocking for Perfection: While not always necessary for a small pouch, blocking can help even out your stitches and give your pouch a more polished, professional finish. Simply wet the item, gently shape it, and let it air dry.
- Customizing Size: To make a wider pouch, start with a longer initial chain in Rnd 1 of the Pouch Base, ensuring you maintain the increase pattern at the ends. To make a taller pouch, simply add more plain single crochet rounds between Rnd 4 and Rnd 18 of the Pouch Body.
- Add a Lining: For extra durability or to prevent small items from slipping through stitches, consider adding a fabric lining. This typically involves cutting a fabric rectangle, sewing it into a tube, and hand-stitching it into the finished pouch.
- Gift Ideas: Fill the finished pouch with relevant goodies to create a themed gift! For a crafter, fill with mini skeins, stitch markers, and a tape measure. For a traveler, add travel-sized toiletries, a sleep mask, or a small journal.
Frequently Asked Questions
Can I make this pouch larger or smaller?
- Absolutely! To change the width, adjust the starting chain for the base. For example, to make it smaller, chain 16 instead of 21. Remember to adjust the number of single crochet stitches along the sides in Rnd 1 and 2 accordingly, while maintaining the increases at the ends. To change the height, simply add or subtract plain single crochet rounds (Rnds 4-18) from the Pouch Body section. You'll want to ensure you end with an even number of sc rounds before the eyelet round.
What's the best yarn for a travel pouch?
- For a travel pouch, durability and washability are key. Worsted weight cotton or a cotton blend yarn is highly recommended. Cotton holds its shape well, is robust enough to withstand regular use, and can be easily machine-washed. Acrylic yarn is also a good budget-friendly and washable alternative, though it might result in a slightly less rigid pouch. Avoid very delicate or fuzzy yarns that might snag easily.
How do I add a fabric lining to my crochet pouch?
- Adding a fabric lining can enhance your pouch's durability and prevent small items from falling through. You'll need a piece of fabric (like quilting cotton) slightly larger than your pouch. Measure the circumference of your pouch's body and its height. Cut a fabric rectangle that is the circumference + 1 inch (for seam allowance) by the height + 1 inch (for seam allowance and folding over the top edge). Sew the sides of the fabric rectangle together to form a tube. Hem the top edge of the fabric tube by folding it down twice and stitching. Insert the fabric lining into your crochet pouch, matching the seams. Hand-stitch the top edge of the fabric lining to the inside of the crochet pouch just below the drawstring eyelets.
And there you have it – your very own handmade Crochet Travel Pouch, ready to organize and accessorize your life! We hope you enjoyed creating this functional and beautiful item. Remember, every stitch tells a story, and this pouch is a testament to your creativity and skill. Don't forget to share your finished projects with us – we love seeing what you make!