Imagine sinking into your favorite armchair on a chilly evening, a warm mug in hand, your legs enveloped in the soft, custom-made embrace of your very own Crochet Thigh High Socks. These aren't just any socks; they're a statement of cozy luxury, a testament to your crafting prowess, and an absolute dream to wear. Forget ill-fitting, store-bought versions; this pattern will guide you to create the perfect pair that stays up, feels incredible, and adds a touch of handmade elegance to any outfit. Get ready to fall in love with comfort!
Welcome to Your Next Favorite Project!
There’s something uniquely satisfying about creating garments that are both beautiful and functional, and these thigh-high socks hit every mark. Designed with comfort, style, and a custom fit in mind, this free pattern will walk you through every step of crafting a pair of long, luxurious socks that you'll cherish. Whether you're lounging at home, adding an extra layer of warmth under boots, or making a chic fashion statement, these socks are versatile and wonderfully rewarding to make. We've broken down the process into easy-to-follow instructions, perfect for intermediate crocheters looking to expand their skills, or adventurous beginners ready for a challenge.
Why You'll Love This Pattern
- Ultimate Comfort: Made with your chosen yarn, these socks will be incredibly soft and cozy, perfect for chilly days or simply relaxing.
- Customizable Fit: The pattern includes tips for adjusting the length and circumference, ensuring a perfect, stay-up fit for your unique measurements.
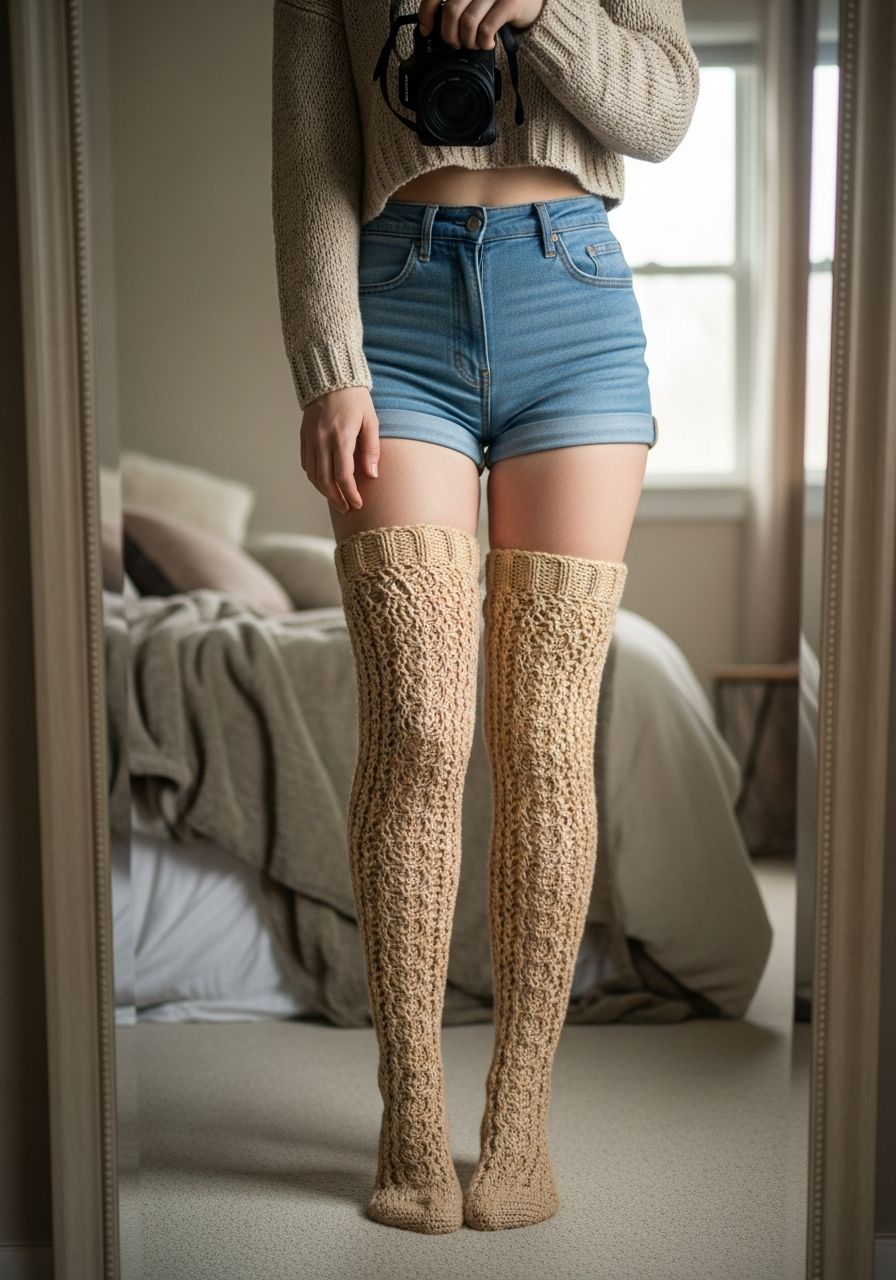
- Fashion Forward: Thigh-high socks are a timeless fashion accessory, adding a touch of elegance and warmth to skirts, dresses, or even over leggings.
- Skill Builder: Learn new techniques like heel shaping and working in the round, enhancing your crochet repertoire.
- Thoughtful Gift: Hand-crocheted socks make an incredibly personal and cherished gift for loved ones.
- Beginner-Friendly Components: While a full sock might seem daunting, this pattern uses basic stitches and clear instructions to make it approachable.
Materials Needed
- Yarn: Approximately 800-1000 yards (730-915 meters) of Worsted Weight (Category 4) yarn. A wool blend or acrylic blend with good stretch and memory is recommended for socks. Examples: Lion Brand Wool-Ease, Red Heart Super Saver.
- Crochet Hook: 4.0 mm (G-6) or size needed to obtain gauge.
- Tapestry Needle: For weaving in ends.
- Stitch Markers: Essential for marking rounds and important stitches.
- Scissors: For cutting yarn.
- Tape Measure: For checking gauge and sizing.
Gauge & Sizing
Gauge is crucial for socks to ensure a proper fit. Please take the time to create a swatch!
Gauge: 16 half double crochet (hdc) stitches and 12 rows = 4 inches (10 cm) square, worked in rows.
- Chain 18.
- Row 1: Hdc in 2nd ch from hook and in each ch across. (17 hdc)
- Row 2: Ch 1 (does not count as st), turn, hdc in each st across. (17 hdc)
- Repeat Row 2 until your swatch measures 4 inches tall.
- Measure your swatch. If you have more stitches per 4 inches, go up a hook size. If you have fewer stitches, go down a hook size.
Sizing Notes: This pattern is written for a women's average shoe size (US 7-9) with a calf circumference of approximately 14-16 inches and a mid-thigh circumference of 18-20 inches. Instructions for adjusting length and circumference are provided within the pattern. To customize, you will want to measure your foot length, ankle, calf, and mid-thigh circumference.
Abbreviations
- ch: Chain
- sl st: Slip Stitch
- sc: Single Crochet
- hdc: Half Double Crochet
- dc: Double Crochet
- inc: Increase (work 2 stitches into the same stitch)
- dec: Decrease (work 2 stitches together)
- st(s): Stitch(es)
- rnd: Round
- rep: Repeat
- BLO: Back Loop Only
- FLO: Front Loop Only
Step-by-Step Pattern
This pattern is worked from the toe up. Make two socks.
The Toe
We begin with a magic ring for a seamless toe.
- Rnd 1: Make a magic ring, ch 1, work 8 hdc into the ring. Join with sl st to first hdc. (8 hdc)
- Rnd 2: Ch 1, 2 hdc in each st around. Join with sl st. (16 hdc)
- Rnd 3: Ch 1, *hdc in next st, 2 hdc in next st* rep around. Join with sl st. (24 hdc)
- Rnd 4: Ch 1, *hdc in next 2 sts, 2 hdc in next st* rep around. Join with sl st. (32 hdc)
- Rnd 5: Ch 1, *hdc in next 3 sts, 2 hdc in next st* rep around. Join with sl st. (40 hdc)
- Rnd 6: Ch 1, *hdc in next 4 sts, 2 hdc in next st* rep around. Join with sl st. (48 hdc)
- Rnd 7 (Optional for wider feet): Ch 1, *hdc in next 5 sts, 2 hdc in next st* rep around. Join with sl st. (56 hdc) Adjust total stitches here based on your foot circumference. Your stitch count should be an even number.
The Foot
Continue working even in hdc until the sock reaches the desired length before the heel.
- Rnd 8: Ch 1, hdc in each st around. Join with sl st. (48 hdc or your final toe stitch count)
- Repeat Rnd 8 until the sock measures approximately 2 inches less than your total foot length (from toe to heel). For an average foot, this is about 6-7 inches from the toe.
The Heel Flap
The heel is worked in rows for shaping.
- Row 1: Ch 1, hdc in the first 24 sts (or half of your total foot stitches). Turn. (24 hdc)
- Row 2: Ch 1 (does not count as st), hdc in each of the 24 sts. Turn.
- Repeat Row 2 for a total of 14 rows (or until flap measures about 2.5-3 inches). This forms the heel flap.
Turning the Heel
This creates the cup shape of the heel.
- Row 1 (Right Side): Ch 1, hdc in first 15 sts, hdc2tog, hdc in next st. Turn. (17 sts)
- Row 2 (Wrong Side): Ch 1, skip first st, hdc in next 9 sts, hdc2tog, hdc in next st. Turn. (11 sts)
- Row 3: Ch 1, skip first st, hdc in next 9 sts, hdc2tog. Turn. (10 sts)
- Row 4: Ch 1, skip first st, hdc in next 7 sts, hdc2tog. Turn. (8 sts)
- Row 5: Ch 1, skip first st, hdc in next 5 sts, hdc2tog. Turn. (6 sts)
- Row 6: Ch 1, skip first st, hdc in next 3 sts, hdc2tog. Turn. (4 sts)
- Row 7: Ch 1, skip first st, hdc in next st, hdc2tog. Turn. (2 sts)
- Row 8: Ch 1, skip first st, hdc2tog. (1 st). Cut yarn and fasten off.
Gusset and Leg
Now we join the heel to the rest of the sock and begin the leg.
- Attach yarn to the top right corner of the heel flap (where the heel flap meets the unworked foot stitches).
- Rnd 1: Ch 1, work 14 hdc evenly up the side of the heel flap, hdc in each of the 24 unworked foot stitches, work 14 hdc evenly down the other side of the heel flap. Join with sl st to first hdc. (52 hdc)
- Rnd 2: Ch 1, hdc in each st around. Join with sl st. (52 hdc)
- Repeat Rnd 2 until the sock reaches your ankle bone.
- Calf Shaping Increases: To ensure a good fit, we'll increase gradually. Try on the sock as you go and place increases where needed for your calf. A general guide: ch 1, hdc in each st, increasing 2 sts evenly spaced around every 5-7 rounds until the sock fits comfortably around the widest part of your calf. You'll likely need to increase 4-6 times, reaching approximately 60-64 stitches.
- Continue working even in hdc (or with increases as needed) until the sock reaches about 2 inches below your knee.
- Thigh Shaping Increases: Similar to the calf, you'll want to increase for your thigh. Ch 1, hdc in each st, increasing 2-4 sts evenly spaced around every 4-6 rounds until the sock fits comfortably around your mid-thigh. You might need to increase 6-10 times, reaching approximately 70-80 stitches, depending on your measurements.
- Continue working even in hdc (or with increases as needed) until the sock reaches your desired thigh-high length, ending about 1-2 inches before the final desired length.
The Cuff
A ribbed cuff helps the socks stay up.
- Rnd 1: Ch 1, sc in each st around. Join with sl st. (70-80 sc or your final thigh stitch count)
- Rnd 2: Ch 1, working in BLO, sc in each st around. Join with sl st.
- Repeat Rnd 2 for 8-10 rounds, or until your cuff measures about 1.5-2 inches.
- Fasten off, weave in all ends.
Pro Tips for Perfect Thigh High Socks
- Yarn Choice Matters: For socks, look for yarns with some elasticity. Wool blends are excellent for warmth and memory, while acrylic blends can offer durability and easy care. Avoid cotton for the main body as it tends to stretch out and not recover its shape well.
- Try Them On: The beauty of making your own socks is the custom fit. Try on your sock frequently, especially when working the foot, ankle, calf, and thigh sections, to adjust the length and circumference as you go.
- Stitch Markers are Your Best Friend: Use a stitch marker to denote the beginning of each round, and optionally to mark increase/decrease points. This is especially helpful in the seamless body sections.
- Blocking for the Win: Once your socks are complete, a gentle wet block can do wonders! It helps even out your stitches, defines the ribbing, and can relax the yarn for a better drape and fit. Use sock blockers if you have them.
- Maintain Consistent Tension: While working in the round, it's common for tension to change slightly. Try to maintain an even tension throughout your project to avoid a wavy fabric or uneven stretches.
- Consider Elastic: For extra stay-up power, you can thread a thin piece of elastic (such as swimsuit elastic) through the top edge of your cuff after the socks are finished.
Frequently Asked Questions
How do I make these socks stay up?
There are several strategies to ensure your thigh-high socks stay put! First, a well-fitting cuff worked in a stretchy stitch like back-loop-only single crochet (as in this pattern) or front/back post double crochet is essential. Second, ensuring your gauge is correct and that the sock has a slight negative ease (meaning it's slightly smaller than your actual measurements but stretches to fit) around your calf and thigh helps. Lastly, for ultimate security, you can thread a thin piece of elastic cord (like swimwear elastic) through the very top edge of the cuff once the socks are complete. This provides extra grip without being uncomfortable.
Can I make these shorter, like knee-high or crew socks?
Absolutely! This pattern is incredibly versatile. To make them shorter, simply stop crocheting the leg section at your desired length (e.g., at the ankle for crew socks, or below the knee for knee-highs) and then proceed directly to the cuff section. You will also adjust the calf and thigh shaping accordingly, or omit the thigh shaping entirely for shorter lengths.
What type of yarn is best for crochet socks?
For comfortable and durable socks, a yarn with good elasticity and memory is key. Wool blends (like superwash merino) are highly recommended because wool is naturally stretchy, warm, and breathable. It also wicks moisture away, keeping your feet dry. Acrylic blends can also work well, especially those specifically designed for socks, as they offer durability and are often machine washable. Avoid yarns that are 100% cotton, as cotton tends to stretch out and doesn't bounce back, leading to saggy socks.
You've poured your heart and skill into creating something truly special. These handmade Crochet Thigh High Socks are more than just a pair of accessories; they're a testament to your creativity and a promise of ultimate comfort. Wear them with pride, knowing you crafted every stitch. Happy crocheting!