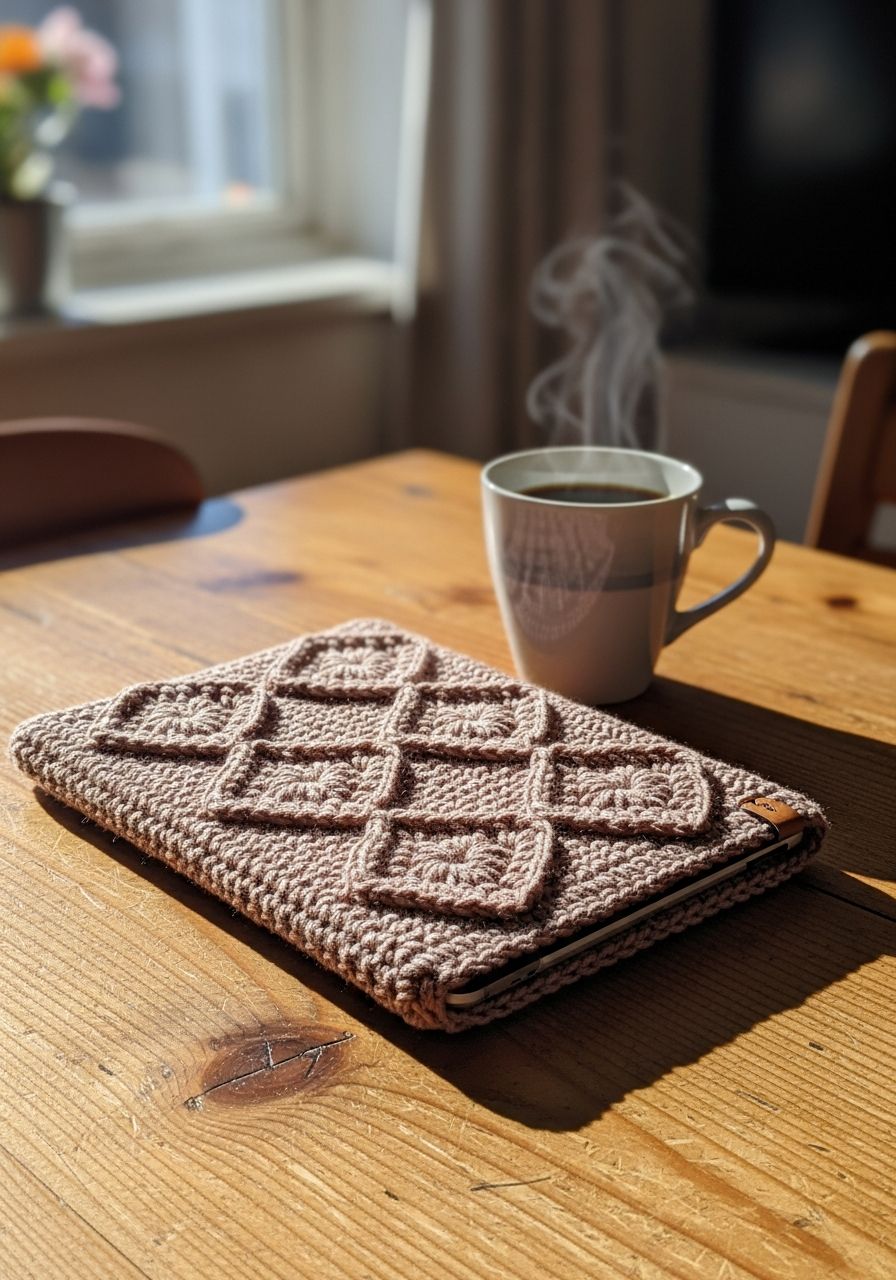
Imagine cradling your precious tablet in a soft, handmade embrace, safe from scratches and bumps, a unique reflection of your own style. No more tossing it unprotected into your bag or leaving it vulnerable on a tabletop! With our free, easy-to-follow pattern, you can create a beautiful and functional crochet tablet case that not only offers superior protection but also adds a touch of personalized elegance to your tech. Get ready to transform a simple skein of yarn into a practical masterpiece that will make you proud every single day!
Welcome, fellow yarn enthusiasts, to a project that perfectly blends practicality with the joy of creation. This detailed guide will walk you through crafting a custom-fit crochet tablet case, ideal for safeguarding your device while showcasing your crochet skills. Whether you're a seasoned pro looking for a quick, satisfying make or a curious beginner ready to tackle your first functional item, this pattern is designed for you. It's an excellent way to use up some stash yarn, practice basic stitches, and end up with something truly useful and beautiful.
Why You'll Love This Pattern
- Custom Fit: Learn how to easily adjust the pattern to fit any tablet, e-reader, or even a small laptop. No more ill-fitting generic cases!
- Superior Protection: The dense crochet fabric provides a soft cushion, protecting your device from minor bumps and scratches when you're on the go.
- Beginner-Friendly: Utilizing fundamental stitches like single crochet and half double crochet, this pattern is accessible for those new to the craft, with clear, step-by-step instructions.
- Personalization Power: Choose your favorite colors, add stripes, texture, or even embellish with appliques. Make it uniquely yours!
- Stash Buster: A great way to use up those leftover skeins of worsted weight yarn, turning them into something practical instead of letting them gather dust.
- Quick & Satisfying: This project works up relatively quickly, offering the instant gratification of seeing your work come to life in just a few hours.
Materials Needed
- Yarn: Approximately 150-200 yards (137-183m) of Worsted Weight (Category 4) yarn. Cotton yarn is recommended for its durability and stiffness, but acrylic works well too. (Examples: Lily Sugar'n Cream, Caron One Pound, Bernat Handicrafter Cotton)
- Crochet Hook: H/8 (5.0 mm) or size needed to obtain gauge.
- Measuring Tape: Essential for accurate sizing of your tablet and for checking gauge.
- Scissors: For cutting yarn.
- Yarn Needle: For weaving in ends.
- Stitch Markers (optional but recommended): To mark the start of rounds and key stitches.
- Button (optional): 1-1.5 inch (2.5-3.8 cm) button for the flap closure.
Gauge & Sizing
Achieving the correct gauge is absolutely critical for this project to ensure your tablet case fits snugly and provides adequate protection. A case that's too loose won't secure your device, and one that's too tight won't fit at all!
Gauge Swatch: Using your H/8 (5.0 mm) hook and chosen yarn, chain 18. Single crochet in the 2nd chain from hook and in each chain across (17 sc). Chain 1, turn. Repeat 17 sc for 16 rows. Your swatch should measure 4 inches (10 cm) wide by 4 inches (10 cm) tall.
If your swatch is too small, try a larger hook. If it's too large, try a smaller hook. Practice until your gauge matches.
Sizing Your Tablet:
- Measure your tablet's width, height, and thickness (depth).
- Add about 0.5-1 inch (1.25-2.5 cm) to the width and height measurements for ease of insertion and removal. This creates a little breathing room.
- For the base of the case, you'll need to account for the width + the thickness of the tablet twice. For example, if your tablet is 7 inches wide and 0.5 inches thick, your base needs to be roughly 7 inches wide and (0.5 + 0.5) = 1 inch deep.
This pattern is written for a standard 10.2-inch tablet (approx. 7" wide x 10" high x 0.3" thick), but instructions for adjusting are provided.
Abbreviations
- ch: chain
- sc: single crochet
- hdc: half double crochet
- dc: double crochet
- sl st: slip stitch
- inc: increase (2 sc in the same stitch)
- dec: decrease (sc2tog - single crochet 2 stitches together)
- st(s): stitch(es)
- FO: finish off
- RS: right side
- WS: wrong side
Step-by-Step Pattern
This pattern creates a sturdy, snug case. Remember to check your gauge!
The Base
We will start by creating a flat rectangular base, then build the sides up from its perimeter.
For a tablet approximately 7 inches wide:
- Ch 29. (This will be approximately 7 inches wide, depending on your gauge. Adjust starting chain to be [tablet width in inches x 4 stitches per inch] + 1.)
- Row 1 (RS): Sc in 2nd ch from hook and in each ch across. (28 sc) Ch 1, turn.
- Rows 2-5: Sc in each st across. (28 sc) Ch 1, turn. (Adjust number of rows for tablet thickness: [tablet thickness in inches x 4.5 rows per inch]. For a 0.3-0.5 inch thick tablet, 4-5 rows is usually sufficient.)
- At the end of Row 5, do NOT chain 1 and turn. You should have a flat rectangle.
Building the Sides
Now we will work around the perimeter of the base to create the walls of the case.
- Round 1: Sc in each of the 28 sc across the last row you just completed. Then, working down the side of the rectangle, make 4 sc evenly spaced along the side of the 5 rows. Next, working along the unused loops of the starting chain, sc in each of the 28 ch. Finally, working up the other side of the rectangle, make 4 sc evenly spaced along the side of the 5 rows. Join with a sl st to the first sc of the round. (28 + 4 + 28 + 4 = 64 sc).
- Round 2: Ch 1 (does not count as a stitch). Sc in each st around. Join with a sl st to the first sc. (64 sc)
- Rounds 3-40: Repeat Round 2 until your case reaches the desired height, about 0.5-1 inch shorter than your tablet's total height (to allow for the flap). For a 10-inch tablet, this will be around 35-40 rounds, depending on your yarn and tension. Place your tablet inside periodically to check the fit and height.
Creating the Flap (Optional)
This flap will cover the top of your tablet, providing extra security.
- Row 1 (RS): After completing the last round of the sides, do NOT join. Ch 1, turn. Sc in the first 32 sts. (32 sc) Ch 1, turn. (This creates a flap that covers half the top opening. If you want a full-width flap, continue working across all 64 stitches for this row and subsequent flap rows.)
- Row 2: Sc in each sc across. (32 sc) Ch 1, turn.
- Rows 3-10: Repeat Row 2. (Adjust number of rows for desired flap length, typically 3-4 inches.)
- Buttonhole Row (if adding a button): Ch 1, turn. Sc in first 14 sts, ch 4 (adjust chain length based on your button size), skip next 4 sts, sc in last 14 sts. (28 sc, 1 ch-4 space) Ch 1, turn.
- Next Row: Sc in each sc and 4 sc into the ch-4 space. (32 sc) Ch 1, turn.
- Final Row: Sc in each sc across. (32 sc) FO, leaving a long tail for sewing.
Finishing Touches
- Weave in Ends: Using your yarn needle, carefully weave in all loose ends for a neat finish.
- Attach Button: If you made a buttonhole, position your tablet inside the case, fold the flap over, and mark where the button needs to be sewn on the main body of the case, directly below the buttonhole. Securely sew on your chosen button.
- Blocking (Optional but Recommended): For a more polished look and to help the case hold its shape, gently wet block your finished case. Pin it to shape on a blocking mat and let it air dry completely.
Pro Tips
- Measure Twice, Crochet Once: Always double-check your tablet's dimensions and your gauge before starting. A small difference can lead to a big fit issue!
- Yarn Choice Matters: Sturdy cotton or a firm acrylic blend works best for cases, as they provide structure and protection. Avoid very stretchy or fluffy yarns that might not offer enough support.
- Add a Liner: For extra protection and a smooth interior, consider sewing a fabric lining into your crochet case. This can prevent snagging and add a layer of padding.
- Customize with Color: Don't be afraid to experiment with different yarn colors! Stripes, color blocks, or even tapestry crochet designs can make your case truly stand out.
- Consider a Wrist Strap: If you want to carry your tablet like a clutch, crochet a simple strap and attach it to one side of the case.
- Practice Makes Perfect: If you're new to working in the round or creating specific shapes, don't get discouraged. Each stitch is a step towards mastery!
Frequently Asked Questions
Can I make this for a different-sized tablet or e-reader?
Absolutely! The beauty of this pattern lies in its adaptability. Simply measure your specific device (width, height, and thickness). Adjust your starting chain to match the width, ensuring it's a snug fit with your gauge. Then, adjust the number of rows for the base to accommodate the tablet's thickness. Finally, continue crocheting rounds for the sides until the case reaches the desired height for your device.
What's the best yarn for a tablet case?
For durability and structure, 100% cotton yarn (worsted weight) is often recommended. It creates a dense fabric that offers good protection and holds its shape well. Acrylic yarn is also a great choice, especially if you want more color variety or a slightly softer feel, but ensure it's a sturdy, non-stretchy type. Avoid super bulky or very fine yarns unless you are intentionally designing for a different aesthetic and adjusting the pattern significantly.
How do I add a lining to my crochet tablet case?
Adding a fabric lining provides extra protection and a polished finish. Measure the finished crochet case's interior dimensions. Cut two pieces of fabric slightly larger than the case (allow for seam allowance). Sew the fabric pieces together along three sides, creating a pouch. Insert the fabric pouch into the crochet case, fold the top edges of the fabric under, and hand-stitch them securely to the inside top edge of the crochet case. You can use a sewing machine for the fabric pouch and then hand-stitch it in place.
There you have it – a perfectly personalized, protective, and stylish crochet tablet case, made with your own two hands! This project is not just about making a functional item; it's about the joy of creation, the satisfaction of a handmade gift, and the pride in showcasing your skills. We hope you enjoyed crafting this piece. Don't forget to share your finished creations with us – we love seeing your unique spins on our patterns!