Imagine strolling through a bustling market, your keys, wallet, and a favorite book nestled perfectly inside a vibrant, handmade accessory that screams 'you.' Envision the admiring glances, the satisfaction of saying, "I made it myself!" This isn't just a dream; it's the joy waiting for you with our delightful Crochet Striped Bag pattern. Get ready to transform simple yarn into a stunning, practical, and utterly personal statement piece that will brighten your day and your wardrobe!
Welcome, fellow yarn enthusiasts, to a pattern designed to bring a splash of joy and practicality into your life. This guide will walk you through creating a beautiful, sturdy striped bag, perfect for everyday use, a beach trip, or as a charming market tote. Whether you're a seasoned crocheter looking for a relaxing project or a confident beginner ready to tackle your first bag, you'll find everything you need right here. We've focused on clear instructions, standard stitches, and tips to ensure your bag turns out perfectly.
Why You'll Love This Pattern
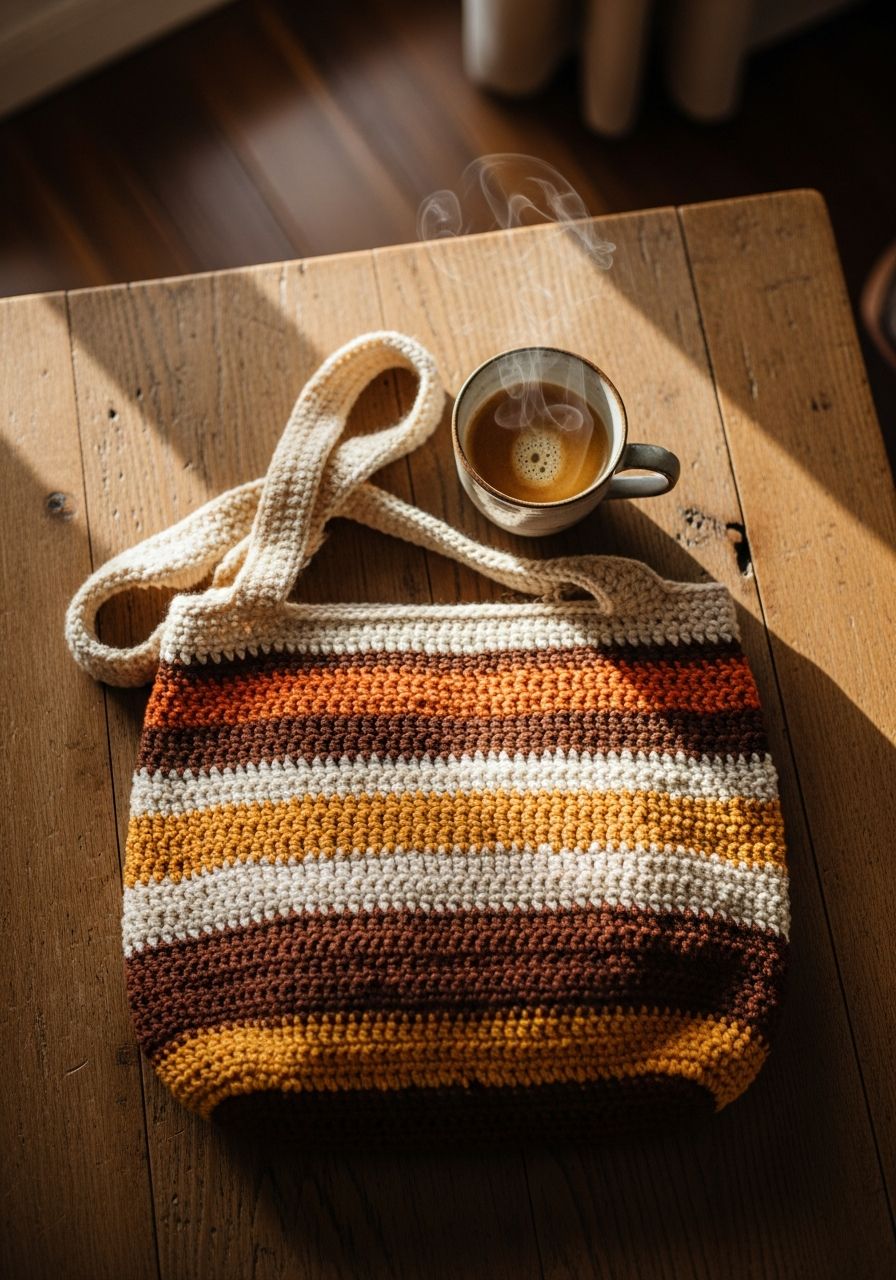
- Stylish & Versatile: The timeless striped design makes this bag a perfect accessory for any outfit or occasion. Customize your colors to match your personal style!
- Skill-Building: While straightforward, this pattern introduces you to working in the round, creating a sturdy base, and managing color changes seamlessly, helping you grow your crochet repertoire.
- Practical & Durable: Designed with everyday use in mind, the bag uses sturdy stitches to create a robust fabric that can hold your essentials without losing its shape.
- Customizable: Easily adjust the height, width, and strap length to create a bag that perfectly fits your needs and preferences.
- Free & Detailed: Enjoy a comprehensive, step-by-step guide with plenty of helpful hints, all completely free!
Materials Needed
- Yarn: Worsted Weight (Category 4) Cotton or Cotton Blend yarn.
- Main Color (MC): Approximately 250-300 yards (e.g., Cream, Navy, Gray)
- Contrast Color 1 (CC1): Approximately 100-120 yards (e.g., Teal, Mustard, Pink)
- Contrast Color 2 (CC2): Approximately 100-120 yards (e.g., Coral, Green, Blue) - Crochet Hook: 4.0mm (G/6) or size needed to obtain gauge.
- Tapestry Needle: For weaving in ends.
- Scissors: For cutting yarn.
- Stitch Markers: Essential for keeping track of rounds and specific stitches.
Gauge & Sizing
Achieving the correct gauge is crucial for your bag to turn out the intended size and have the right drape. If your gauge is too loose, your bag may be floppy; if it's too tight, it will be smaller and stiffer.
Gauge Swatch: Using your 4.0mm hook and MC yarn, chain 17. Sc in 2nd ch from hook and across (16 sc). Ch 1, turn. Work 15 rows of sc. Your swatch should measure approximately 4 inches (10 cm) by 4 inches (10 cm).
Finished Bag Dimensions (approximate):
Base: 12 inches (30.5 cm) long x 4 inches (10 cm) wide
Height: 14 inches (35.5 cm) (excluding strap)
Strap: 40 inches (101.5 cm) long, 1.25 inches (3 cm) wide
Abbreviations
- ch: chain
- sl st: slip stitch
- sc: single crochet
- hdc: half double crochet
- inc: increase (work 2 stitches into the same stitch)
- st(s): stitch(es)
- MC: Main Color
- CC1: Contrast Color 1
- CC2: Contrast Color 2
- rep: repeat
- FO: Fasten Off
Step-by-Step Pattern
This pattern is worked in joined rounds for the base and body to ensure neat color changes. The strap is worked in rows.
Bag Base (Bottom)
Using Main Color (MC).
- Foundation Chain: Ch 31.
- Round 1: Sc in 2nd ch from hook, sc in next 28 ch, 3 sc in last ch. Working on the other side of the foundation chain: sc in next 28 ch, 2 sc in last ch. Join with sl st to the first sc. (62 sts)
- Round 2: Ch 1 (does NOT count as a stitch here and throughout base), 2 sc in first st, sc in next 28 sts, 2 sc in next 3 sts, sc in next 28 sts, 2 sc in next 2 sts. Join with sl st to the first sc. (70 sts)
- Round 3: Ch 1, (sc in next st, 2 sc in next st) x 1, sc in next 28 sts, (sc in next st, 2 sc in next st) x 3, sc in next 28 sts, (sc in next st, 2 sc in next st) x 2. Join with sl st to the first sc. (78 sts)
- Round 4: Ch 1, sc in each st around. Join with sl st to the first sc. (78 sts)
- Fasten off MC.
Bag Body
All body rounds are worked in hdc and joined with a sl st. The starting ch 2 counts as the first hdc in each round.
- Round 5 (MC): Attach MC with a sl st to any stitch. Ch 2 (counts as 1st hdc), hdc in each st around. Join with sl st to the top of the beginning Ch 2. (78 hdc)
- Round 6 (MC): Ch 2, hdc in each st around. Join with sl st to the top of the beginning Ch 2. (78 hdc)
- Round 7 (MC): Ch 2, hdc in each st around. Join with sl st to the top of the beginning Ch 2. (78 hdc)
- Round 8 (MC): Ch 2, hdc in each st around. Join with sl st to the top of the beginning Ch 2. (78 hdc) Fasten off MC.
- Round 9 (CC1): Attach CC1 with a sl st to any stitch. Ch 2, hdc in each st around. Join with sl st to the top of the beginning Ch 2. (78 hdc)
- Round 10 (CC1): Ch 2, hdc in each st around. Join with sl st to the top of the beginning Ch 2. (78 hdc) Fasten off CC1.
- Round 11 (MC): Attach MC with a sl st to any stitch. Ch 2, hdc in each st around. Join with sl st to the top of the beginning Ch 2. (78 hdc)
- Round 12 (MC): Ch 2, hdc in each st around. Join with sl st to the top of the beginning Ch 2. (78 hdc)
- Round 13 (MC): Ch 2, hdc in each st around. Join with sl st to the top of the beginning Ch 2. (78 hdc)
- Round 14 (MC): Ch 2, hdc in each st around. Join with sl st to the top of the beginning Ch 2. (78 hdc) Fasten off MC.
- Round 15 (CC2): Attach CC2 with a sl st to any stitch. Ch 2, hdc in each st around. Join with sl st to the top of the beginning Ch 2. (78 hdc)
- Round 16 (CC2): Ch 2, hdc in each st around. Join with sl st to the top of the beginning Ch 2. (78 hdc) Fasten off CC2.
- Repeat Stripe Sequence: Repeat Rounds 5-16 two more times for a total of 3 complete stripe sequences (36 rounds). Your bag body will now have 40 rounds (4 base rounds + 36 body rounds).
- Final MC Rounds (Rounds 41-44): Attach MC. Work 4 more rounds of hdc (Ch 2, hdc in each st around, join with sl st to top of Ch 2). Fasten off MC after Round 44.
Top Edging
Using Main Color (MC).
- Round 45: Attach MC with a sl st to any stitch. Ch 1, sc in each st around. Join with sl st to the first sc. (78 sc)
- Round 46: Ch 1, sc in each st around. Join with sl st to the first sc. Fasten off, leaving a long tail if you plan to seam the strap directly to this edge.
Strap
Using Main Color (MC).
- Foundation Chain: Ch 101 (or desired length for your strap, typically 30-50 inches for a shoulder bag).
- Row 1: Sc in 2nd ch from hook, sc in each ch across. Ch 1, turn. (100 sc)
- Row 2-4: Sc in each st across. Ch 1, turn. (100 sc)
- Row 5: Sc in each st across. Fasten off, leaving a long tail (approx. 12-18 inches) for sewing the strap to the bag.
Finishing
- Weave in Ends: Using your tapestry needle, carefully weave in all loose yarn tails from color changes and starting/ending points. Take your time to ensure they are secure and hidden.
- Attach Strap: Lay your bag flat and determine where you want the strap to be attached. Typically, the ends of the strap are sewn to the inside of the bag's top edge, centered on the side seams. Use the long tail from the strap and your tapestry needle to securely sew the strap ends to the bag. Make sure the strap is not twisted before sewing both ends. Stitch firmly multiple times for durability.
- Block (Optional): If your bag needs a bit more shape or drape, you can lightly block it. Dampen the bag, gently shape it, and let it air dry.
Pro Tips
- Yarn Choice Matters: Cotton or cotton blend yarns are recommended for bags as they offer excellent durability and hold their shape well. Acrylic can be used but may result in a softer, more pliable bag.
- Seamless Stripes: For truly seamless color changes, learn to use the 'standing hdc' technique for the first stitch of a new color round, or practice carrying your inactive yarn up the inside seam of the bag if you prefer not to cut and reattach for every change.
- Stitch Markers are Your Best Friend: Especially when working in the round, a stitch marker in the first stitch of each round will prevent you from accidentally increasing or decreasing and help you keep track of your stitch count.
- Tighten Your Joins: When joining a new color, pull the slip knot firmly to secure it and prevent gaps. Weave in ends immediately after a color change for extra security.
- Consider a Lining: For extra durability and to prevent small items from slipping through stitches, consider sewing a fabric lining into your finished bag.
Frequently Asked Questions
How do I make my stripes perfectly straight?
Achieving perfectly straight stripes requires attention to your color changes. When joining a new color, ensure your slip stitch and starting chain/stitch are snug. For the neatest look, always join your rounds with a slip stitch to the first stitch of the round (the top of the Ch 2 for hdc rounds). You can also experiment with a 'standing hdc' (or sc) stitch to start new rounds, which eliminates the starting chain and creates an even cleaner edge.
Can I use different yarn weights for this pattern?
Yes, you can! However, remember that changing yarn weight will alter the finished size of your bag significantly. If you opt for a bulkier yarn (e.g., chunky), your bag will be larger. If you choose a finer yarn (e.g., DK or sport weight), it will be smaller. Always make sure to adjust your hook size accordingly to achieve a fabric that isn't too stiff or too loose for your chosen yarn, and always swatch to check your gauge.
What if my bag feels too floppy or doesn't hold its shape well?
A floppy bag usually indicates a gauge that is too loose. Try using a smaller crochet hook to create a denser fabric. Cotton yarn generally provides better structure than acrylic. Another solution is to add a stiff interfacing or a full fabric lining to the inside of your bag, which will help it maintain its shape and provide additional support.
Congratulations, you're now equipped with everything you need to crochet your very own stunning striped bag! This pattern isn't just about creating an object; it's about the joy of making, the pride of carrying something beautiful you've crafted with your own hands, and the endless possibilities of yarn and hook. Don't be afraid to experiment with your favorite color combinations – the only limit is your imagination. Happy crocheting!