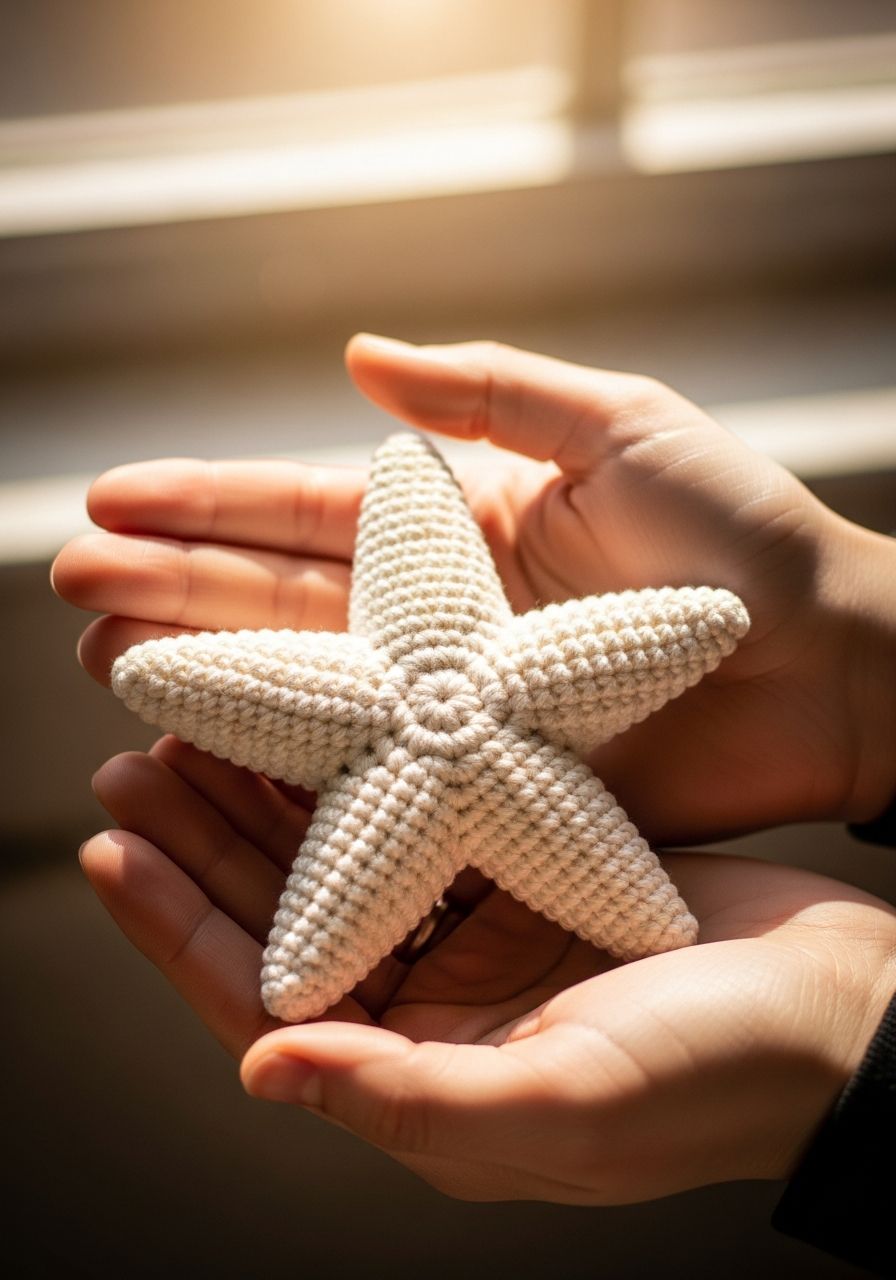
Imagine the gentle lapping of waves, the soft sand beneath your toes, and the vibrant hues of the ocean's hidden treasures. Now, imagine bringing that serene coastal magic right into your home with your own two hands! Our delightful Crochet Starfish Amigurumi pattern is your ticket to crafting an adorable, squishy companion that perfectly captures the whimsical spirit of the sea. Get ready to hook up a whole tide pool of charming starfish, perfect for brightening any space or gifting a piece of handmade ocean wonder!
Welcome, fellow yarn enthusiasts, to a truly enchanting crochet journey! There's something undeniably captivating about amigurumi – the art of crocheting small, stuffed yarn creatures. They bring smiles, spark imagination, and offer a deeply satisfying creative outlet. This particular pattern for a whimsical starfish is designed to be accessible and enjoyable for crocheters of all skill levels, from those just mastering their basic stitches to seasoned pros looking for a quick, gratifying project. Whether you envision a single, vibrant accent piece, a collection to adorn a nautical-themed nursery, or a unique, handmade toy for a little one, this pattern provides all the clear, detailed instructions you'll need to make your ocean-inspired dreams a reality.
Why You'll Love This Pattern
-
Beginner-Friendly: While it looks intricate, this pattern primarily uses fundamental crochet stitches like single crochet, increases, and decreases, making it perfect for those comfortable with the basics.
-
Quick to Create: Each starfish works up relatively fast, meaning you can easily whip up several in a weekend, perfect for last-minute gifts or decorating.
-
Customizable Charm: Play with different yarn weights and colors to create a diverse collection of starfish. From natural sandy tones to vibrant coral hues, the possibilities are endless!
-
Versatile Finished Product: These charming starfish make wonderful nursery decor, playful bath toys (if made with appropriate yarn), unique keychains, or delightful additions to a garland.
-
Skill-Building Opportunity: Practice your shaping techniques, working in the round, and seamless assembly, all while creating something truly adorable.
Materials Needed
- Yarn: Worsted weight (Category 4) 100% Cotton or Acrylic yarn. Approximately 50-70 yards per starfish. (Try a variegated yarn for a unique look, or solid colors for classic appeal!)
- Crochet Hook: 3.5mm (E) – or size needed to achieve a tight fabric to prevent stuffing from showing.
- Stuffing: Polyester fiberfill.
- Tapestry Needle: For weaving in ends and assembly.
- Stitch Marker: Essential for working in continuous rounds.
- Scissors: For cutting yarn.
Gauge & Sizing
Gauge: 5 sc and 5 rows = 1 inch (2.5 cm). Achieving an exact gauge is not critical for amigurumi, but aim for a tight fabric to ensure the stuffing doesn't show through. Adjust your hook size if your stitches are too loose.
Finished Size: When made with worsted weight yarn and a 3.5mm hook, your starfish will measure approximately 5-6 inches (12.5-15 cm) from arm tip to arm tip. You can easily adjust the size by using a different yarn weight and a corresponding hook size (e.g., DK weight for smaller, bulky weight for larger).
Abbreviations
- ch: Chain
- sl st: Slip stitch
- sc: Single crochet
- hdc: Half double crochet
- dc: Double crochet
- inc: Increase (2 single crochet in the same stitch)
- dec: Decrease (single crochet 2 together)
- st(s): Stitch(es)
- Rnd: Round
- FO: Fasten off
- MR: Magic Ring (also known as Magic Circle or Adjustable Ring)
Step-by-Step Pattern
We'll start by making the central body, then crochet each of the five arms, and finally, assemble them into our charming starfish. Work in continuous rounds unless otherwise specified. Use a stitch marker to mark the first stitch of each round.
Central Body
- Rnd 1: Start with a MR, sc 6 into the ring. (6 sts)
- Rnd 2: Inc in each st around. (12 sts)
- Rnd 3: (Sc 1, inc) around. (18 sts)
- Rnd 4: (Sc 2, inc) around. (24 sts)
- Rnd 5: (Sc 3, inc) around. (30 sts)
- Rnd 6: (Sc 4, inc) around. (36 sts)
- Rnd 7: (Sc 5, inc) around. (42 sts)
- Rnd 8: Sc in each st around. (42 sts)
- Rnd 9: (Sc 5, dec) around. (36 sts)
- Rnd 10: (Sc 4, dec) around. (30 sts)
- Rnd 11: (Sc 3, dec) around. (24 sts)
- Rnd 12: (Sc 2, dec) around. (18 sts)
- Rnd 13: (Sc 1, dec) around. (12 sts)
- Rnd 14: Dec in each st around. (6 sts)
- Sl st into the next stitch to finish. FO, leaving a long tail for sewing the hole closed later. Lightly stuff the central body, but don't close it fully yet.
Starfish Arm (Make 5)
- Rnd 1: Start with a MR, sc 4 into the ring. (4 sts)
- Rnd 2: Sc in each st around. (4 sts)
- Rnd 3: (Sc 1, inc) around. (6 sts)
- Rnd 4: Sc in each st around. (6 sts)
- Rnd 5: (Sc 2, inc) around. (8 sts)
- Rnd 6: Sc in each st around. (8 sts)
- Rnd 7: (Sc 3, inc) around. (10 sts)
- Rnd 8: Sc in each st around. (10 sts)
- Rnd 9: (Sc 4, inc) around. (12 sts)
- Rnd 10: Sc in each st around. (12 sts)
- Rnd 11: (Sc 4, dec) around. (10 sts)
- Rnd 12: Sc in each st around. (10 sts)
- Rnd 13: (Sc 3, dec) around. (8 sts)
- Rnd 14: Sc in each st around. (8 sts)
- Rnd 15: (Sc 2, dec) around. (6 sts)
- Rnd 16: Sc in each st around. (6 sts)
- Rnd 17: (Sc 1, dec) around. (4 sts)
- Rnd 18: Dec in each st around. (2 sts)
- Sl st into the next stitch to finish. FO, leaving a long tail for sewing. Lightly stuff the arm as you go, ensuring the tip is well-stuffed for a defined point.
Assembly
- Take one arm and position its base against the central body, ensuring it's evenly spaced from the other arms. Use your tapestry needle and the long tail from the arm to sew it securely onto the central body. Work your stitches discreetly, going through both the base of the arm and a few stitches of the central body.
- Repeat with the remaining four arms, ensuring they are all equidistant from each other. Imagine a clock face and place them at 12, 2:30, 5, 7:30, and 10 o'clock positions for even spacing.
- Once all five arms are attached, if needed, add a little more fiberfill to the central body to achieve your desired firmness.
- Using the long tail from the central body, weave it through the remaining 6 stitches from Rnd 14, pull tight to close the hole, and secure with a knot. Weave in any remaining ends.
- Gently shape your starfish, ensuring the arms are nicely pointed and the body is plump.
Pro Tips
- Invisible Decrease: For a cleaner look, especially on amigurumi, use the invisible decrease method (insert hook into front loop of first stitch, then into front loop of second stitch, yarn over, pull through both front loops, yarn over, pull through both loops on hook).
- Stuffing Smart: Stuff firmly but evenly. Use small pieces of fiberfill at a time, pushing them into the tips of the arms first with the back of your hook or a dowel. This prevents lumps and ensures good shaping.
- Stitch Marker is Your Best Friend: Seriously, use it! Working in continuous rounds can be confusing without one, and it helps you keep track of your stitch count accurately.
- Yarn Choice Matters: While acrylic is great for durability and washability, cotton yarn provides a slightly denser fabric and a lovely, natural feel, often preferred for amigurumi. Consider mercerized cotton for a subtle sheen.
- Seamless Joins: When attaching the arms, take your time. Pin them in place first to ensure even spacing before you start sewing. Use small, neat stitches that blend into the fabric.
- Embroidered Details: For added character, consider embroidering small french knots or straight stitches for a subtle texture on the starfish's back!
Frequently Asked Questions
Can I make this starfish larger or smaller?
Absolutely! The beauty of amigurumi patterns is their adaptability. To make a larger starfish, use a thicker yarn weight (e.g., bulky or super bulky) and a proportionally larger crochet hook. For a smaller starfish, opt for a thinner yarn weight (e.g., sport or fingering) and a smaller hook. Remember that changing yarn weight will also affect the amount of stuffing needed and the overall firmness of your finished piece.
What's the best yarn type for amigurumi projects like this?
For amigurumi, you generally want a yarn that holds its shape well and doesn't stretch too much, ensuring your stitches remain tight and the stuffing stays put. Acrylic yarn is a popular choice due to its wide range of colors, affordability, durability, and washability. Cotton yarn is another excellent option; it provides great stitch definition, a lovely natural feel, and is often preferred for items that might be chewed or handled by babies, as it's typically more natural fiber. Avoid super fuzzy or textured yarns for beginners, as they can make it hard to see your stitches.
How can I make the points of the starfish arms extra sharp?
To achieve those distinct, sharp points, focus on two main things during the arm construction and stuffing. First, ensure your decreases in the final rounds of the arm are consistent and tight. Second, and perhaps most importantly, stuff the tips of the arms very firmly with small bits of fiberfill. Use the back of your crochet hook or a pair of tweezers to push the stuffing right into the point before you close off the arm. Don't overstuff the rest of the arm or the body, as this can distort the shape and make the points less prominent.
And there you have it – your very own handmade piece of the ocean! Crafting this Crochet Starfish Amigurumi is not just about following a pattern; it's about infusing each stitch with a little bit of your own creative energy and bringing a charming, squishy friend to life. Whether it finds its home on a shelf, joins a child's imaginative play, or becomes a heartfelt gift, your starfish will carry the warmth of your craft. Enjoy the rhythmic dance of hook and yarn, and happy crocheting!