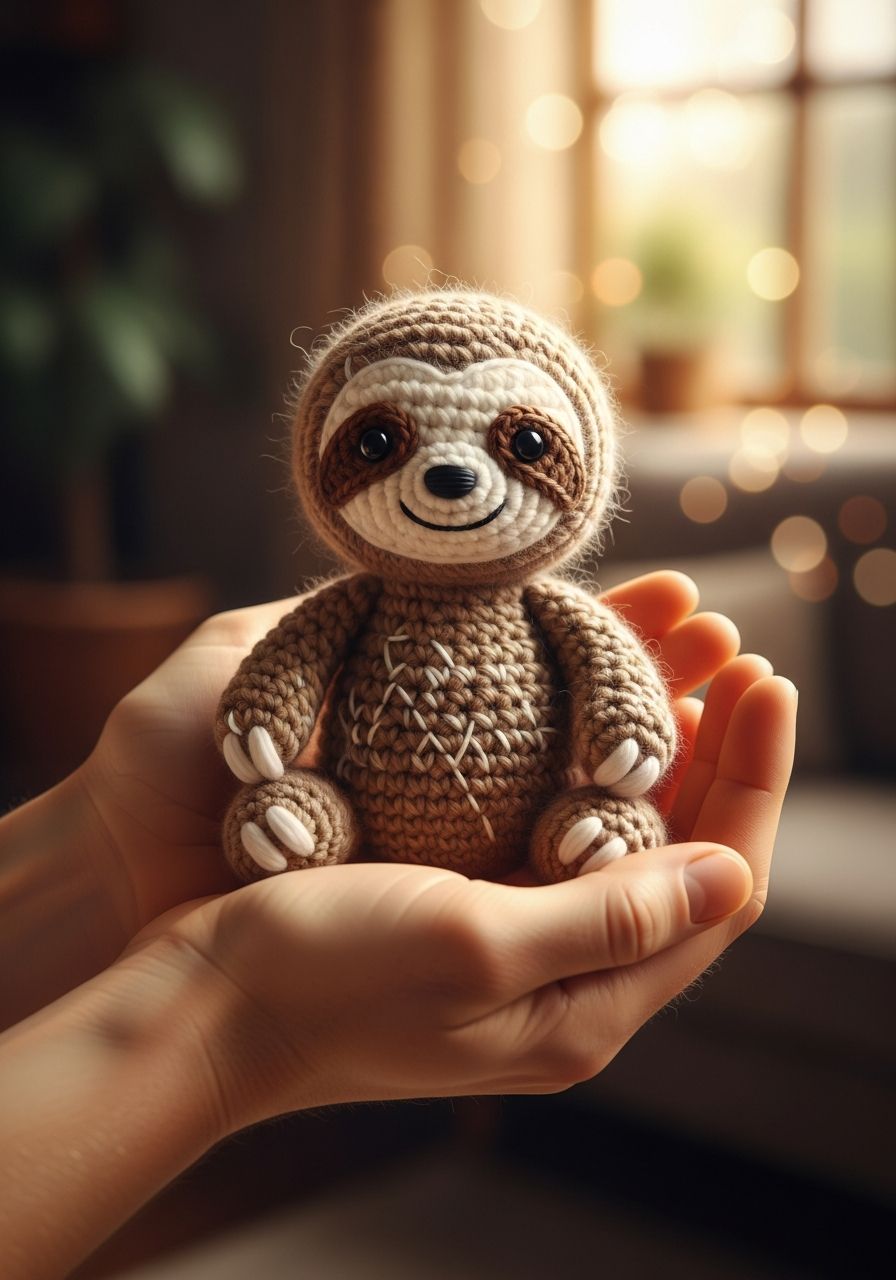
Imagine the pure delight on someone's face as they cradle a soft, sleepy-eyed sloth, lovingly handcrafted by you. There's something undeniably heartwarming about these gentle creatures, and now you can capture their serene charm with our irresistible Crochet Sloth Amigurumi free pattern! Get ready to embark on a wonderfully relaxing journey that culminates in the creation of your very own cuddly, slow-moving companion, perfect for snuggles, gifts, or adding a touch of whimsical cuteness to any space.
Welcome, fellow yarn enthusiasts! Today, we're diving into the enchanting world of amigurumi with a project that's sure to steal your heart: a delightful sloth. This pattern is designed to be accessible for crocheters of various skill levels, offering clear, step-by-step instructions to guide you from your first stitch to the final charming detail. Whether you're looking for a thoughtful handmade gift or simply want to add a new adorable friend to your collection, this sloth will bring a smile to your face with every loop and pull.
Why You'll Love This Pattern
- Irresistibly Cute: The design is crafted to capture the sloth's gentle, sleepy expression, making it an instant favorite.
- Relaxing Project: Amigurumi is known for its meditative qualities. Get lost in the rhythm of stitches and create something beautiful.
- Perfect for Gifting: Handmade gifts are always cherished. This sloth makes an excellent present for birthdays, baby showers, or just because!
- Skill-Building: While beginner-friendly, this pattern offers opportunities to practice essential amigurumi techniques like working in the round, increasing, decreasing, and seamless assembly.
- Customizable: Easily change yarn colors, add accessories, or embroider different facial expressions to make your sloth uniquely yours.
Materials Needed
- Yarn: Worsted weight (Aran/10-ply) 100% acrylic yarn in the following colors:
- Main Color (MC): Light Brown/Tan (approx. 100g)
- Accent Color (AC1): Cream/Beige (approx. 30g)
- Accent Color (AC2): Dark Brown (approx. 10g)
- Crochet Hook: 3.5mm (E/4) or size needed to achieve tight stitches
- Safety Eyes: Two 8mm safety eyes
- Stuffing: Polyester fiberfill
- Tapestry Needle: For weaving in ends and assembly
- Stitch Marker: To mark the beginning of rounds
- Scissors: For cutting yarn
- Embroidery Floss (optional): Black for mouth details
Gauge & Sizing
Gauge is not critical for this project, but it will affect the final size of your sloth. The key is to crochet tightly enough so that the stuffing does not show through the stitches. If your stitches are too loose, try going down a hook size. Using the recommended yarn and hook, your finished sloth should stand approximately 8-9 inches (20-23 cm) tall.
Abbreviations
- ch: Chain
- sc: Single Crochet
- hdc: Half Double Crochet
- dc: Double Crochet
- sl st: Slip Stitch
- inc: Increase (2 sc in next stitch)
- dec: Decrease (sc2tog - single crochet two stitches together)
- MR: Magic Ring
- FO: Fasten Off
- ( ): Repeat instructions in parentheses the specified number of times
- [ ]: Total number of stitches at the end of the round
Step-by-Step Pattern
We'll be working in continuous rounds unless otherwise specified. Use a stitch marker to keep track of your first stitch in each round.
Body (MC: Light Brown)
- MR 6 sc [6]
- Inc in each st around [12]
- (Sc 1, inc) x6 [18]
- (Sc 2, inc) x6 [24]
- (Sc 3, inc) x6 [30]
- (Sc 4, inc) x6 [36]
- (Sc 5, inc) x6 [42]
- (Sc 6, inc) x6 [48]
- Sc in each st around for 10 rounds (Rounds 9-18) [48]
- (Sc 6, dec) x6 [42]
- (Sc 5, dec) x6 [36]
- (Sc 4, dec) x6 [30]
- (Sc 3, dec) x6 [24]
- Start stuffing firmly. (Sc 2, dec) x6 [18]
- (Sc 1, dec) x6 [12]
- Dec in each st around [6]
- FO, leaving a long tail for sewing. Finish stuffing and close the hole using the tail and a tapestry needle.
Head (MC: Light Brown)
- MR 6 sc [6]
- Inc in each st around [12]
- (Sc 1, inc) x6 [18]
- (Sc 2, inc) x6 [24]
- (Sc 3, inc) x6 [30]
- (Sc 4, inc) x6 [36]
- (Sc 5, inc) x6 [42]
- Sc in each st around for 8 rounds (Rounds 8-15) [42]
- (Sc 5, dec) x6 [36]
- (Sc 4, dec) x6 [30]
- Start stuffing firmly. (Sc 3, dec) x6 [24]
- (Sc 2, dec) x6 [18]
- FO, leaving a long tail for sewing. Finish stuffing.
Face Patch (AC1: Cream)
- Ch 7.
- Starting in the 2nd ch from hook: sc 5, 3 sc in last ch. Turn to work along the other side of the chain: sc 4, 2 sc in the last ch. [14]
- Inc, sc 4, inc x3, sc 4, inc x2 [20]
- (Sc 1, inc) x2, sc 4, (sc 1, inc) x3, sc 4, (sc 1, inc) x2 [27]
- Sc in each st around [27]
- Sl st, FO, leaving a long tail for sewing.
- Place safety eyes between Rounds 3 and 4 of the face patch, approximately 5-6 stitches apart.
Arms (Make 2 - MC: Light Brown)
- MR 6 sc [6]
- (Sc 1, inc) x3 [9]
- Sc in each st around for 12 rounds (Rounds 3-14) [9]
- Stuff lightly, especially the bottom half.
- FO, leaving a long tail for sewing. Flatten the opening and sew shut to create a rounded end.
Legs (Make 2 - MC: Light Brown)
- MR 6 sc [6]
- Inc in each st around [12]
- Sc in each st around for 2 rounds (Rounds 3-4) [12]
- (Sc 2, dec) x3 [9]
- Sc in each st around for 8 rounds (Rounds 6-13) [9]
- Stuff lightly, especially the bottom half.
- FO, leaving a long tail for sewing. Flatten the opening and sew shut to create a rounded end.
Assembly
- Attach Face Patch: Position the cream face patch on the head. The top edge of the patch should be roughly between rounds 10-12 of the head (counting from the magic ring). Sew securely around the edges.
- Embroider Nose and Mouth: Using AC2 (Dark Brown) yarn or black embroidery floss, embroider a small upside-down 'V' or a straight line for the mouth, centered below the eyes. For the nose, embroider a small triangle shape above the mouth.
- Attach Head to Body: Firmly sew the head to the top of the body, ensuring it's centered and upright. Use the long tail from the head.
- Attach Arms: Position the arms on either side of the body, just below the neck seam. Sew securely.
- Attach Legs: Position the legs on the bottom of the body, towards the front, so the sloth can sit nicely. Sew securely.
- Add Claws (Optional): With AC2 (Dark Brown) yarn, embroider small stitches at the ends of the arms and legs to represent claws.
- Weave in Ends: Carefully weave in any remaining loose ends to hide them within the amigurumi.
Pro Tips
- Invisible Decrease: For a cleaner look, use the invisible decrease method (insert hook into front loop of next stitch, then into front loop of following stitch, yarn over, pull through both loops, yarn over, pull through both loops).
- Stuffing Smart: Stuff your amigurumi firmly but evenly. Use small pieces of fiberfill to avoid lumps. Stuff as you go, especially in smaller parts, to ensure good shaping.
- Stitch Marker is Your Best Friend: Never crochet in the round without a stitch marker! It's crucial for keeping track of your rounds and preventing mistakes.
- Seamless Join: When fastening off and closing a piece, thread the tail through the front loop of each remaining stitch, pull tight to close, and then weave the tail through the center and out a different spot before trimming.
- Yarn Tails for Sewing: Always leave a long tail (at least 12-15 inches) when fastening off a piece that needs to be sewn onto another. This saves you from having to attach new yarn.
Frequently Asked Questions
Can I use a different yarn weight?
Yes, absolutely! You can use any yarn weight you prefer. Just be sure to adjust your hook size accordingly. A thicker yarn will result in a larger sloth, and a thinner yarn will make a smaller one. The key is to ensure your stitches are tight enough so the stuffing doesn't show through.
How do I make the sloth poseable?
To make your sloth poseable, you can insert craft wire or pipe cleaners into the arms and legs before stuffing. Be sure to bend the ends of the wire into small loops or cover them with electrical tape to prevent them from poking through the fabric or stuffing. This is an advanced technique and requires caution, especially if the toy is for a child.
Is this pattern suitable for beginners?
This pattern is suitable for adventurous beginners who are comfortable with basic stitches (single crochet, increases, decreases) and working in the round. The step-by-step instructions and detailed assembly guide will help you through each stage. Don't be afraid to try it; amigurumi is incredibly rewarding!
And there you have it – your very own adorable, slow-moving companion, ready to bring endless smiles! Crocheting amigurumi is a journey of patience and creativity, and the joy of seeing your stitches transform into a beloved character is truly unmatched. We hope you've enjoyed bringing this sweet sloth to life as much as we enjoyed designing the pattern for you. Happy crocheting!