Imagine pouring hours into a beautiful handmade sweater, only to try it on and find it either swallows you whole or won't even fit over your head. Or perhaps you've created an adorable amigurumi, only to realize it's twice the size you intended! This heartbreaking scenario is all too common for new crocheters, but it doesn't have to be your story. What if you could confidently create projects that fit perfectly, every single time, whether it's a cozy blanket, a stylish garment, or a cute toy? With our comprehensive crochet sizing guide, you'll unlock the secrets to consistent, professional-looking results, transforming your crochet journey from frustrating guesswork into pure creative joy. Get ready to crochet with confidence and create pieces you'll truly love and be proud to share!
Welcome, budding crocheter, to the essential world of crochet sizing! This guide is designed to equip you with the fundamental knowledge and practical techniques needed to ensure your crochet projects turn out exactly as you envision them. We'll cover everything from understanding yarn weights and hook sizes to mastering gauge and making crucial adjustments, empowering you to tackle any pattern with newfound precision.
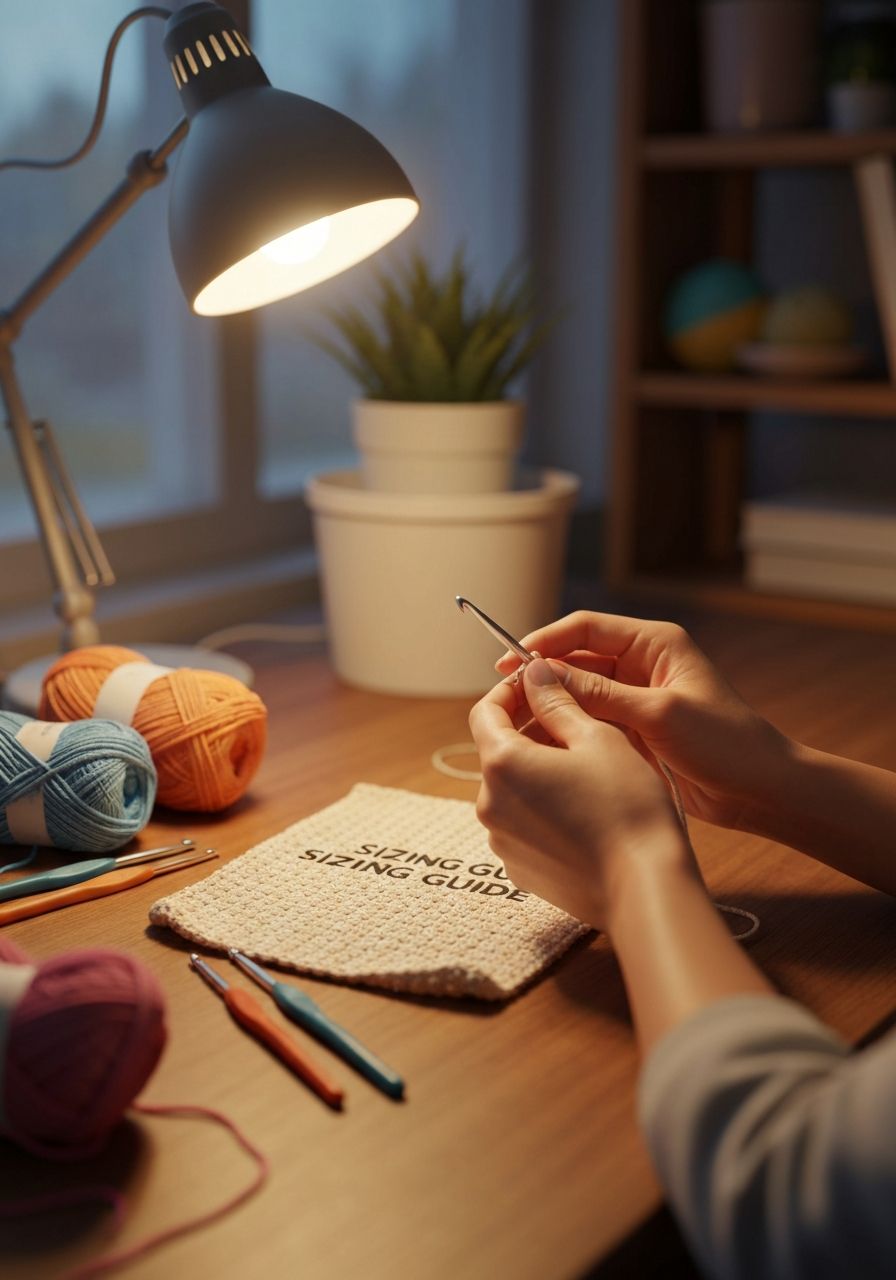
Why It Matters
Why should you care about getting the size right? Because it's the difference between a treasured handmade item and a forgotten UFO (Unfinished Object). Investing a little time upfront in understanding sizing will save you hours of frustration and wasted yarn in the long run.
- Comfort & Wearability: A garment that fits well is comfortable, allows for movement, and looks flattering. A blanket that's the right size covers you perfectly without dragging on the floor.
- Aesthetics & Design Integrity: Sizing ensures the designer's vision is maintained. Stitch patterns look right, proportions are correct, and decorative elements fall where they should.
- Saving Time & Yarn: Avoiding frogging (unraveling) ill-sized projects saves precious time and expensive yarn, making your crafting more efficient and enjoyable.
- Confidence in Customization: Once you understand sizing, you can confidently adjust patterns to fit unique body shapes, substitute yarns, or even begin to design your own creations.
- Gifting Success: Ensure your handmade gifts fit the recipient perfectly, making them even more special and truly appreciated.
What You Need to Know
Before you even pick up your hook for a new project, there are a few foundational concepts you need to grasp.
Yarn Weights
Yarn comes in various thicknesses, known as 'weights,' which significantly impact the final size and drape of your project. Common categories range from delicate 'Lace' to super chunky 'Jumbo.' A pattern will always recommend a specific yarn weight (e.g., Worsted, DK, Fingering). Using a different weight without adjusting your pattern or hook will drastically change your project's size.
Hook Sizes
Crochet hooks also come in a wide array of sizes, typically measured in millimeters (mm) and often accompanied by a US letter or number (e.g., 4.0mm / G-6). The hook size determines how loose or tight your stitches will be, directly affecting the fabric's density and, consequently, the overall size of your work. A larger hook creates looser stitches and a larger fabric, while a smaller hook creates tighter stitches and a smaller fabric.
Gauge
This is arguably the most critical concept in crochet sizing. Gauge refers to the number of stitches and rows you create within a specific measurement (e.g., 4 inches or 10 cm) using a particular yarn, hook, and stitch pattern. Every crocheter has a unique 'tension' – how tightly or loosely they hold their yarn and work their stitches. Even with the same yarn and hook, your tension might differ from the pattern designer's, leading to a different gauge. If your gauge doesn't match the pattern's, your project won't be the same size.
Measurements
Whether you're making a garment, a blanket, or an amigurumi, knowing the desired final dimensions is crucial. For garments, this means understanding key body measurements like bust, waist, hips, and length. For other projects, it's about the intended width, height, or circumference.
Mastering Crochet Sizing: A Step-by-Step Approach
Let's put these concepts into practice. This systematic approach will guide you to perfectly sized projects.
Step 1: Understand Your Pattern's Requirements
Before you even start, read the entire pattern carefully. Pay close attention to:
- Suggested Yarn Weight: The specific type and weight of yarn the designer used.
- Recommended Hook Size: The hook size used to achieve the pattern's intended gauge.
- Crucially, the Gauge: This will be stated as something like: "16 single crochet (sc) and 18 rows = 4 inches (10 cm) using a 4.0mm (G-6) hook." Note both the stitch and row count.
Step 2: Make a Gauge Swatch
This is the most important step you should NEVER skip! A gauge swatch is a small sample of fabric you crochet using the pattern's specified yarn, hook, and main stitch pattern.
- Chain and Work: If the pattern states a gauge for single crochet (sc), you'll make a sc swatch. To achieve a 4" x 4" gauge swatch, it's best to create a sample slightly larger. For example, if the pattern gauge is 16 sc per 4 inches, you might: Chain 20 stitches (this gives you enough extra stitches beyond the 16 for a clean measurement).
- Row 1: Sc in 2nd chain from hook and in each chain across. (19 sc)
- Ch 1, turn.
- Row 2-22: Sc in each sc across. (19 sc)
- Work Enough Rows: Continue working enough rows to create a square larger than 4" x 4", allowing for accurate measurement in the center.
- Finish: Fasten off and lightly block your swatch if your final project will be washed or blocked. This helps to relax the stitches and show the true drape of the fabric.
Step 3: Measure Your Gauge Swatch
Once your swatch is complete and relaxed (or blocked), it's time to measure:
- Use a Ruler or Gauge Tool: Lay your swatch flat on a hard surface.
- Measure in the Middle: Place your ruler over the middle of the swatch, avoiding the edges which can be inconsistent.
- Count Stitches: Count how many stitches fit horizontally across a 4-inch (or 10 cm) section.
- Count Rows: Count how many rows fit vertically within a 4-inch (or 10 cm) section.
- Compare: Write down your stitch and row counts and compare them to the pattern's stated gauge.
Step 4: Adjusting Your Hook Size
This is where you match your tension to the pattern's gauge.
- If your swatch has TOO MANY stitches/rows (your fabric is too small): Your tension is tighter than the designer's. Go UP a hook size (e.g., from 4.0mm to 4.5mm). This will create looser stitches and a larger fabric.
- If your swatch has TOO FEW stitches/rows (your fabric is too big): Your tension is looser than the designer's. Go DOWN a hook size (e.g., from 4.0mm to 3.5mm). This will create tighter stitches and a smaller fabric.
Repeat Step 2 and 3 with your new hook until your gauge swatch matches the pattern's gauge as closely as possible. It's okay if it takes a few tries!
Step 5: Taking Body Measurements (for garments)
For wearable items, your own measurements are paramount. Use a flexible tape measure and measure directly against your body, but not too tightly.
- Bust/Chest: Measure around the fullest part of your bust/chest.
- Waist: Measure around the narrowest part of your torso.
- Hips: Measure around the fullest part of your hips/derriere.
- Length: From shoulder to desired hem for tops, or waist to desired hem for skirts.
- Sleeve Length: From shoulder to wrist, or desired sleeve length.
Compare these to the pattern's sizing chart or schematic. If your measurements fall between sizes, consider if you prefer a looser (positive ease) or tighter (negative ease) fit.
Step 6: Making Pattern Adjustments (if needed)
Even with perfect gauge, you might need to make minor adjustments. For instance, if your row gauge is slightly off but your stitch gauge is perfect, you might need to work more or fewer rows to achieve the desired length. For items like blankets, if your gauge is off by a small amount, you might need to add or subtract a few starting chains to reach your desired width, rather than changing your hook size and affecting the fabric's feel.
Common Mistakes to Avoid
Learning from others' missteps can save you a lot of headache!
- Skipping the Gauge Swatch: This is the number one mistake. It's not a suggestion; it's a requirement for accurate sizing.
- Measuring a Curled or Unblocked Swatch: Unblocked swatches, especially those in stockinette-like stitches (like single crochet), often curl. Blocking (wetting and shaping) reveals the true dimensions.
- Measuring Too Close to the Edges: The first and last few stitches/rows of a swatch can be inconsistent. Always measure in the middle.
- Not Checking Gauge with the Actual Yarn: Different brands, even of the same weight, can vary. Always use the yarn you intend for the project.
- Assuming Personal Tension is Consistent: Your tension can change based on your mood, the time of day, or even the stitch type (your tension with a double crochet might differ from a single crochet).
- Ignoring Row Gauge: While stitch gauge determines width, row gauge is crucial for length, especially in garments.
Pro Tips
- Always Wash and Block Your Swatch: If your finished project will be washed or blocked, always do the same to your swatch first. Yarn can change significantly after washing.
- Keep a Crochet Journal: Note down your gauge for different yarns and hooks. This creates a valuable personal reference.
- Measure Frequently As You Crochet: For larger projects, especially garments, periodically measure your work against the pattern schematic or your body.
- Don't Be Afraid to Size Up or Down Hooks: Even if a pattern recommends a certain size, your hook choice should ultimately be dictated by your gauge swatch.
- Use Stitch Markers: They're invaluable for counting rows or repeats, especially when making adjustments.
- Understand Ease: Decide if you want 'positive ease' (project is larger than your body for a relaxed fit) or 'negative ease' (project is smaller and stretches to fit for a snug fit).
- When in Doubt, Go Slightly Larger: For garments, it's often easier to make a project slightly larger and take it in (if the design allows) than to try and add fabric to a too-small item.
Frequently Asked Questions
Q: My gauge is slightly off, but close. Is that okay?
A: For non-fitted items like blankets, scarves, or dishcloths, a slight difference might be perfectly acceptable and not noticeably impact the final result. However, for garments, amigurumi, or any item where precise dimensions are crucial, even a small gauge difference can significantly alter the fit or appearance. Always aim for precise gauge for critical projects.
Q: What if I can't get the stitch and row gauge to match?
A: This is a common challenge! Often, one will be closer than the other. Prioritize the most critical measurement for your project. For width-dependent items (like most blankets or scarves), prioritize stitch gauge. For length-dependent items (like sweaters, cardigans, or anything with specific shaping), row gauge is equally important. Sometimes, you might need to accept a slight difference and adjust the number of rows or stitches in the pattern to compensate, or even try a different yarn.
Q: Can I substitute yarn if my gauge is off?
A: If your gauge is significantly off with the recommended hook and you've tried adjusting your hook size, trying a different yarn of a similar weight (or even slightly different weight) can sometimes help. However, the best approach is typically to stick to the recommended yarn weight and adjust your hook size first. Always remember that substituting yarn requires a new gauge swatch!
Mastering crochet sizing is a powerful skill that will elevate your crafting to new heights. It transforms potential frustration into consistent success and opens up a world of creative possibilities. By understanding gauge, taking accurate measurements, and confidently adjusting your hook, you'll create beautiful, perfectly fitting pieces every time. So grab your hook, make that swatch, and embark on a joyful journey of precise and stunning crochet!