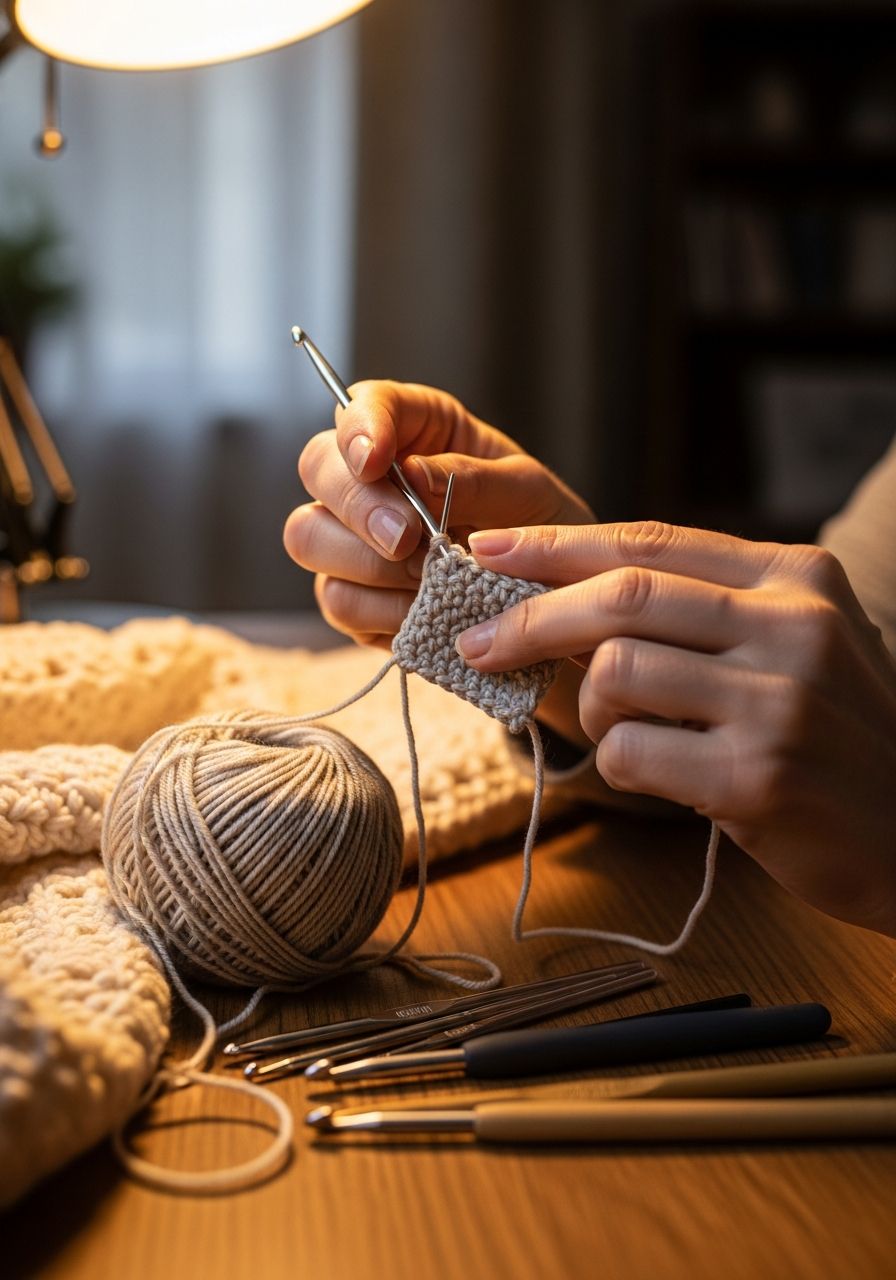
Imagine the joy of holding a tiny, adorable amigurumi you've crafted with your own hands, or wrapping yourself in a cozy, textured blanket that took shape stitch by stitch. That incredible feeling of creation, of turning a simple strand of yarn into something tangible and beautiful, begins with mastering the very first building block of countless crochet projects: the single crochet stitch. It's more than just a stitch; it's your gateway to a world of endless possibilities, a meditative rhythm, and the profound satisfaction of making.
The single crochet (abbreviated as "sc") is perhaps the most fundamental and versatile stitch in the entire crochet repertoire. Often the first stitch new crocheters learn after the chain stitch, it forms a dense, sturdy fabric that's perfect for a wide array of projects, from intricate amigurumi toys to durable bags, cozy scarves, and even structured garments. Understanding and perfecting the single crochet will lay a solid foundation for every other stitch you'll encounter on your crochet journey, making it an essential skill for any aspiring crafter.
Why It Matters
The single crochet stitch isn't just a basic step; it's a cornerstone for several compelling reasons:
- Foundation for Other Stitches: Once you master the single crochet, you'll find it much easier to learn taller stitches like half double crochet (hdc), double crochet (dc), and treble crochet. The mechanics of yarning over and pulling through loops are very similar, just with additional steps.
- Dense and Sturdy Fabric: Single crochet creates a tight, compact fabric that is incredibly durable. This makes it ideal for projects that need to hold their shape, such as baskets, bags, toys (amigurumi), and even garments that require minimal drape.
- Perfect for Amigurumi: If you dream of crocheting cute animals, characters, and food items, the single crochet will be your best friend. Its dense nature ensures stuffing doesn't show through, and its small size allows for detailed shaping.
- Texture and Definition: The neat, uniform rows of single crochet can create beautiful textures, especially when worked in different colors or with variegated yarns. It offers a clean, defined look that many crafters adore.
- Mindful and Meditative: The repetitive motion of single crocheting can be incredibly soothing and meditative. It's a wonderful way to unwind, practice mindfulness, and create something beautiful at the same time.
- Versatility: From simple dishcloths to complex garments, the single crochet can be adapted to almost any project, making it an indispensable tool in your crochet arsenal.
What You Need to Know Before You Start
Before you dive into making your first single crochet stitch, let's quickly cover the essentials you'll need and a couple of prerequisite skills.
- Yarn: For beginners, a smooth, light-colored worsted weight (or Aran weight) yarn is highly recommended. Avoid dark colors or highly textured yarns, as they can make it difficult to see your stitches. Acrylic or cotton blends are great choices.
- Crochet Hook: The yarn label will usually suggest a hook size. For worsted weight yarn, a H/5.0mm or I/5.5mm hook is a common starting point. Make sure your hook feels comfortable in your hand.
- Scissors: For cutting yarn tails.
- Tapestry Needle: For weaving in ends.
- Basic Skills: You should be familiar with creating a slip knot and making a chain stitch (ch). If not, take a moment to learn these first, as they form the foundation for your single crochet rows.
Your First Stitches: A Step-by-Step Guide to the Single Crochet
Let's get your hands on that hook and yarn! We'll start with the foundational steps and then move into the single crochet itself.
Making a Slip Knot
This is how you attach the yarn to your hook to begin. Create a loop, insert your hook into the loop, yarn over, and pull a loop through. Pull the tail end to tighten the knot around your hook, but not too tightly.
Chaining Your Foundation
Once you have your slip knot, you'll make a series of chain stitches. These form your foundation row into which you'll work your first single crochet stitches.
- Yarn over (wrap the yarn from back to front over your hook).
- Pull the yarn through the loop on your hook. You've made one chain stitch!
- Repeat this process until you have a chain of about 11 stitches. We'll use 10 for our practice swatch, plus one extra for the turning chain.
The Single Crochet Stitch: Step-by-Step
Now that you have your foundation chain, let's learn the single crochet (sc). For this stitch, you will always work into the second chain from the hook. The first chain acts as a "turning chain" and gives your first single crochet stitch some height.
- Identify the second chain from the hook: Count two chains back from the loop currently on your hook.
- Insert Hook: Insert your crochet hook into the center of the second chain stitch from the hook. You should see two loops of the chain on top of your hook.
- Yarn Over (YO): Wrap the yarn from back to front over your hook.
- Pull Up a Loop: Draw the yarn through the chain stitch. You now have two loops on your hook.
- Yarn Over (YO) Again: Wrap the yarn from back to front over your hook once more.
- Pull Through Both Loops: Draw the yarn through both loops on your hook.
Congratulations! You've just made your first single crochet stitch!
Practicing Your First Row
Now, repeat the single crochet stitch in each remaining chain stitch across your foundation chain.
- Continue inserting your hook into the next chain, yarn over, pull up a loop, yarn over, pull through both loops.
- When you reach the end of your chain, you should have 10 single crochet stitches if you started with 11 chains and worked into the second chain from the hook.
Creating a Single Crochet Swatch
To really get comfortable, let's make a small practice swatch. This will help you understand how to turn your work and build rows.
- Starting Chain: Chain 11 stitches.
- Row 1: Insert hook into the second chain from the hook. Work 1 single crochet (sc) in that chain and in each chain across. You should have 10 sc.
- Turn Your Work: At the end of Row 1, turn your piece over so the back of your work is facing you.
- Chain 1 (Turning Chain): Chain 1. This turning chain does *not* count as a stitch; it simply gives height to your next row.
- Row 2: Work 1 single crochet (sc) into the very first stitch of the previous row (the stitch directly below your turning chain). Continue to work 1 sc in each stitch across. You should still have 10 sc.
- Repeat: Chain 1, turn, and repeat Row 2 for a total of 8-10 rows, or until your swatch is a small square.
As you work, observe your stitches. Are they even? Is your fabric straight? Don't worry if it's not perfect initially; consistency comes with practice!
Common Mistakes to Avoid
Learning anything new comes with its challenges. Here are some common pitfalls new single crocheters encounter and how to avoid them:
- Inconsistent Tension: Your stitches might be too tight (making it hard to insert your hook) or too loose (creating a gappy fabric). Try to maintain a relaxed grip on your yarn and hook. Practice is key to finding your comfortable tension.
- Missing Stitches at the End of Rows: It's easy to accidentally skip the last stitch or add an extra one. Always count your stitches at the end of each row to ensure your stitch count remains consistent and your edges stay straight. Using a stitch marker in your first and last stitch can be very helpful.
- Incorrect Turning Chain: For single crochet, you typically chain 1 at the end of a row before turning, and this chain does not count as a stitch. If you chain too many, your edges will become wavy; if you chain too few or not at all, your fabric will pull tight.
- Working into the Wrong Part of the Stitch: When working into a previous row, you'll see a "V" shape at the top of each stitch. You should insert your hook under both loops of the "V" for a standard single crochet. Accidentally going into only one loop will create a different texture and potentially weaken your fabric.
- Twisted Chains: When you start your first row of single crochet into your foundation chain, make sure your chain isn't twisted. It should lie flat, allowing you to easily work into the top "V" of each chain.
Pro Tips for Perfect Single Crochet
Ready to elevate your single crochet game? Here are some expert tips to help you along:
- Count, Count, Count: This cannot be stressed enough. Counting your stitches at the end of every row will save you immense frustration later on. Use stitch markers to mark the first and last stitch of each row, especially when you're just starting.
- Practice Makes Progress: Don't expect perfection on your first attempt. Crochet is a skill that improves with muscle memory. Dedicate time each day to practice, even if it's just 15-20 minutes.
- Experiment with Hook Sizes: While yarn labels suggest a hook size, feel free to experiment. A slightly larger hook might make your stitches looser and easier to work into, while a smaller hook creates a denser fabric. Your personal tension will influence this.
- Watch Videos: Sometimes seeing a stitch in action makes all the difference. Numerous online tutorials can visually guide you through the single crochet stitch and troubleshoot common issues.
- Learn to Read Your Stitches: As you practice, try to identify the "V" shape of each stitch, the front loop, and the back loop. Understanding stitch anatomy will make following patterns much easier.
- Don't Be Afraid to Undo: It's called "frogging" in crochet (because you "rip it, rip it!"). If a row isn't looking right, don't hesitate to pull out your stitches and try again. It's part of the learning process!
Frequently Asked Questions About Single Crochet
What can I make with single crochet?
The possibilities are vast! Single crochet is ideal for projects that require a dense, sturdy fabric. Think amigurumi (stuffed toys), durable bags, baskets, washcloths, potholders, scarves, and even blankets or garments where you want a tight, warm fabric with minimal drape. It's also the base for many textured stitch patterns.
Why is my single crochet fabric so stiff?
Stiffness usually comes down to tension and hook size. If your stitches are very tight, your fabric will be rigid. Try using a larger hook size than recommended for your yarn, or consciously try to relax your grip on both the yarn and the hook. Some yarns (like cotton) are also naturally less drapey than others.
How do I make my single crochet stitches even and uniform?
Consistency is key! This comes primarily with practice and developing consistent tension. Ensure you're always inserting your hook into the same part of the previous stitch (under both loops) and that your turning chains are consistent. Try to maintain a relaxed, even pull on your working yarn. Don't be discouraged if it takes time; everyone's stitches look a bit different initially.
And there you have it – your complete guide to mastering the single crochet stitch! This foundational stitch is truly a superpower in the world of crochet, opening doors to an incredible array of projects and creative expression. Be patient with yourself, embrace the learning process, and most importantly, enjoy the journey of bringing beautiful, handmade creations to life. Keep practicing, and soon you'll be single crocheting with confidence and ease, ready to tackle your next crochet adventure!