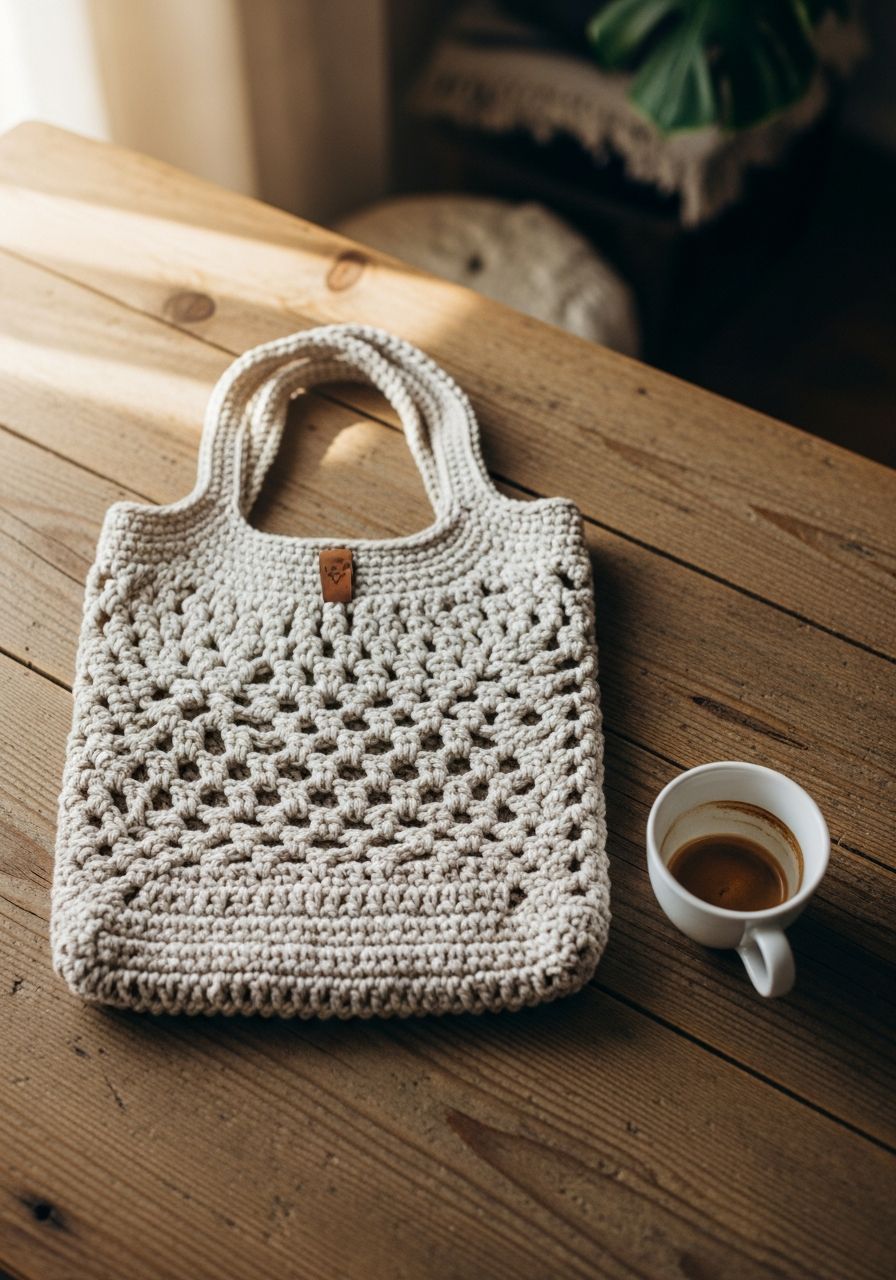
Imagine strolling through the farmer's market, your beautiful, handmade **crochet shopping bag** slung over your shoulder, brimming with fresh produce. Feel the pride of creating something both practical and stunning, knowing you're making an eco-conscious choice that reduces plastic waste. This isn't just a pattern; it's your invitation to craft a durable, stylish, and sustainable accessory that will draw compliments and spark joy with every use. Get ready to fall in love with your next favorite project!
Welcome, fellow yarn enthusiasts! Today, we're diving into a project that combines your love for crochet with a passion for sustainability: a versatile and sturdy crochet shopping bag. This free pattern is designed to be accessible for intermediate crocheters, but confident beginners with a good grasp of basic stitches can certainly tackle it. We'll walk through every step, from creating a solid base to crafting comfortable handles, ensuring your finished bag is not only beautiful but also built to last through countless shopping trips.
Why You'll Love This Pattern
- Eco-Friendly & Sustainable: Say goodbye to single-use plastic bags! Your handmade bag is reusable, washable, and helps reduce your environmental footprint.
- Customizable Style: Choose your favorite yarn colors and fibers to create a bag that perfectly matches your personal aesthetic. From vibrant hues to earthy tones, the possibilities are endless.
- Durable & Practical: Designed with a sturdy base and a flexible mesh body, this bag can comfortably carry your groceries, market finds, or everyday essentials.
- Rewarding Project: There's immense satisfaction in creating something functional with your own hands. Plus, it makes a fantastic gift for friends and family!
- Skill-Building: This pattern offers a great opportunity to practice foundational stitches like single crochet and double crochet, along with working in the round and creating handle attachments.
Materials Needed
- Yarn: Approximately 400-500 yards of Aran/Worsted weight (Category 4) cotton or cotton blend yarn. Cotton is recommended for its durability, strength, and washability. Choose a sturdy brand like Lily Sugar'n Cream or similar. (Example: 2 skeins of 200-250 yards each).
- Crochet Hook: 5.0 mm (H-8) or size needed to obtain gauge.
- Yarn Needle: For weaving in ends.
- Stitch Markers: At least 2, for marking rounds and handle placement.
- Scissors: For cutting yarn.
Gauge & Sizing
Gauge: 13 sc and 15 rows = 4 inches (10 cm) using 5.0 mm hook.
It's crucial to check your gauge, especially for the base of the bag, to ensure your bag doesn't end up too small or too large, and that it has the intended sturdiness. If your swatch is too small, try a larger hook; if it's too large, try a smaller hook.
Finished Size (approximate):
- Base: 12 inches (30 cm) long x 4 inches (10 cm) wide
- Height (without handles): 13 inches (33 cm)
- Handle Drop: 10 inches (25 cm)
Abbreviations
- ch: chain
- sl st: slip stitch
- sc: single crochet
- hdc: half double crochet
- dc: double crochet
- inc: increase (2 sc in the same stitch)
- st(s): stitch(es)
- sk: skip
- BLO: back loop only
- fo: fasten off
Step-by-Step Pattern
This pattern is worked in continuous rounds for the base, then joined rounds for the body and handles. Use a stitch marker to mark the first stitch of each round.
The Base
We'll create a sturdy oval base for your bag.
- Ch 31.
- Round 1: Sc in 2nd ch from hook, sc in next 28 ch, 3 sc in the last ch. Rotate your work to crochet along the other side of the starting chain. Sc in next 28 ch, 2 sc in the last ch. Do NOT join. (62 sts)
- Round 2: 2 sc in first st (inc), sc in next 28 sts, 2 sc in next 3 sts (3 inc), sc in next 28 sts, 2 sc in next 2 sts (2 inc). Do NOT join. (68 sts)
- Round 3: Sc in each st around. Do NOT join. (68 sts)
- Round 4: Working in the BLO for this round, sc in each st around. Join with a sl st to the first sc of the round. (68 sts) This creates a nice defined edge for the base.
The Body
Now we'll build up the sides of the bag with a combination of solid and openwork stitches.
- Round 5: Ch 1 (does not count as a stitch), sc in each st around. Join with a sl st to the first sc. (68 sc)
- Round 6-8: Repeat Round 5. (3 rounds total of sc)
- Round 9: Ch 3 (counts as first dc), dc in each st around. Join with a sl st to the top of the beginning ch 3. (68 dc)
- Round 10: Ch 3 (counts as first dc), *ch 1, sk next st, dc in next st*. Repeat from * around, ending with ch 1, sk last st. Join with a sl st to the top of the beginning ch 3. (34 dc, 34 ch-1 spaces)
- Round 11-25: Repeat Round 10. (15 rounds total of mesh pattern, or continue for desired height).
- Round 26: Ch 1, sc in each dc and each ch-1 space around. Join with a sl st to the first sc. (68 sc)
- Round 27-28: Ch 1, sc in each st around. Join with a sl st to the first sc. (68 sc)
The Handles
Time to add the comfortable and strong handles.
- Round 29 (Handle Placement): Ch 1, sc in the first 8 sts. Ch 30 (this forms the first handle). Sk the next 18 sts (these stitches will be the opening for the arm/hand). Sc in the next 16 sts. Ch 30 (this forms the second handle). Sk the next 18 sts. Sc in the last 8 sts. Join with a sl st to the first sc. (16 sc on bag + 60 ch sts = 76 sts in this round)
- Round 30 (Reinforcing Handles): Ch 1, sc in the first 8 sc. Sc in each of the 30 ch sts of the first handle. Sc in the next 16 sc. Sc in each of the 30 ch sts of the second handle. Sc in the last 8 sc. Join with a sl st to the first sc. (92 sc)
- Round 31: Ch 1, sc in each st around. Join with a sl st to the first sc. (92 sc)
- Fasten off and weave in all loose ends securely.
Pro Tips
- Use Stitch Markers Generously: They are your best friend, especially when working in continuous rounds or placing handles. Mark the first stitch of each round and the points where your handles will attach.
- Choose the Right Yarn: Cotton yarn is highly recommended for shopping bags due to its strength, minimal stretch, and ease of washing. Acrylic can work but may stretch more over time. Avoid super stretchy or delicate yarns.
- Tighten Your Stitches (Especially the Base): A slightly tighter tension on the base and the initial sc rounds will create a firmer, more supportive structure for your bag.
- Weave in Ends as You Go: This saves a lot of time and effort at the end of your project. For extra security, split the yarn plies and weave in different directions.
- Wash and Block (Optional): While not strictly necessary for a shopping bag, a gentle wash and block can help even out your stitches and give your bag a more polished look. Always follow your yarn's care instructions.
- Customize Your Height: Feel free to add or subtract rounds from the mesh body section (Rounds 11-25) to achieve your desired bag height. Just make sure to end with an even number of mesh rounds before transitioning to the sc top edge.
Frequently Asked Questions
How do I make my crochet bag stronger and prevent stretching?
The key to a strong, non-stretching bag lies in your yarn choice and tension. Opt for 100% cotton or a cotton blend yarn, as these fibers have less give than acrylic. Using a slightly smaller hook than recommended for your yarn weight can also create a denser fabric, reducing stretch. Additionally, reinforcing the base with extra single crochet rounds and working the first few body rounds in single crochet helps build a solid foundation.
Can I use a different stitch pattern for the body?
Absolutely! This pattern uses a simple dc mesh for a balance of drape and strength, but you can certainly substitute it with another openwork or solid stitch pattern. Just ensure your chosen pattern maintains the stitch count or adjusts it evenly. If using a solid stitch, remember it will use more yarn and create a heavier, less flexible bag. Always do a swatch to check how your chosen stitch pattern affects the overall size and drape.
What if my handles feel too flimsy?
If you find your handles aren't as sturdy as you'd like, there are a few solutions. You can add more rounds of single crochet to the handles (e.g., Round 31, repeat it a couple more times). Alternatively, you can make the initial chain for the handle wider (e.g., ch 35 instead of ch 30) or work the handle stitches in half double crochet or single crochet in BLO for added density. Another option is to line the handles with a sturdy fabric or add a core of cording before crocheting around it.
And there you have it – your very own handmade **crochet shopping bag**! This project is more than just a craft; it's a statement, a step towards a more sustainable lifestyle, and a testament to your creativity. Enjoy filling it with your treasures, knowing that every stitch was made with care. Happy crocheting!