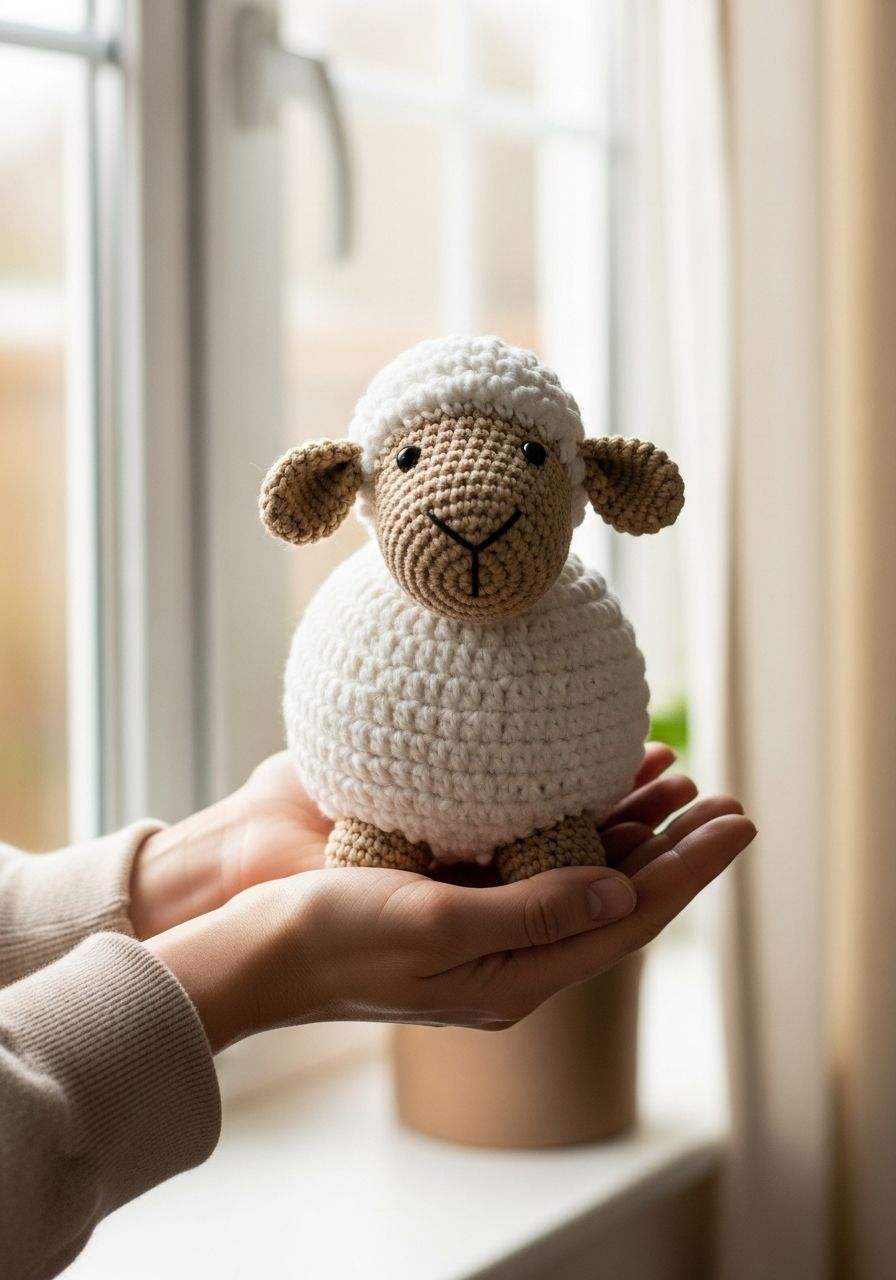
Imagine holding a cloud in your hands, a soft, cuddly friend with a sweet face and tiny legs, ready to bring a smile to anyone's day. That’s exactly the joy waiting for you with this delightful Crochet Sheep Amigurumi pattern! Whether you're looking for the perfect handmade gift, a charming nursery decoration, or simply a fun, rewarding project to unwind with, this little lamb will steal your heart from the first stitch. Get ready to create a flock of these adorable creatures – they're so irresistible, you won't be able to make just one!
Welcome, fellow yarn enthusiasts, to a pattern that's as charming as it is satisfying to create! This article guides you through crafting your very own plush sheep, complete with a fluffy body, expressive face, and all the tiny details that make amigurumi so captivating. I’ve poured my love for crochet into designing a pattern that is not only easy to follow but also results in an irresistibly cute finished project. Let's gather our hooks and yarn and embark on this woolly adventure together!
Why You'll Love This Pattern
- Beginner-Friendly: While it looks detailed, this pattern primarily uses basic crochet stitches, making it accessible for those new to amigurumi. Clear instructions and stitch counts ensure a smooth crafting journey.
- Quick to Create: Each component is relatively small, allowing you to whip up this charming sheep in a weekend, or even a few evenings, making it perfect for last-minute gifts.
- Endlessly Adorable: The design focuses on classic sheep features, resulting in a timeless and universally loved plush toy. Its sweet expression and textured body are simply heartwarming.
- Customizable: Easily adapt the pattern by choosing different yarn colors for a unique sheep, or even adding a tiny bell or ribbon for extra flair.
- Perfect for Gifting: Handmade gifts carry so much love. This crochet sheep makes an excellent present for baby showers, birthdays, holidays, or just because!
Materials Needed
- Yarn:
- Worsted weight (Aran/10-ply) yarn in White (or cream/off-white) for the body – approximately 100g. Using a textured yarn like boucle or chenille can enhance the fluffy look.
- Worsted weight (Aran/10-ply) yarn in Beige/Light Brown for the head, ears, and legs – approximately 30g.
- Small amount of Black embroidery floss for the nose/mouth (optional).
- Crochet Hook: 3.5mm (E/4)
- Safety Eyes: Two 6mm black safety eyes (or embroider eyes for young children)
- Stuffing: Polyester fiberfill
- Tapestry Needle: For sewing parts together and weaving in ends
- Stitch Markers: Essential for working in continuous rounds
- Scissors: For cutting yarn
Gauge & Sizing
For amigurumi, exact gauge isn't critical, but consistency in your tension is key to achieving the intended size and look. Work tightly enough so that the stuffing doesn't show through your stitches. If your stitches are too loose, go down a hook size.
Gauge (approximate): 5 single crochet stitches and 5 rounds = 1 inch (2.5 cm) using a 3.5mm hook.
Finished Size (approximate): When completed with the recommended yarn and hook, your sheep will stand approximately 6-7 inches (15-18 cm) tall.
Abbreviations
- ch: Chain
- sc: Single Crochet
- hdc: Half Double Crochet
- dc: Double Crochet
- sl st: Slip Stitch
- inc: Increase (2 sc in the same stitch)
- dec: Decrease (single crochet 2 stitches together)
- MR: Magic Ring (also known as Magic Circle or Adjustable Ring)
- st(s): Stitch(es)
- FO: Fasten Off
- [...] x N: Repeat the instructions in brackets N times
- (...): Indicates the total number of stitches at the end of the round
Step-by-Step Pattern
This pattern is worked in continuous rounds unless otherwise stated. Use a stitch marker to keep track of the first stitch of each round.
Body (Start with White yarn)
- R1: 6 sc in a MR (6)
- R2: [inc] x 6 (12)
- R3: [sc, inc] x 6 (18)
- R4: [2 sc, inc] x 6 (24)
- R5: [3 sc, inc] x 6 (30)
- R6: [4 sc, inc] x 6 (36)
- R7: [5 sc, inc] x 6 (42)
- R8-R14: Sc in each st around (42) (7 rounds)
- R15: [5 sc, dec] x 6 (36)
- R16: Sc in each st around (36)
- R17: [4 sc, dec] x 6 (30)
- R18: Sc in each st around (30)
- R19: [3 sc, dec] x 6 (24)
- R20: Sc in each st around (24)
- R21: [2 sc, dec] x 6 (18)
- Start stuffing the body firmly, shaping it as you go.
- R22: [sc, dec] x 6 (12)
- R23: [dec] x 6 (6)
- FO, leaving a long tail for sewing. Weave the tail through the front loop of the remaining 6 stitches and pull tight to close the hole. Secure and weave in the end.
Head (Start with Beige/Light Brown yarn)
- R1: 6 sc in a MR (6)
- R2: [inc] x 6 (12)
- R3: [sc, inc] x 6 (18)
- R4: [2 sc, inc] x 6 (24)
- R5: [3 sc, inc] x 6 (30)
- R6-R9: Sc in each st around (30) (4 rounds)
- Insert safety eyes between R7 and R8, about 5-6 stitches apart.
- R10: [3 sc, dec] x 6 (24)
- R11: [2 sc, dec] x 6 (18)
- Start stuffing the head firmly.
- R12: [sc, dec] x 6 (12)
- R13: [dec] x 6 (6)
- FO, leaving a long tail for sewing. Weave the tail through the front loop of the remaining 6 stitches and pull tight to close the hole. Secure.
Ears (Make 2 – Beige/Light Brown yarn)
- R1: 4 sc in a MR (4)
- R2: [sc, inc] x 2 (6)
- R3: [2 sc, inc] x 2 (8)
- R4: Sc in each st around (8)
- R5: [3 sc, inc] x 2 (10)
- R6: Sc in each st around (10)
- Fold the ear flat and sc through both layers across the opening (5 sc).
- FO, leaving a long tail for sewing. Do not stuff.
Legs (Make 4 – Beige/Light Brown yarn)
- R1: 6 sc in a MR (6)
- R2: [inc] x 6 (12)
- R3: Sc in each st around (12)
- R4: [sc, dec] x 4 (8)
- R5-R9: Sc in each st around (8) (5 rounds)
- Stuff the foot part lightly, leaving the top part unstuffed for easier attachment.
- FO, leaving a long tail for sewing.
Tail (White yarn)
- R1: 4 sc in a MR (4)
- R2: [inc] x 4 (8)
- R3: Sc in each st around (8)
- FO, leaving a long tail for sewing. Do not stuff.
Assembly
- Attach the Head: Position the head centrally on top of the body. Using the long tail from the head and your tapestry needle, sew the head securely to the body. Ensure it's firmly attached so it doesn't wobble.
- Attach the Ears: Pinch the open end of each ear slightly to give it shape. Position the ears on the sides of the head, slightly behind and above the eyes. Sew them securely using the tails.
- Attach the Legs: Position the four legs evenly around the bottom of the body. Two at the front, two at the back. Ensure the sheep can stand upright. Sew them firmly in place.
- Attach the Tail: Place the tail at the back of the body, slightly above the bottom. Sew securely.
- Embroider Face Details (Optional): Using black embroidery floss, embroider a small 'V' or 'Y' shape for the nose and mouth centered below the eyes.
- Weave in all remaining ends: Neatly hide any loose yarn tails inside the amigurumi.
Pro Tips
- Invisible Decrease: For a cleaner look, use the invisible decrease method (insert hook into front loop of first stitch, then into front loop of second stitch, yarn over and pull through both front loops, yarn over and pull through both loops on hook).
- Stuffing Smart: Stuff your amigurumi firmly and evenly. Use small pieces of fiberfill to avoid lumps and bumps. Pay extra attention to the neck area to ensure the head stands up nicely.
- Seamless Rounds: To ensure a virtually seamless finish when working in continuous rounds, slightly adjust your hook insertion point at the start of each round, or simply embrace the slight spiral – it's part of the charm!
- Yarn Choice: For extra fluffiness, experiment with boucle, chenille, or even brushed mohair-style yarns for the body. Just be aware these yarns can sometimes make stitches harder to see.
- Secure Attachments: When sewing parts, take your time and make several passes with your needle to ensure all pieces are securely attached. This is especially important for parts like the head and limbs that might experience more handling.
Frequently Asked Questions
Q: Can I use a different yarn weight for this pattern?
A: Absolutely! You can definitely use a different yarn weight, but be aware that it will change the overall size of your finished sheep. If you use a thicker yarn (like bulky), your sheep will be larger, and you'll want to go up a hook size to match. Conversely, a thinner yarn (like sport weight) will result in a smaller sheep, requiring a smaller hook. Just make sure your stitches are tight enough to prevent stuffing from showing through.
Q: How can I make my sheep extra fluffy without using special yarn?
A: If you're using standard worsted weight yarn for the body and want to enhance the fluffy texture, you have a couple of options. You could try surface crocheting small loops or tufts across the body after assembly. Another popular method is to use a wire pet brush (slicker brush) to gently brush the surface of the finished body. This technique roughs up the yarn fibers, creating a fuzzy, sheep-like texture. Be gentle, and test it on a small swatch first!
Q: Is this pattern suitable for complete beginners to crochet?
A: While this pattern uses basic stitches (single crochet, increases, decreases), a complete beginner might find working in continuous rounds and assembling multiple pieces a bit challenging. I recommend that complete beginners first practice the basic stitches and perhaps try a simpler amigurumi pattern that involves fewer pieces. However, if you're an ambitious beginner with a good grasp of basic stitches, the detailed instructions here will guide you through every step!
And there you have it – your very own adorable, handmade crochet sheep! This project is a testament to the magic of yarn and hook, transforming simple stitches into a beloved companion. I hope you found joy in every stitch and are now cuddling your new woolly friend. Don't forget to share your creations with us; we love seeing your unique sheep come to life!