Imagine cozy autumn evenings, the scent of cinnamon wafting through your home, and the warm glow of handmade decorations bringing a smile to your face. There's something truly magical about transforming a simple strand of yarn into a charming piece of seasonal decor, and with this free pattern, you're about to create your very own adorable Crochet Pumpkin Amigurumi! Perfect for adorning your mantelpiece, brightening up a bookshelf, or gifting to a loved one, these little pumpkins are a delightful way to embrace the spirit of fall, one stitch at a time. Get ready to fall in love with your hook all over again!
Welcome, fellow yarn enthusiasts, to a project that promises both joy and a touch of autumnal charm! Whether you're a seasoned crocheter looking for a quick and satisfying make, or a beginner eager to dive into the wonderful world of amigurumi, this pattern for a classic crochet pumpkin is designed with you in mind. We'll walk through each step, from the magic ring start to the final adorable details, ensuring your handmade pumpkin brings warmth and cheer to your home. This pattern uses common crochet stitches and techniques, making it accessible for anyone with basic crochet knowledge.
Why You'll Love This Pattern
There are countless reasons why this Crochet Pumpkin Amigurumi pattern is destined to become a fall favorite:
- Quick & Satisfying: These pumpkins work up relatively fast, making them perfect for last-minute decor or a weekend project. You'll love seeing your pumpkin take shape in just a few hours!
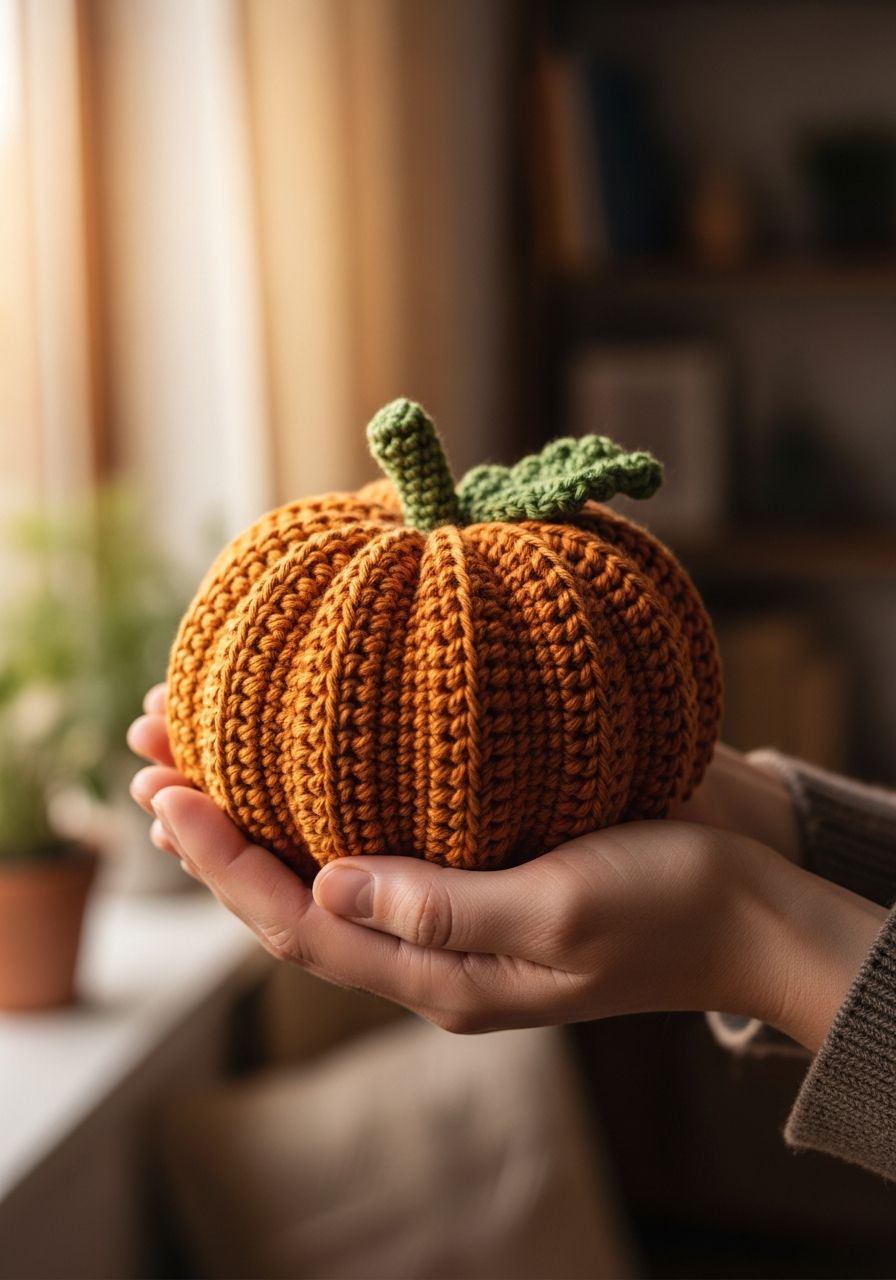
- Perfect Fall Decor: Add a touch of handmade warmth to your home. They're ideal for tiered trays, mantelpieces, dining table centerpieces, or scattered amongst your autumnal arrangements.
- Beginner-Friendly: Using only basic stitches like single crochet, increases, and decreases, this pattern is approachable for those new to amigurumi. Clear, step-by-step instructions ensure a smooth crocheting experience.
- Customizable: Experiment with different yarn colors (think cream, sage green, or even striped pumpkins!), vary yarn weights for different sizes, or add extra embellishments like embroidered faces or tiny crocheted leaves for a unique touch.
- Great for Gifting: Handmade gifts are always cherished. These little pumpkins make thoughtful presents for friends, family, teachers, or as hostess gifts during the autumn season.
- Learn New Techniques: If you're new to amigurumi, this pattern offers a fantastic opportunity to practice working in the round, creating increases and decreases, and stuffing your creations effectively.
Materials Needed
- Yarn: Worsted weight (Aran/10-ply) yarn in Orange (approx. 50g), a small amount of Brown or Green for the stem, and a small amount of Green for the tendril. Cotton or acrylic yarn works wonderfully.
- Crochet Hook: 3.5mm (US E/4) – or a hook size appropriate for your chosen yarn to create tight stitches that prevent stuffing from showing through.
- Stuffing: Polyester fiberfill (Poly-fil) or similar stuffing material.
- Yarn Needle: For weaving in ends and assembling the pumpkin.
- Scissors: For cutting yarn.
- Stitch Marker: Highly recommended for working in the round to keep track of your starting stitch.
Gauge & Sizing
For amigurumi, exact gauge isn't as critical as it would be for garments, but maintaining tight, even stitches is important to ensure your stuffing doesn't show through. Using the recommended yarn and hook size, your finished pumpkin will be approximately 2.5 inches (6.5 cm) tall (excluding the stem) and 3 inches (7.5 cm) wide. If you use a different yarn weight, adjust your hook size accordingly and expect your pumpkin to be larger or smaller.
Abbreviations
- ch: chain
- sl st: slip stitch
- sc: single crochet
- hdc: half double crochet
- dc: double crochet
- inc: increase (2 single crochet in the same stitch)
- dec: decrease (single crochet 2 stitches together)
- ( ): repeat instructions in parentheses the specified number of times
- [ ]: total number of stitches at the end of the round
Step-by-Step Pattern
We'll start with the main pumpkin body, then add the stem, an optional tendril, and finally, assemble everything to create that classic pumpkin shape.
The Pumpkin Body (Orange Yarn)
- Round 1: Start with a Magic Ring. Ch 1, then make 6 sc into the ring. Pull the tail to close the ring. [6 stitches]
- Round 2: Inc in each sc around. [12 stitches]
- Round 3: (Sc in next stitch, inc in next stitch) repeat 6 times. [18 stitches]
- Round 4: (Sc in next 2 stitches, inc in next stitch) repeat 6 times. [24 stitches]
- Round 5: (Sc in next 3 stitches, inc in next stitch) repeat 6 times. [30 stitches]
- Round 6: (Sc in next 4 stitches, inc in next stitch) repeat 6 times. [36 stitches]
- Round 7: (Sc in next 5 stitches, inc in next stitch) repeat 6 times. [42 stitches]
- Rounds 8-13: Sc in each stitch around (6 rounds). [42 stitches per round]
- Round 14: (Sc in next 5 stitches, dec over next 2 stitches) repeat 6 times. [36 stitches]
- Round 15: (Sc in next 4 stitches, dec over next 2 stitches) repeat 6 times. [30 stitches]
- Round 16: (Sc in next 3 stitches, dec over next 2 stitches) repeat 6 times. [24 stitches]
- Round 17: (Sc in next 2 stitches, dec over next 2 stitches) repeat 6 times. Begin stuffing your pumpkin firmly now, ensuring an even shape. [18 stitches]
- Round 18: (Sc in next stitch, dec over next 2 stitches) repeat 6 times. [12 stitches]
- Round 19: Dec over next 2 stitches around (6 times). Finish stuffing your pumpkin, ensuring it's firm but not overstuffed to distort the stitches. [6 stitches]
- Cut yarn, leaving a long tail (approx. 10 inches). Thread the tail onto your yarn needle. Weave the needle through the front loop of each remaining stitch. Pull tightly to close the hole. Do not fasten off yet, as this tail will be used for shaping.
The Stem (Brown Yarn)
- Round 1: Start with a Magic Ring. Ch 1, then make 6 sc into the ring. Pull the tail to close. [6 stitches]
- Round 2-4: Sc in each stitch around (3 rounds). [6 stitches per round]
- Sl st into the next stitch to finish. Cut yarn, leaving a long tail for sewing (approx. 8 inches).
The Tendril (Green Yarn - Optional)
- Ch 20 (or more/less for a longer/shorter tendril).
- Starting in the 2nd chain from the hook, sl st in each chain across. This will create a tight, curly tendril.
- Fasten off, leaving a short tail for sewing.
Assembly
- Attach the Stem: Using the tail on your stem, position the stem in the center of the top of your pumpkin. Sew it securely in place, making sure it stands upright. Weave in any remaining ends.
- Attach the Tendril: If you made a tendril, thread one of the tails onto your yarn needle. Attach it near the base of the stem, securing it with a few stitches. Weave in the ends.
- Shape the Pumpkin: This step gives your pumpkin its characteristic ribbed look. Using the long orange yarn tail you left after closing the pumpkin body:
- Insert your yarn needle through the center top of the pumpkin (under the stem) and bring it out through the center bottom.
- Pull the yarn tight to create a slight indentation.
- Wrap the yarn around the outside of the pumpkin to create a 'segment.' Insert the needle back through the center bottom and out through the center top, slightly next to where you originally inserted it.
- Pull tight again to cinch the yarn and define the segment.
- Repeat this process 4-6 more times, evenly spacing the 'segments' around your pumpkin. Each time, pull the yarn snugly to create the desired indentation.
- Once you're happy with the shaping, secure the yarn by making a knot underneath the stem or by weaving it through a few stitches on the top of the pumpkin. Weave in any remaining ends.
Pro Tips
- Stuffing is Key: Don't underestimate the power of good stuffing! Stuff your pumpkin firmly and evenly, pushing the fiberfill into all sides to avoid lumps. For the best shape, stuff a little, then gently squish and shape the pumpkin, then add more stuffing.
- Invisible Decreases: To make your decreases less noticeable, especially on the outside of your amigurumi, use the invisible decrease method (insert hook into front loop of first stitch, then into front loop of second stitch, yarn over, pull through both front loops, yarn over, pull through both loops on hook).
- Tight Tension: Amigurumi generally looks best with tight stitches. This prevents the stuffing from peeking through and creates a sturdy, well-formed piece. If your stitches are too loose, try going down a hook size.
- Color Play: Don't limit yourself to traditional orange! Experiment with cream, white, sage green, or even variegated yarns for unique and stylish pumpkins.
- Stitch Marker Savvy: Always use a stitch marker to mark the first stitch of each round when working in continuous spirals. This prevents you from losing your place and helps maintain an accurate stitch count.
- Yarn Tails for Sewing: When fastening off, always leave a long tail (at least 8-10 inches) for sewing pieces together. This saves you from having to attach new yarn.
Frequently Asked Questions
Q: How can I make my pumpkin look more realistic or unique?
A: There are several ways to add realism and character! For a more defined ribbed look, you can repeat the shaping step more times (e.g., 8-10 segments instead of 4-6). You can also add small crocheted leaves in a contrasting green attached near the stem. For unique touches, consider embroidering small swirls or stitches onto the pumpkin surface with a contrasting thread, or making a variegated tendril by changing green shades.
Q: Can I use different yarn weights for this pattern?
A: Absolutely! This pattern is very adaptable. If you use a thicker yarn (like a bulky weight), your pumpkin will be larger, and you'll need to use a larger hook size to match. Conversely, using a thinner yarn (like DK weight) will result in a smaller pumpkin, requiring a smaller hook. Just ensure your chosen hook creates tight stitches for your yarn to prevent stuffing from showing. Always check your stitches before committing to a full project.
Q: What's the best way to stuff amigurumi to avoid lumps?
A: The key to lump-free stuffing is to add small amounts of fiberfill at a time and work it evenly into all areas of your amigurumi. Use a blunt tool (like the back of your crochet hook, a chopstick, or even your finger) to push the stuffing into the sides and corners. Avoid overstuffing too quickly, especially in the final rounds; instead, build up the stuffing gradually. For pumpkins, ensure the top and bottom are well-filled to support the shaping.
And there you have it! Your very own handcrafted Crochet Pumpkin Amigurumi, ready to bring a touch of cozy charm to your home. Each stitch you made is a little piece of autumn magic, a testament to your creativity and skill. Enjoy the beauty of your handmade decor, and happy crocheting!