Imagine a world where your handmade crochet creations don't just sit in a basket but leap off the screen, captivating hearts and inspiring awe! You pour your soul into every stitch, every color choice, and every finishing touch. Doesn't it deserve to be seen in its absolute best light? With a few simple crochet photography tips, you can transform your everyday snapshots into professional-looking masterpieces that truly reflect the love and skill woven into them. Get ready to elevate your craft, connect with a wider audience, and feel an immense sense of pride as your beautiful work shines brighter than ever before!
Why It Matters: Your Art Deserves the Spotlight
In today's visual world, how your crochet projects look online can make all the difference. Whether you're sharing your latest finished object with friends and family, showcasing patterns on your blog, or running a small business selling handmade items, stunning photographs are your silent ambassadors. They communicate quality, care, and creativity without you having to say a single word. Blurry, poorly lit, or cluttered photos can inadvertently diminish the perceived value of your hard work, while clear, vibrant images draw people in, making them eager to learn more, follow your journey, or even make a purchase. Good photography isn't just about aesthetics; it's about respect for your craft and effective communication with your audience.
What You Need to Know: The Fundamentals of a Great Shot
You don't need expensive equipment to take beautiful crochet photos. Understanding a few basic principles is far more important than owning a fancy camera. Most modern smartphones are perfectly capable!
Light: Your Best Friend (or Worst Enemy)
- Natural Light is King: The absolute best light for crochet photography is soft, diffused natural light. Think of a bright, overcast day or a spot near a window (but not in direct sunlight). Direct sun creates harsh shadows and can wash out colors.
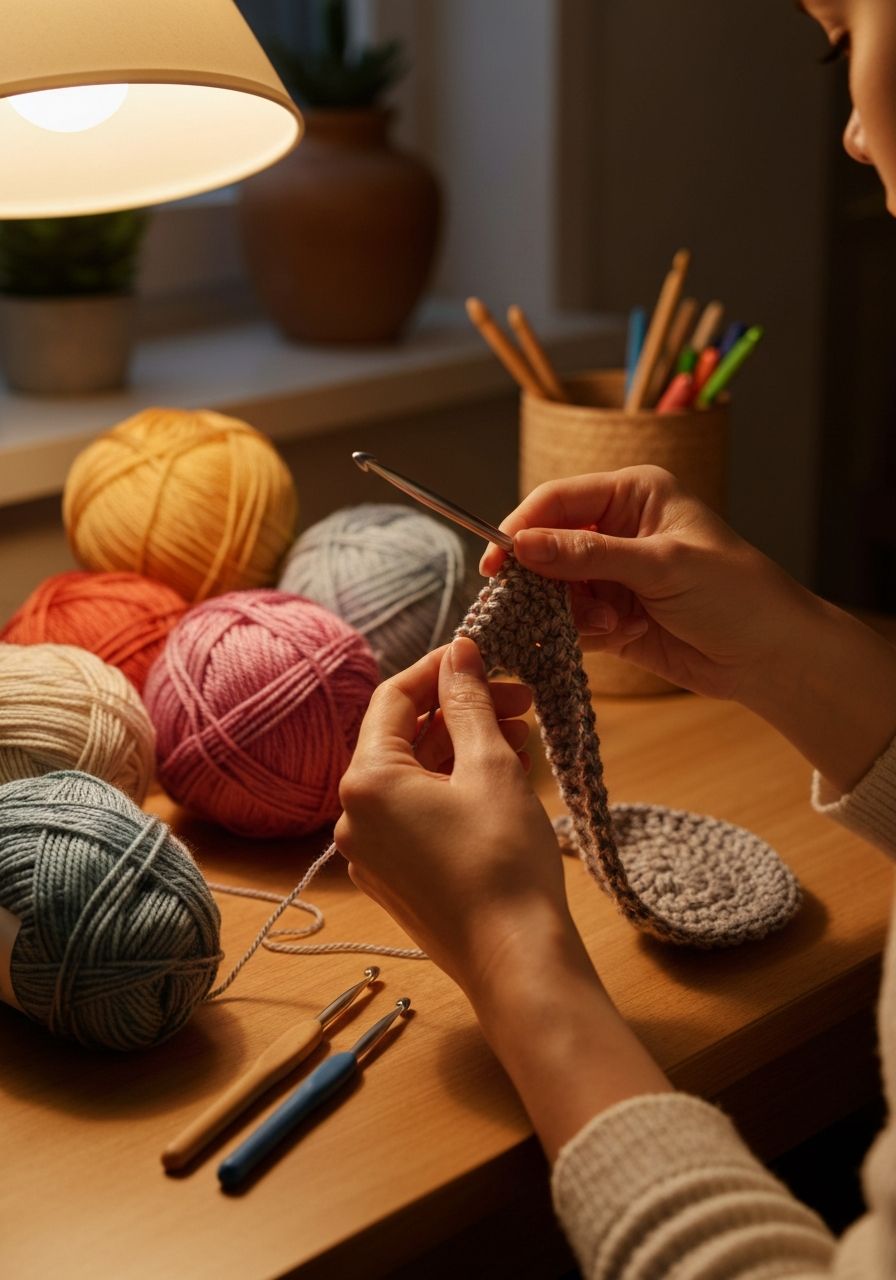
- Avoid Overhead Lighting: Overhead room lights often cast unflattering yellow tones and create shadows that obscure details. Turn them off!
- Golden Hour: If shooting outdoors, the hour after sunrise or before sunset provides a warm, soft glow that can be magical.
- Reflectors: If one side of your project is too shadowy, use a white piece of foam board, a sheet of paper, or even aluminum foil (crinkled then smoothed) to bounce light back onto the project and fill in those shadows.
Backgrounds & Props: Setting the Scene
- Keep it Simple: Your crochet project should be the star. Choose a background that complements, rather than competes with, your work. Solid colors, natural textures (wood, linen), or a subtly blurred background work well.
- Declutter: Remove anything distracting from the frame – stray yarn scraps, coffee cups, remote controls. A clean background is crucial.
- Thoughtful Props: Props can add context and tell a story, but use them sparingly and strategically. Consider a cup of tea next to a cozy mug cozy, a book with a bookmark, or fresh flowers with a springtime blanket. Yarn balls, hooks, and stitch markers can also make excellent thematic props.
Angles & Composition: Framing Your Masterpiece
- Rule of Thirds: Imagine your photo divided into a 3x3 grid. Placing your subject (or key elements) along these lines or at their intersections creates a more dynamic and pleasing composition than centering everything.
- Vary Your Angles: Don't just shoot head-on. Try a flat lay (overhead shot), a close-up to show texture, or a lifestyle shot with someone interacting with the item.
- Fill the Frame: Don't be afraid to get close and let your crochet fill a good portion of the shot. This highlights details and texture.
Step-by-Step Guide to a Great Crochet Photo
Let's walk through the process of taking a beautiful photo, from preparation to the final shot. For this example, imagine we've just finished crocheting a simple coaster that we want to photograph.
Step 1: Prepare Your Project (and a practice piece!)
Ensure your crochet item is clean, blocked if necessary, and free of any loose ends or lint. For practice, or if you need a quick prop, here's a simple coaster pattern using common beginner stitches:
- Yarn: Worsted weight cotton yarn
- Hook: 4.0mm (G)
- Magic Ring: Ch 2, 8 hdc into ring, sl st to first hdc. (8 hdc)
- Round 2: Ch 2, 2 hdc in each st around, sl st to first hdc. (16 hdc)
- Round 3: Ch 2, *1 hdc in next st, 2 hdc in next st* repeat around, sl st to first hdc. (24 hdc)
- Round 4: Ch 2, *1 hdc in next 2 sts, 2 hdc in next st* repeat around, sl st to first hdc. (32 hdc)
- Round 5: Ch 1, sc in each st around, sl st to first sc. (32 sc)
Fasten off, weave in ends. Now you have a perfectly photo-ready item!
Step 2: Choose Your Location & Lighting
Find a spot near a large window that gets indirect, bright light. Avoid direct sun. A north-facing window is often ideal as it provides consistent, soft light throughout the day. If you don't have good window light, consider a shaded outdoor area.
Step 3: Arrange Your Scene
Lay down your chosen background (e.g., a simple wooden table, a white sheet, a textured blanket). Place your crochet coaster on it. Add one or two simple props if desired – maybe a small succulent, a half-used ball of coordinating yarn, or a single crochet hook. Remember the rule of thirds for placement.
Step 4: Shoot from Different Angles
Take several photos! Start with an overhead flat lay. Then try a slightly angled shot, focusing on the texture of the stitches. Get a close-up of a specific detail. Experiment with changing your position relative to the light source (e.g., light coming from the side can highlight texture beautifully).
Step 5: Edit (Lightly!)
Once you've taken your photos, a little editing can go a long way. Most phones have built-in editing tools, or you can use free apps like Snapseed or Lightroom Mobile. Focus on:
- Cropping: Remove distracting elements and straighten horizons.
- Brightness/Exposure: Lighten photos that are too dark.
- Contrast: Make whites brighter and blacks deeper, adding visual pop.
- Saturation: Slightly boost colors if they look dull, but be careful not to overdo it and make them look unnatural.
- White Balance: Adjust if your photo has an unnatural yellow or blue tint.
Common Mistakes to Avoid
- Poor Lighting: The number one culprit for bad photos. Avoid dark, shadowy, or overly bright, washed-out images.
- Cluttered Backgrounds: A messy background steals attention from your beautiful crochet.
- Blurry Photos: Ensure your camera is focused on your crochet project, not the background. Tap on your screen to focus your phone camera.
- Inaccurate Colors: Bad lighting or over-editing can distort the true colors of your yarn. Aim for photos that faithfully represent the actual shades.
- Forgetting Details: Don't just show the whole item; capture close-ups of interesting stitch patterns or textures.
Pro Tips for Stunning Shots
- Use a Tripod (or Makeshift Stand): Even for a phone, a tripod (or stacking books, a small box) can eliminate camera shake for sharper images, especially in lower light.
- Flat Lay Photography: Lay your item flat on the ground or a table and shoot directly from above. This is fantastic for showcasing blankets, garments, and accessories.
- Lifestyle Shots: Show your crochet in action! A blanket draped over a couch, a scarf worn by a person, or a basket holding yarn can add warmth and context.
- Batch Your Photos: If you have multiple projects, set up your photography area once and shoot all your items in one session to maintain consistent lighting and style.
- Editing Apps are Your Friend: Explore free editing apps like Snapseed or Google Photos for basic adjustments. They can make a huge difference.
- Consistency is Key: Try to develop a consistent style for your photos (e.g., always light and airy, or always rustic and cozy). This builds brand recognition if you're selling or blogging.
Frequently Asked Questions
Do I need a fancy camera to take good crochet photos?
Absolutely not! Most modern smartphones have excellent cameras perfectly capable of capturing beautiful crochet photos. The key is understanding light, composition, and basic editing, not the equipment itself.
How do I photograph dark colored yarn without it looking like a black blob?
Dark yarns are tricky! Use abundant, soft natural light, and slightly overexpose your photo (make it a bit brighter than normal) to reveal stitch definition. A white or light-colored background can also help dark colors pop. Avoid direct flash, which will flatten the texture.
What are some good, inexpensive props for crochet photography?
Think natural and textured: wooden cutting boards, woven baskets, fresh flowers, small plants, antique buttons, a favorite book, a cup of coffee or tea, or even other skeins of yarn in coordinating colors. Look around your home for everyday items that can add a touch of charm without distracting.
Taking beautiful photos of your crochet projects is a skill that, like crochet itself, improves with practice. Don't be afraid to experiment, try new angles, and play with different lighting. Every photo you take is an opportunity to learn and grow. Soon, you'll be capturing the magic of your handmade creations with confidence, sharing your passion with the world, and inspiring countless others with the sheer beauty of what you can create with a hook and some yarn. Happy snapping!