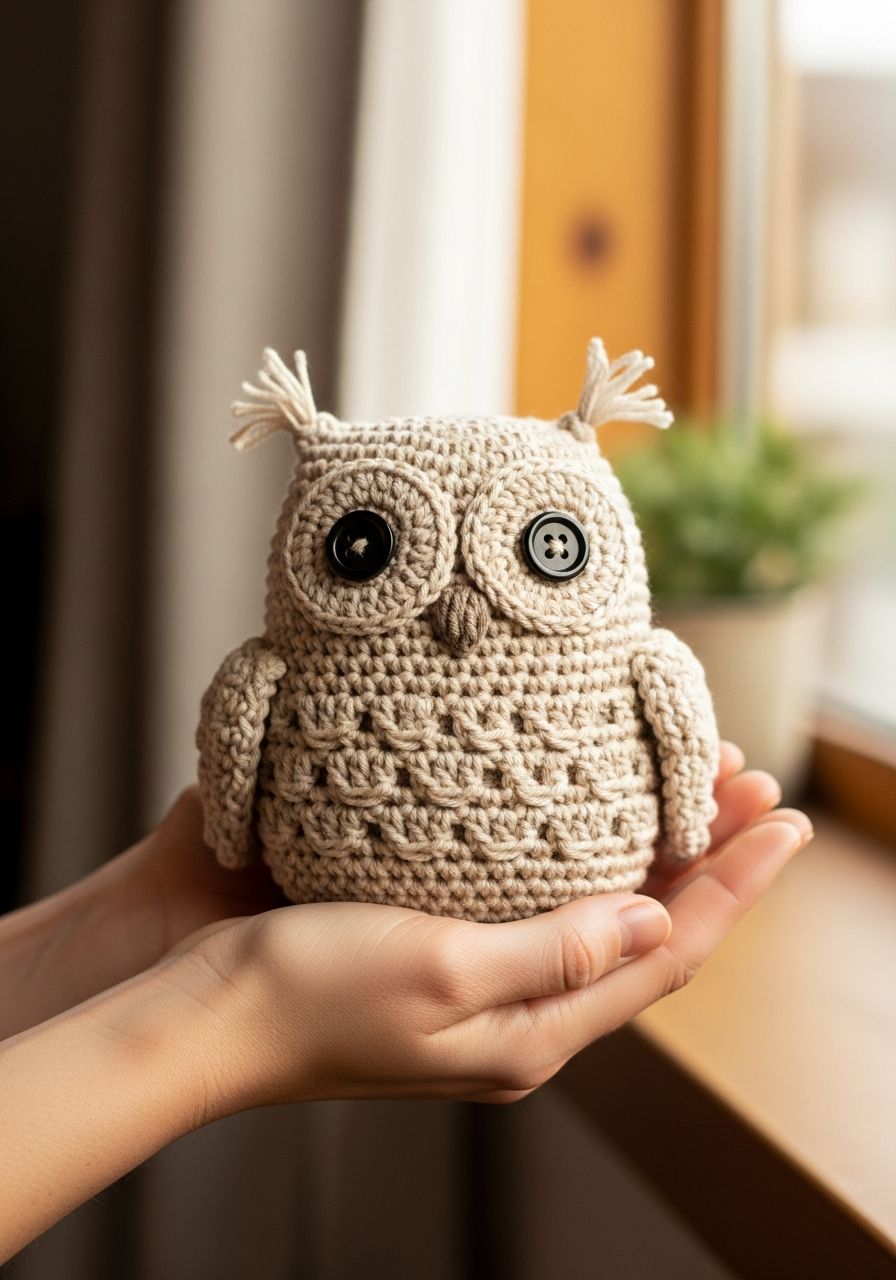
Imagine the pure joy of creating something truly magical with your own hands – a cuddly companion that brings a twinkle to any eye! Get ready to embark on a delightful crafting journey as we dive into making an irresistibly charming Crochet Owl Amigurumi. This wise little hooter, with its endearing big eyes and soft texture, is more than just a toy; it's a handmade hug waiting to happen, a perfect gift for loved ones, or a sweet addition to your own desk or shelf. Prepare your hooks and yarn, because by the end of this pattern, you'll have brought a little piece of woodland wonder to life!
Welcome to the Wonderful World of Owl Amigurumi!
There's something inherently comforting about owls. Their mystique, their silent flight, and their wide, watchful eyes have captivated us for centuries. Now, you can capture that charm in yarn with this delightful amigurumi pattern! Whether you're a seasoned crocheter looking for a quick and satisfying project or a beginner eager to dive into the enchanting world of amigurumi, this pattern is designed to be accessible, enjoyable, and incredibly rewarding. We'll guide you through every stitch, from the magic ring to the final assembly, ensuring your owl turns out perfectly plump and utterly adorable.
Why You'll Love This Pattern
- Beginner-Friendly: While the finished owl looks intricate, the pattern primarily uses basic stitches like single crochet, making it perfect for those new to amigurumi. We provide clear, step-by-step instructions.
- Quick to Create: This project works up relatively fast, making it ideal for last-minute gifts or when you need a quick dose of creative satisfaction. You might even finish it in a weekend!
- Customizable: Play with different yarn colors and textures to create a flock of unique owls. Imagine a rainbow owl, a snowy owl, or even a mini barn owl!
- Perfect for Gifting: Handmade gifts carry so much love. This crochet owl makes an excellent present for birthdays, baby showers, holidays, or just because.
- Stash Buster: Use up those leftover skeins of worsted weight yarn that are too small for a blanket but perfect for amigurumi details.
- Skill Building: Practice your tension, learn how to create seamless amigurumi pieces, and master joining techniques that you can apply to countless other projects.
Materials Needed
- Worsted Weight (Aran/10-ply) Yarn in:
- Main Color (MC) - approximately 80-100 yards (e.g., Brown, Grey, Cream)
- Accent Color 1 (AC1) - small amount (e.g., White for eyes)
- Accent Color 2 (AC2) - small amount (e.g., Orange/Yellow for beak and feet)
- 3.5mm (E/4) Crochet Hook (or hook size to achieve tight stitches with your chosen yarn)
- 9mm or 12mm Safety Eyes (depending on desired eye size and yarn weight)
- Polyester Fiberfill for stuffing
- Tapestry Needle for weaving in ends and assembly
- Scissors
- Stitch Marker (essential for working in continuous rounds)
Gauge & Sizing
Gauge is not critically important for amigurumi, as long as your stitches are tight enough to prevent the stuffing from showing through. However, consistent tension will ensure your owl turns out as intended. If your stitches are too loose, try going down a hook size. When completed with worsted weight yarn and a 3.5mm hook, your owl should stand approximately 4.5-5 inches tall.
Abbreviations
- ch: Chain
- sc: Single Crochet
- hdc: Half Double Crochet
- dc: Double Crochet
- sl st: Slip Stitch
- inc: Increase (2 single crochet in the same stitch)
- dec: Decrease (single crochet 2 stitches together)
- magic ring: Magic Adjustable Ring (also known as magic circle)
- st(s): Stitch(es)
- FO: Fasten Off
- MC: Main Color
- AC1: Accent Color 1
- AC2: Accent Color 2
- [ ] x N: Repeat instructions in brackets N times
Step-by-Step Pattern
We'll be working in continuous rounds unless otherwise specified. Use a stitch marker to keep track of your first stitch in each round.
Body (MC)
- Round 1: Start with a magic ring, 6 sc into ring. (6 sts)
- Round 2: [inc] x 6. (12 sts)
- Round 3: [sc, inc] x 6. (18 sts)
- Round 4: [2 sc, inc] x 6. (24 sts)
- Round 5: [3 sc, inc] x 6. (30 sts)
- Round 6: [4 sc, inc] x 6. (36 sts)
- Rounds 7-14: Sc in each st around. (36 sts) (8 rounds of straight single crochet)
- Round 15: [4 sc, dec] x 6. (30 sts)
- Round 16: Sc in each st around. (30 sts)
- Round 17: [3 sc, dec] x 6. (24 sts)
- Round 18: Sc in each st around. (24 sts)
- Round 19: [2 sc, dec] x 6. (18 sts)
- Start stuffing the body firmly, shaping as you go. Continue stuffing as you decrease.
- Round 20: Sc in each st around. (18 sts)
- Round 21: [sc, dec] x 6. (12 sts)
- Round 22: [dec] x 6. (6 sts)
- FO, leaving a long tail. Weave the tail through the front loop of the remaining 6 stitches and pull tight to close the hole. Weave in ends.
Wings (MC - Make 2)
- Round 1: Start with a magic ring, 6 sc into ring. (6 sts)
- Round 2: [inc] x 6. (12 sts)
- Round 3: [sc, inc] x 6. (18 sts)
- Round 4: Sc in each st around. (18 sts)
- Round 5: [sc, dec] x 6. (12 sts)
- Flatten the piece. Do not stuff. Sl st through both layers to close the opening.
- FO, leaving a long tail for sewing.
Eyes (AC1 - Make 2)
- Round 1: Start with a magic ring, 6 sc into ring. (6 sts)
- Round 2: [inc] x 6. (12 sts)
- Round 3: [sc, inc] x 6. (18 sts)
- Sl st to the first sc to join. FO, leaving a long tail for sewing.
- Insert safety eyes through the center of the white eye circles, securing the washer on the back.
Beak (AC2)
- Ch 4.
- Row 1: Sc in the 2nd ch from hook, sc in next ch, sc in last ch. (3 sts)
- Row 2: Ch 1, turn. Dec, sc. (2 sts)
- Row 3: Ch 1, turn. Dec. (1 st)
- FO, leaving a long tail for sewing.
Feet (AC2 - Make 2)
- Ch 5.
- Sl st into 2nd ch from hook, sl st into next 3 ch. (4 sl sts)
- FO, leaving a long tail for sewing.
Assembly
- Attach Eyes: Position the eyes on the front of the body, around Rounds 10-14, approximately 4-5 stitches apart. Sew them securely using the long tails.
- Attach Beak: Position the beak directly between and slightly below the eyes. The point of the beak should face downwards. Sew securely, shaping it slightly with your needle.
- Attach Wings: Sew the wings to the sides of the body, slightly angled downwards, around Rounds 12-16. Ensure they are symmetrical.
- Attach Feet: Sew the feet to the bottom front of the body, centered, around Rounds 2-4 of the body (counting from the magic ring base up).
- Weave in all remaining ends: Give your owl a gentle squeeze and adjust any stuffing to ensure a smooth, even shape.
Pro Tips for Amigurumi Success
- Tight Stitches are Key: To prevent stuffing from showing through your amigurumi, always crochet with tight tension. If your stitches look loose, try using a smaller hook size.
- Use a Stitch Marker: When working in continuous rounds, it's incredibly easy to lose your place. A stitch marker placed in the first stitch of each round is your best friend.
- Stuff Firmly and Evenly: Stuff your amigurumi as you go, especially as the opening gets smaller. Use small pieces of fiberfill to avoid lumps and ensure a firm, well-shaped finished piece.
- Invisible Decrease: For a cleaner look, use the invisible decrease method (insert hook into front loop of first stitch, then front loop of second stitch, yarn over, pull through both loops, yarn over, pull through remaining two loops).
- Count Your Stitches: Regularly counting your stitches at the end of each round will save you from unraveling later. A small mistake can compound quickly in amigurumi!
- Customize Your Owl: Don't be afraid to experiment! Add felt details, embroider eyebrows, or use different textured yarns to give your owl unique personality.
- Safety Eye Placement: Before fully securing safety eyes, place them temporarily and stand back to assess the expression. Small adjustments can make a big difference!
Frequently Asked Questions
Can I use different yarn weights for this pattern?
Absolutely! You can use almost any yarn weight. Just be sure to adjust your hook size accordingly. A general rule of thumb is to use a hook size 1-2 sizes smaller than what's recommended on your yarn label to achieve tight stitches suitable for amigurumi. Keep in mind that using a different yarn weight will alter the finished size of your owl. A thicker yarn will result in a larger owl, and a thinner yarn will create a smaller one.
Is this pattern suitable for complete beginners to crochet?
While this pattern uses primarily basic stitches, a complete beginner might find the magic ring and working in continuous rounds a bit challenging at first. However, if you are familiar with chaining and single crochet, and are willing to learn a couple of new techniques, this is a fantastic project to expand your skills! There are many excellent video tutorials online for the magic ring and invisible decrease if you need a visual guide.
How can I make my owl poseable?
To make your owl poseable, you can incorporate a wire armature into the body and wings before stuffing. Use floral wire or craft wire (ensure it's sturdy enough but also safe and won't poke through). Create a skeleton-like structure that mimics the owl's shape, wrap it with tape or fabric to prevent yarn snagging, and insert it as you stuff the body. Always be cautious when using wire, especially if the owl is for a child, as wire can be a choking hazard or cause injury if it breaks through the fabric.
And there you have it – your very own wise and wonderful Crochet Owl Amigurumi! We hope you've enjoyed every moment of crafting this adorable little creature. There's immense satisfaction in seeing your yarn transform into such a charming character. Share your finished owls with us – we love seeing your unique interpretations. Happy crocheting!