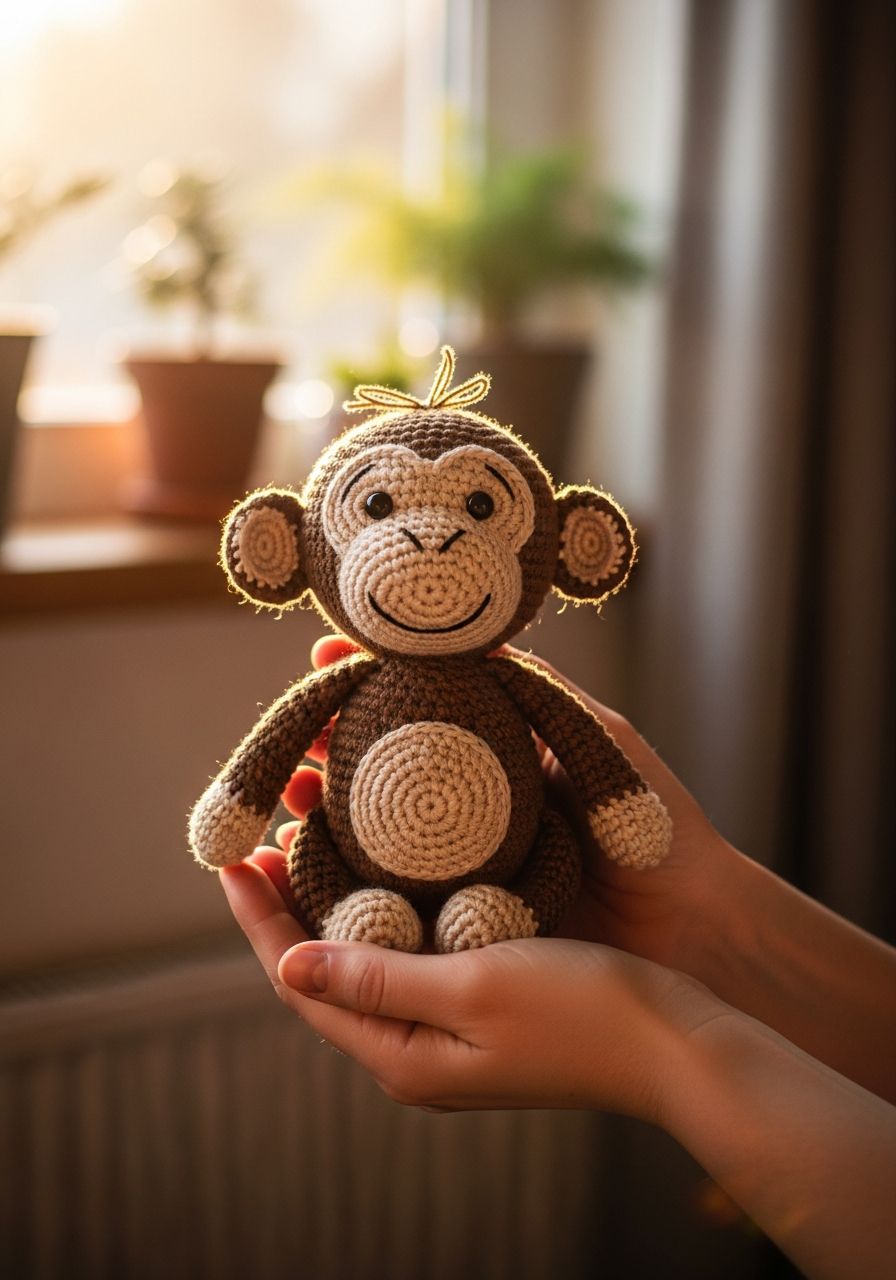
Imagine the pure delight on a child's face, or the whimsical charm added to your own space, when you bring to life this utterly adorable crochet monkey amigurumi! With its playful grin, floppy ears, and long, curly tail, this little companion is more than just a toy – it's a handcrafted treasure brimming with personality. Get ready to embark on a joyful crochet journey that culminates in a truly special, squeezable friend. You're just a few stitches away from creating a beloved keepsake!
Welcome, fellow yarn enthusiasts, to a pattern designed with love and simplicity in mind! Amigurumi, the Japanese art of crocheting small stuffed creatures, offers endless possibilities for creativity and heartwarming results. This free pattern for our charming monkey is perfect for those new to amigurumi and seasoned crocheters alike. It utilizes basic stitches and clear instructions to guide you through every step, ensuring a fun and rewarding experience as you watch your monkey friend take shape.
Why You'll Love This Pattern
- Beginner-Friendly: While the finished product looks intricate, this pattern uses fundamental crochet stitches, making it accessible for those new to amigurumi.
- Customizable Charm: Easily personalize your monkey with different yarn colors for its body, face, and belly. Give it a unique scarf or a tiny banana!
- Perfect for Gifting: A handmade monkey makes a wonderful, thoughtful gift for birthdays, baby showers, or just because. It's sure to be cherished.
- Quick to Create: With clear instructions and manageable parts, you can whip up this little primate in a reasonable amount of time, perfect for last-minute gifts or a weekend project.
- Skill-Building: Practice your magic ring, increases, decreases, and invisible seams while creating something truly adorable.
Materials Needed
- Worsted Weight Yarn (Category 4):
- Main Color (Brown): Approx. 100-120 yards
- Accent Color (Light Beige/Cream): Approx. 30-40 yards
- Small amount of Black yarn for embroidery (mouth/nostrils)
- Crochet Hook: 3.5mm (E hook) or size needed to obtain tight stitches
- Safety Eyes: 8mm (or embroider eyes for infants)
- Polyester Fiberfill for stuffing
- Tapestry Needle for sewing parts together and weaving in ends
- Stitch Markers (highly recommended for amigurumi)
- Scissors
Gauge & Sizing
Gauge is not strictly critical for amigurumi, as long as your stitches are tight enough to prevent the stuffing from showing through. However, consistency in your tension is key. If your stitches are too loose, try using a smaller hook size. When finished, our little monkey will stand approximately 7-8 inches tall, depending on your yarn weight and tension.
Abbreviations
- ch: chain
- sl st: slip stitch
- sc: single crochet
- hdc: half double crochet
- dc: double crochet
- inc: increase (2 single crochet in one stitch)
- dec: decrease (single crochet 2 stitches together)
- MR: magic ring (also known as magic circle or magic loop)
- st(s): stitch(es)
- [ ] x N: Repeat the instructions in brackets N number of times
- ( ): The number in parentheses at the end of the round indicates the total stitch count for that round.
Step-by-Step Pattern
Head (Main Color: Brown)
- R1: Start with MR, sc 6. (6)
- R2: [Inc] x 6. (12)
- R3: [Sc 1, inc] x 6. (18)
- R4: [Sc 2, inc] x 6. (24)
- R5: [Sc 3, inc] x 6. (30)
- R6: [Sc 4, inc] x 6. (36)
- R7: [Sc 5, inc] x 6. (42)
- R8-R14: Sc in each st around. (42) (7 rounds)
- R15: [Sc 5, dec] x 6. (36)
- R16: [Sc 4, dec] x 6. (30)
- R17: [Sc 3, dec] x 6. (24)
- R18: [Sc 2, dec] x 6. (18)
- Insert safety eyes between R12 and R13, about 6-7 stitches apart. Begin stuffing firmly.
- R19: [Sc 1, dec] x 6. (12)
- R20: [Dec] x 6. (6)
- Fasten off, leaving a long tail for sewing. Close the remaining hole with your tapestry needle. Continue stuffing until firm.
Snout (Accent Color: Light Beige)
- R1: Ch 5. Sc in 2nd ch from hook, sc 2, 3 sc in last ch. Turn to work on the other side of the chain: sc 2, inc in last st. (10)
- R2: Inc, sc 2, inc x 3, sc 2, inc x 2. (16)
- R3: Sc in each st around. (16)
- Fasten off, leaving a long tail for sewing. Lightly stuff and flatten the snout slightly. Using black yarn, embroider a small nose and a gentle smile.
Ears (Make 2)
Inner Ear (Accent Color: Light Beige)
- R1: Start with MR, sc 6. (6)
- R2: [Inc] x 6. (12)
- Fasten off, weave in ends.
Outer Ear (Main Color: Brown)
- R1: Start with MR, sc 6. (6)
- R2: [Inc] x 6. (12)
- R3: Sc in each st around. (12)
- Hold one beige inner ear on top of one brown outer ear. Sc through both layers around to join. Sl st to first sc. Fasten off, leaving a long tail for sewing.
Body (Main Color: Brown)
- R1: Start with MR, sc 6. (6)
- R2: [Inc] x 6. (12)
- R3: [Sc 1, inc] x 6. (18)
- R4: [Sc 2, inc] x 6. (24)
- R5: [Sc 3, inc] x 6. (30)
- R6: [Sc 4, inc] x 6. (36)
- R7-R12: Sc in each st around. (36) (6 rounds)
- R13: [Sc 4, dec] x 6. (30)
- R14-R15: Sc in each st around. (30) (2 rounds)
- R16: [Sc 3, dec] x 6. (24)
- R17-R18: Sc in each st around. (24) (2 rounds)
- Begin stuffing firmly.
- R19: [Sc 2, dec] x 6. (18)
- Fasten off, leaving a long tail for sewing to the head. Continue stuffing until firm.
Arms (Make 2)
Start with Accent Color: Light Beige (for hands)
- R1: Start with MR, sc 6. (6)
- R2: [Sc 1, inc] x 3. (9)
- R3-R4: Sc in each st around. (9) (2 rounds)
- Change to Main Color: Brown.
- R5-R10: Sc in each st around. (9) (6 rounds)
- Lightly stuff the hand part only. Flatten the opening.
- Fasten off, leaving a long tail for sewing.
Legs (Make 2)
Start with Accent Color: Light Beige (for feet)
- R1: Ch 5. Sc in 2nd ch from hook, sc 2, 3 sc in last ch. Turn to work on the other side of the chain: sc 2, inc in last st. (10)
- R2: Inc, sc 2, inc x 3, sc 2, inc x 2. (16)
- R3: Sc in each st around. (16)
- R4: Sc 4, [dec] x 4, sc 4. (12)
- R5: Sc 2, [dec] x 4, sc 2. (8)
- Stuff the foot firmly.
- Change to Main Color: Brown.
- R6-R14: Sc in each st around. (8) (9 rounds)
- Lightly stuff the leg. Flatten the opening.
- Fasten off, leaving a long tail for sewing.
Tail (Main Color: Brown)
- R1: Start with MR, sc 4. (4)
- R2-R15: Sc in each st around. (4) (14 rounds)
- Fasten off, leaving a long tail for sewing. Do not stuff.
Assembly
- Attach Head to Body: Using the long tail from the body, sew the body to the head. Ensure the head is centered and securely attached, creating a seamless join.
- Attach Snout: Pin the snout onto the monkey's face, centered below the eyes. Sew firmly in place, stuffing a little more before closing if needed.
- Attach Ears: Position the ears on either side of the head, roughly between rounds 6 and 10. Sew securely.
- Attach Arms: Sew the arms to the sides of the body, just below the neck seam.
- Attach Legs: Sew the legs to the bottom of the body, ensuring the monkey can sit or stand as desired.
- Attach Tail: Sew the tail to the back of the body, centered.
- Final Touches: Weave in any remaining loose ends. Give your monkey a gentle squeeze to distribute the stuffing evenly and admire your finished creation!
Pro Tips for Amigurumi Success
- Use a Stitch Marker: Always place a stitch marker in the first stitch of each round when working in continuous spirals. This prevents losing your place and ensures accurate stitch counts.
- Stuff Firmly but Evenly: The key to a well-shaped amigurumi is firm, consistent stuffing. Use small pieces of fiberfill at a time, pushing it into all corners. Avoid overstuffing to the point of distorting stitches or understuffing leading to a floppy finish.
- Invisible Decreases: For a neater look, especially on visible parts, use the invisible decrease (invdec) method. Insert your hook into the front loop of the first stitch, then into the front loop of the second stitch, yarn over, pull through both front loops, yarn over, and pull through both loops on hook.
- Seamless Sewing: When attaching parts, use a mattress stitch or whip stitch, inserting your needle through the front loop of one piece and the back loop of the other for a clean, almost invisible seam. Pull tight after every few stitches.
- Yarn Choice Matters: While worsted weight is standard, experimenting with different yarn weights (and corresponding hook sizes) can dramatically change the size and feel of your amigurumi. Just ensure your stitches remain tight.
Frequently Asked Questions
Q: Can I use different yarn weights for this pattern?
A: Absolutely! You can use any yarn weight you prefer. Just remember that changing the yarn weight will alter the finished size of your monkey. If you use a thicker yarn, your monkey will be larger, and if you use a thinner yarn, it will be smaller. Always adjust your hook size accordingly to maintain tight stitches – usually, going down one or two hook sizes from what's recommended on the yarn label works best for amigurumi.
Q: How do I make my amigurumi stand up straight?
A: The key to a standing amigurumi often lies in how you stuff the legs and body. Ensure the legs are stuffed very firmly and evenly. Sometimes, adding a small piece of plastic canvas or a weighted bean bag (securely sewn inside a fabric pouch) at the very bottom of the body before final stuffing can provide stability. For this monkey, it's designed more for a charming seated pose, but firm leg stuffing will help it stand briefly.
Q: My stitches look loose, and I can see the stuffing. What should I do?
A: This is a common issue with amigurumi! It means your tension might be a bit too loose, or your hook size is too large for your chosen yarn. Try using a smaller crochet hook (e.g., if you're using a 3.5mm, try a 3.0mm or even 2.75mm) or consciously tightening your tension as you crochet. The goal is to create a dense fabric where the stuffing is completely hidden.
There you have it! Your very own charming crochet monkey, ready to bring smiles and warmth wherever it goes. We hope you enjoyed creating this pattern as much as we enjoyed designing it for you. Don't forget to share your finished monkey with us – we love seeing your unique creations!