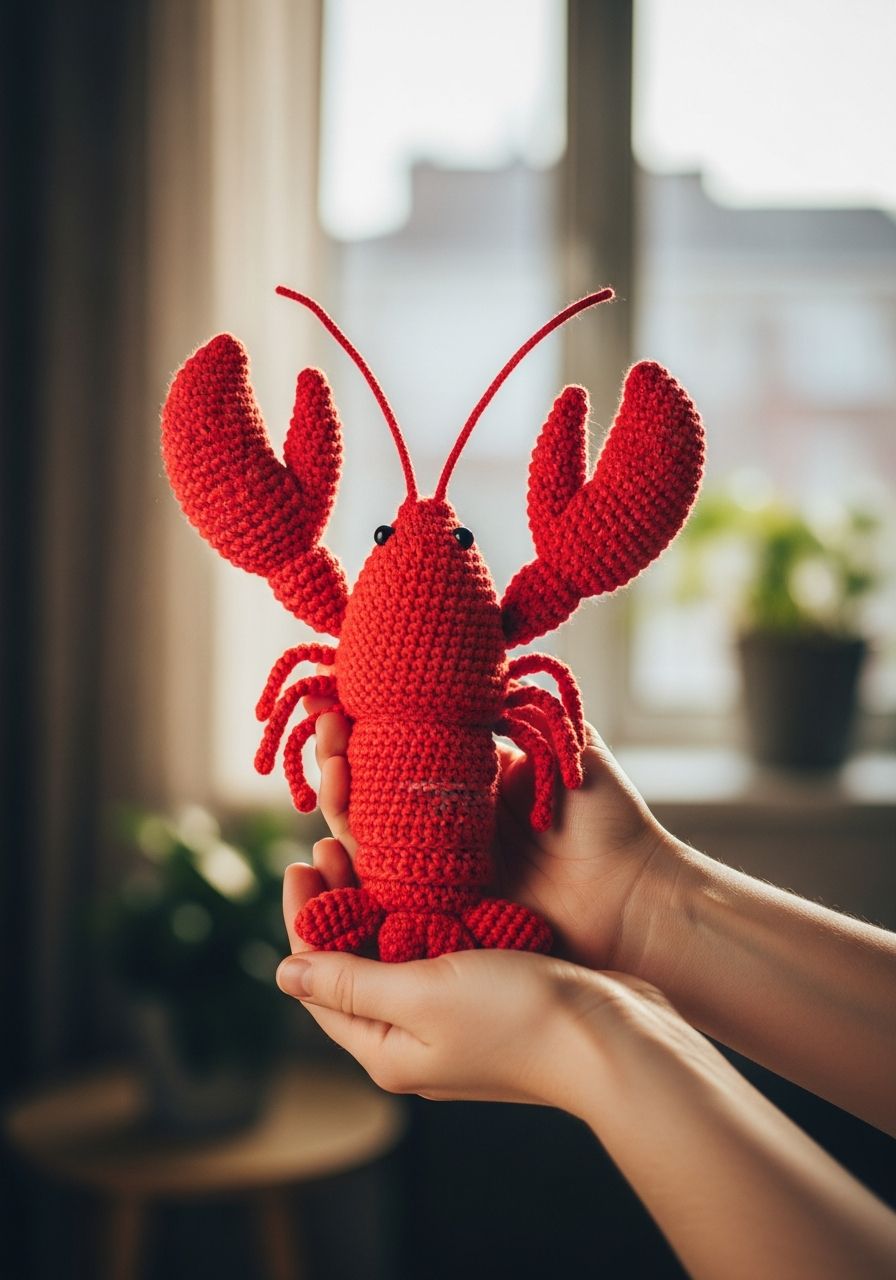
Imagine a tiny, vibrant splash of ocean magic, perfectly palm-sized and ready to bring a smile to anyone's face! There's an undeniable charm to amigurumi, and nothing quite captures whimsical delight like a friendly, scarlet crustacean. Get ready to embark on an enchanting crafting journey as we dive into creating your very own adorable, huggable, and utterly irresistible Crochet Lobster Amigurumi. This free pattern will guide you step-by-step to bring a piece of the seaside into your home, whether it's for a nursery decoration, a quirky desk companion, or a handmade gift that truly stands out. Prepare your hooks and yarn, because your next favorite project awaits!
Lobsters are fascinating creatures, and while their real-life counterparts might seem intimidating, our crochet version is all about cuteness and charm. This pattern is designed to be accessible for crocheters with a basic understanding of amigurumi techniques, offering clear instructions and plenty of tips to ensure your lobster turns out perfectly. From its sturdy body to its adorable claws and wiggly antennae, every detail is crafted to evoke a sense of handmade wonder. Let's make some waves and crochet a lobster that's sure to be a cherished companion!
Why You'll Love This Pattern
- Unique Gift Idea: Stand out from the crowd with a handmade gift that's as unique as it is adorable. Perfect for ocean lovers, kids, or anyone who appreciates quirky handmade treasures.
- Charming Decor: Add a touch of coastal whimsy to your home decor. Your lobster will look fantastic on a shelf, nestled amongst plants, or as part of a themed display.
- Skill Builder: While designed to be beginner-friendly, this pattern offers opportunities to practice essential amigurumi techniques like working in the round, increasing, decreasing, and attaching small parts, helping you grow as a crocheter.
- Customizable Fun: Experiment with different yarn colors! While classic red is traditional, imagine your lobster in blue, purple, or even a whimsical rainbow. You can also personalize it with embroidered details.
- Portable Project: This amigurumi project is perfect for on-the-go crafting. Take it with you to appointments, on commutes, or enjoy quiet evenings at home bringing your lobster to life.
- Instant Gratification: Amigurumi projects, especially smaller ones, offer a wonderful sense of accomplishment as you see the character take shape quickly.
Materials Needed
- Worsted Weight (Aran/10 ply) Yarn in:
- Main Color (MC): Approx. 80-100 yards of Red (or color of choice)
- Accent Color (AC): Small amount of Black or White (for eyes)
- Crochet Hook: 3.5mm (E/4)
- Safety Eyes: Two 6mm or 8mm (or embroider eyes for infants)
- Polyester Fiberfill for stuffing
- Yarn Needle (Tapestry Needle)
- Stitch Markers
- Scissors
Gauge & Sizing
Gauge: 4 sc x 4 rounds = 1 inch (2.5 cm)
Achieving the exact gauge isn't critical for amigurumi, but maintaining consistent tension is important for a firm fabric without gaps where stuffing could show through. If your stitches are too loose, go down a hook size. If they are too tight, go up a hook size.
Finished Size: Approximately 7-8 inches (18-20 cm) long from head to tail, depending on your yarn and tension.
Abbreviations
- MR: Magic Ring
- ch: Chain
- sc: Single Crochet
- sl st: Slip Stitch
- inc: Increase (2 sc in one stitch)
- dec: Decrease (single crochet 2 stitches together)
- hdc: Half Double Crochet
- dc: Double Crochet
- st(s): Stitch(es)
- R: Round
- FO: Fasten Off
- (X): Number of stitches at the end of the round
Step-by-Step Pattern
Work in continuous rounds unless otherwise specified. Use a stitch marker to keep track of the first stitch of each round.
Body (Make 1 - Main Color)
- R1: 6 sc in MR (6)
- R2: [Inc] x 6 (12)
- R3: [Sc, inc] x 6 (18)
- R4: [2 sc, inc] x 6 (24)
- R5: [3 sc, inc] x 6 (30)
- R6: [4 sc, inc] x 6 (36)
- R7-15: Sc around (36)
- R16: [4 sc, dec] x 6 (30)
- R17-18: Sc around (30)
- R19: [3 sc, dec] x 6 (24)
- R20-21: Sc around (24)
- R22: [2 sc, dec] x 6 (18)
- R23-24: Sc around (18)
- Start stuffing firmly and continue to stuff as you go.
- R25: [Sc, dec] x 6 (12)
- R26: Sc around (12)
- R27: [Dec] x 6 (6)
- FO, weave in tail to close the opening.
Claws (Make 2 - Main Color)
Each claw is worked in two parts and then joined.
Large Pincer (Make 2)
- R1: 6 sc in MR (6)
- R2: [Inc] x 6 (12)
- R3: [3 sc, inc] x 3 (15)
- R4-6: Sc around (15)
- R7: [3 sc, dec] x 3 (12)
- R8: Sc around (12)
- Stuff lightly. FO, leaving a long tail for sewing.
Small Pincer (Make 2)
- R1: 5 sc in MR (5)
- R2: [Inc] x 5 (10)
- R3-4: Sc around (10)
- R5: [3 sc, dec] x 2 (8)
- Stuff lightly. FO, leaving a long tail for sewing.
Claw Assembly
- Take one Large Pincer and one Small Pincer.
- Flatten the opening of both pincers.
- Position the Small Pincer on the side of the Large Pincer, overlapping slightly, to form a claw shape.
- Using the long tails, sew the two pieces together securely.
- Sew the finished claw to the side of the lobster's body, just behind the head. Repeat for the second claw on the opposite side.
Legs (Make 8 - Main Color)
- Ch 10.
- Starting in the 2nd ch from hook, sl st in each ch across (9 sl sts).
- FO, leaving a long tail for sewing.
Attach four legs to each side of the lobster's body, evenly spaced along the underside, between the claws and the tail.
Antennae (Make 2 - Main Color)
- Ch 15.
- Starting in the 2nd ch from hook, sc in each ch across (14 sc).
- FO, leaving a long tail for sewing.
Attach the antennae to the top of the lobster's head, towards the front.
Eyes (Make 2 - Accent Color)
- R1: 6 sc in MR (6)
- R2: [Inc] x 6 (12)
- R3-4: Sc around (12)
- Insert 6mm or 8mm safety eyes between R2 and R3.
- Stuff lightly.
- R5: [Dec] x 6 (6)
- FO, weave in tail to close. Leave a long tail for sewing.
Sew the eyes to the top of the lobster's head, slightly behind the antennae.
Assembly
- Attach Claws: Sew the assembled claws to either side of the body, just below the head section (around R7-R8 of the body).
- Attach Legs: Evenly space and sew the 8 legs to the underside of the lobster's body, 4 on each side, starting behind the claws and extending towards the tail.
- Attach Antennae: Sew the antennae to the top front of the head.
- Attach Eyes: Sew the stuffed eye stalks to the top of the head, slightly behind and to the outside of the antennae.
- Weave in all remaining ends securely. Ensure all parts are firmly attached and stuffing is evenly distributed.
Pro Tips
- Invisible Decrease: For a cleaner finish in amigurumi, use the invisible decrease (insert hook into front loop of first stitch, then into front loop of second stitch, yarn over, pull through both loops, yarn over, pull through remaining two loops).
- Stitch Markers are Your Best Friend: Always use a stitch marker to mark the first stitch of each round when working in continuous spirals. Move it up each round to avoid losing your place.
- Stuffing Smart: Stuff your amigurumi firmly but evenly. Overstuffing can distort the shape and create gaps; understuffing can make it floppy. Use small bits of fiberfill at a time, pushing it into all areas, especially the extremities.
- Seamless Joins: When fastening off and sewing pieces, use the yarn tail to sew through the stitches of both pieces to create a strong, almost invisible seam.
- Embroidered Features: If making this for a baby or small child, it's safer to embroider the eyes and any other facial features instead of using safety eyes.
- Yarn Choice: While worsted weight yarn is specified, you can experiment with different weights and corresponding hook sizes to create lobsters of various sizes. Just remember to adjust your hook size to ensure a tight fabric.
Frequently Asked Questions
Can a beginner successfully make this Crochet Lobster Amigurumi?
Absolutely! While it involves multiple parts, each component uses basic stitches and techniques. If you're comfortable with single crochet, increases, and decreases, you'll be able to follow this pattern. The detailed instructions and assembly guide are designed to help you every step of the way. Don't be afraid to take your time and refer to stitch tutorials if needed.
What's the best way to attach the smaller parts like legs and antennae so they don't fall off?
The key to securely attaching smaller parts is to leave long tails when you fasten off. Use your yarn needle to sew through both the base of the small part and several stitches on the main body, going back and forth multiple times. Weave the yarn tail through the body of the lobster a few times before trimming to ensure it's locked in place. Small, tight stitches work best.
Can I make my lobster in a different color, like blue or purple?
Of course! While red is the classic lobster color, feel free to unleash your creativity. Blue lobsters are a natural variation, and purple or even rainbow lobsters can add a fantastic whimsical touch. The pattern remains the same regardless of your color choice, so pick a hue that makes you happy!
There you have it – your very own charming Crochet Lobster Amigurumi, ready to add a splash of personality and handmade warmth to your world! Crafting this little guy is more than just following a pattern; it's an act of creation, a moment of peaceful focus, and the joy of seeing yarn transform into something truly special. We hope you enjoyed every stitch of this oceanic adventure. May your new lobster friend bring you endless smiles and a reminder of the wonderful things you can create with a hook and some yarn. Happy crocheting!