Imagine the pure delight on a child's face, or the cozy charm added to your living space, when you bring to life a magnificent yet cuddly king of the jungle with your own two hands. There's a special magic in creating something so tangible and full of character, and today, you get to embark on that enchanting journey! Get ready to fall in love with our delightful Crochet Lion Amigurumi free pattern, designed to guide you step-by-step through crafting your very own adorable, huggable lion that will undoubtedly steal hearts.
Why You'll Love This Pattern
This isn't just another crochet project; it's an opportunity to create a treasured companion or a heartwarming gift. Here’s why this free lion amigurumi pattern is perfect for you:
- Beginner-Friendly: While it looks impressive, this pattern uses fundamental crochet stitches and clear, concise instructions, making it accessible for confident beginners and enjoyable for experienced crocheters alike.
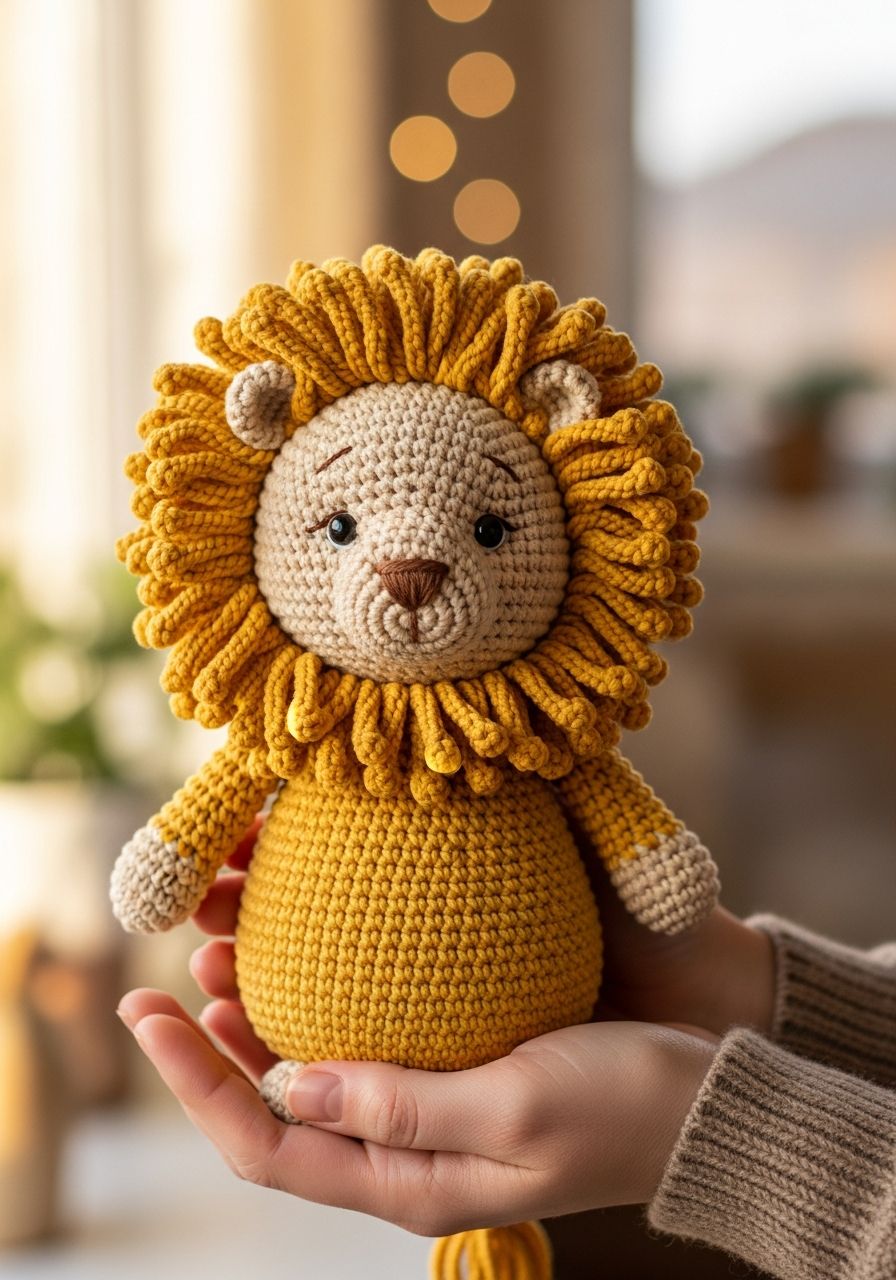
- Irresistibly Cute: We've designed this lion to be the perfect blend of majestic and adorable, with a friendly face and a wonderfully fluffy mane that begs to be squeezed.
- A Unique Handmade Gift: Skip the store-bought toys! A handmade lion infused with your love and effort makes an incredibly thoughtful and personal gift for birthdays, baby showers, or just because.
- Versatile & Decorative: Beyond being a toy, your finished lion makes a fantastic nursery decor piece, a charming desk companion, or even a whimsical centerpiece.
- Skill-Building: Practice your amigurumi shaping, invisible decreases, and assembly techniques, enhancing your overall crochet repertoire.
- Instant Gratification: Watch your lion come to life round by round, experiencing the satisfying progress of bringing a soft sculpture into existence.
Materials Needed
- Yarn: Worsted weight (Aran/10 ply) 100% acrylic yarn in:
- Main Color (MC) - approximately 150g (e.g., golden yellow, light brown)
- Mane Color (MN) - approximately 50g (e.g., darker brown, orange, or a contrasting yellow)
- Muzzle/Ear Inner Color (MZ) - small amount (e.g., cream, light beige)
- Black yarn - small amount for nose/mouth embroidery
- Crochet Hook: 3.5mm (E/4) or size needed to achieve tight stitches (no gaps for stuffing to show).
- Safety Eyes: 10-12mm (2 pieces)
- Polyester Fiberfill: For stuffing
- Tapestry Needle: For sewing pieces together and weaving in ends
- Stitch Markers: Essential for amigurumi to mark the beginning of rounds
- Scissors
Gauge & Sizing
For amigurumi, exact gauge isn't critical as long as your stitches are tight enough to prevent stuffing from showing through. However, consistency is key! If you find your stitches too loose, go down a hook size. If they are too stiff, go up a hook size. Using the recommended hook and yarn, your finished Crochet Lion Amigurumi will stand approximately 9-10 inches tall (23-25 cm).
Abbreviations
- ch: Chain
- sc: Single crochet
- hdc: Half double crochet
- dc: Double crochet
- sl st: Slip stitch
- inc: Increase (2 sc in one stitch)
- dec: Decrease (single crochet 2 together - use invisible decrease method for best results)
- magic ring: Adjustable ring
- FO: Fasten off
- BLO: Back loop only
- Rnd: Round
- st(s): Stitch(es)
Step-by-Step Pattern
This pattern is worked in continuous rounds unless otherwise specified. Use a stitch marker to mark the first stitch of each round.
Head (in MC)
- Start with a magic ring, ch 1, 6 sc into ring. (6 sts)
- Inc in each st around. (12 sts)
- (Sc, inc) x6. (18 sts)
- (2 sc, inc) x6. (24 sts)
- (3 sc, inc) x6. (30 sts)
- (4 sc, inc) x6. (36 sts)
- (5 sc, inc) x6. (42 sts)
- (6 sc, inc) x6. (48 sts)
- Sc in each st around. (48 sts)
- Sc in each st around. (48 sts)
- Sc in each st around. (48 sts)
- Sc in each st around. (48 sts)
- Sc in each st around. (48 sts)
- Sc in each st around. (48 sts)
- Sc in each st around. (48 sts)
- Sc in each st around. (48 sts)
- (6 sc, dec) x6. (42 sts)
- (5 sc, dec) x6. (36 sts)
- (4 sc, dec) x6. (30 sts)
- (3 sc, dec) x6. (24 sts)
Insert safety eyes between Rnd 13 and 14, approximately 6-7 stitches apart. Begin stuffing firmly.
- (2 sc, dec) x6. (18 sts)
- (Sc, dec) x6. (12 sts)
Finish stuffing. FO, leaving a long tail for sewing to the body.
Body (in MC)
- Start with a magic ring, ch 1, 6 sc into ring. (6 sts)
- Inc in each st around. (12 sts)
- (Sc, inc) x6. (18 sts)
- (2 sc, inc) x6. (24 sts)
- (3 sc, inc) x6. (30 sts)
- (4 sc, inc) x6. (36 sts)
- (5 sc, inc) x6. (42 sts)
- Sc in each st around. (42 sts)
- Sc in each st around. (42 sts)
- Sc in each st around. (42 sts)
- Sc in each st around. (42 sts)
- Sc in each st around. (42 sts)
- Sc in each st around. (42 sts)
- Sc in each st around. (42 sts)
- (5 sc, dec) x6. (36 sts)
- Sc in each st around. (36 sts)
- Sc in each st around. (36 sts)
- (4 sc, dec) x6. (30 sts)
- Sc in each st around. (30 sts)
- Sc in each st around. (30 sts)
- (3 sc, dec) x6. (24 sts)
Begin stuffing firmly.
- Sc in each st around. (24 sts)
FO, leaving a long tail for sewing to the head.
Muzzle (in MZ)
- Start with a magic ring, ch 1, 6 sc into ring. (6 sts)
- Inc in each st around. (12 sts)
- (Sc, inc) x6. (18 sts)
- Sc in each st around. (18 sts)
- Sc in each st around. (18 sts)
FO, leaving a long tail for sewing. Lightly stuff.
Ears (Make 2, in MC, use MZ for inner ear if desired)
- Start with a magic ring, ch 1, 6 sc into ring. (6 sts)
- (Sc, inc) x3. (9 sts)
- (2 sc, inc) x3. (12 sts)
- Sc in each st around. (12 sts)
FO, leaving a long tail for sewing. Do not stuff. Flatten the piece into a half-circle.
Arms (Make 2, in MC)
- Start with a magic ring, ch 1, 6 sc into ring. (6 sts)
- (Sc, inc) x3. (9 sts)
- Sc in each st around. (9 sts)
- Sc in each st around. (9 sts)
- Sc in each st around. (9 sts)
- Sc in each st around. (9 sts)
- Sc in each st around. (9 sts)
- Sc in each st around. (9 sts)
- Sc in each st around. (9 sts)
- Sc in each st around. (9 sts)
Lightly stuff the bottom half of the arm. Flatten the opening.
- Sc 4 across opening to close. (4 sts)
FO, leaving a long tail for sewing.
Legs (Make 2, in MC)
- Start with a magic ring, ch 1, 6 sc into ring. (6 sts)
- Inc in each st around. (12 sts)
- (Sc, inc) x6. (18 sts)
- Sc in each st around. (18 sts)
- Sc in each st around. (18 sts)
- (Sc, dec) x6. (12 sts)
- Sc in each st around. (12 sts)
- Sc in each st around. (12 sts)
- Sc in each st around. (12 sts)
- Sc in each st around. (12 sts)
- Sc in each st around. (12 sts)
- Sc in each st around. (12 sts)
Stuff firmly.
- Sc in each st around. (12 sts)
Flatten the opening.
- Sc 6 across opening to close. (6 sts)
FO, leaving a long tail for sewing.
Tail (in MC)
- Ch 15.
- Starting in the 2nd ch from hook, sc in each of the next 14 chains. (14 sts)
FO, leaving a long tail. For the tail fluff, cut several 3-inch strands of MN yarn. Loop them through the end of the tail (the last sc made) and tie securely. Trim to create a small tassel.
Mane (in MN)
Cut many 5-inch (12-13 cm) strands of your Mane Color yarn. Using your crochet hook, loop and knot these strands around the head in concentric circles. Start by placing strands between Rnd 6 and Rnd 7, then Rnd 8 and Rnd 9, and continue up to Rnd 16 and Rnd 17. The goal is to create a full, fluffy mane around the lion's face, leaving the muzzle area clear. You can double knot each strand for extra security. Trim and shape the mane to your desired length and fullness.
Assembly
- Head to Body: Using the long tail from the head, carefully sew the head to the body, centering it. Make sure the stuffing is even and firm before closing.
- Muzzle: Sew the muzzle to the front of the head, just below the safety eyes. With black yarn, embroider a triangular nose on the top of the muzzle and a simple 'Y' or 'V' shaped mouth below it.
- Ears: Pinch the bottom of each ear slightly to give it shape and sew them to the top sides of the head, around Rnd 3-4, above the eyes.
- Arms: Sew the arms to the sides of the body, just below the neck seam, ensuring they are evenly spaced.
- Legs: Sew the legs to the bottom of the body, positioned so your lion can sit upright.
- Tail: Attach the tail to the back of the body, centered.
- Mane: Once all parts are assembled, fluff and adjust your lion's mane!
Pro Tips
- Invisible Decrease: For a seamless look in your amigurumi, learn and use the invisible decrease method (insert hook into front loop of first stitch, then into front loop of second stitch, yarn over, pull through both front loops, yarn over, pull through remaining two loops on hook).
- Stuffing Smart: Stuff your pieces firmly and evenly as you go, especially the head and body. Use small bits of fiberfill to avoid lumps. Ensure the neck is very well stuffed to support the head.
- Stitch Marker is Your Best Friend: Never crochet amigurumi without one! It's easy to lose count in continuous rounds.
- Yarn Choice: While acrylic is recommended for its durability and washability, feel free to experiment with other worsted-weight yarns like cotton for a different texture. Just ensure your stitches remain tight.
- Safety Eye Placement: Before securing the safety eye backs, place them on the head and step back to assess the expression. Adjust as needed until you're happy.
- Weave in Ends: Don't forget to weave in all yarn tails securely inside your finished pieces before stuffing fully.
Frequently Asked Questions
Q: Is this pattern suitable for beginners?
A: Absolutely! This pattern is designed with clear, step-by-step instructions that are easy to follow. If you know how to do a magic ring, single crochet, increase, and decrease, you're all set! It’s a great project for building confidence in amigurumi techniques.
Q: What kind of yarn should I use for the best results?
A: We recommend using a worsted weight (Aran/10 ply) 100% acrylic yarn. Acrylic is durable, readily available, machine washable, and comes in a wide range of colors. However, you can use any yarn weight as long as you adjust your hook size to achieve tight stitches, and be aware that the final size of your lion will vary.
Q: How can I make my lion unique?
A: Personalizing your lion is part of the fun! You can choose different color palettes for the main body and mane, add a small crocheted crown or a bow tie, or even embroider small details like paw pads. Get creative and make your lion truly one-of-a-kind!
And there you have it – your very own majestic yet adorable Crochet Lion Amigurumi, ready to bring joy wherever it goes! The satisfaction of creating something so charming with your own hands is truly unmatched. We hope you've enjoyed every stitch of this journey. Happy crocheting!