Imagine the satisfying feeling of creating something truly functional and beautiful with your own hands – something that not only protects your valuable tech but also reflects your unique style. No more settling for plain, mass-produced cases! Today, we're diving into a project that combines practicality with handmade charm: a stunning and sturdy Crochet Laptop Bag 15 Inch. Get ready to embark on a creative journey that will result in a gorgeous, custom-fit bag perfect for yourself or as a thoughtful gift. This free pattern is designed to be accessible and rewarding, ensuring your laptop travels in comfort and style!
Why You'll Love This Pattern
This isn't just another crochet pattern; it's an opportunity to create a truly personalized and useful item. Here's why you'll adore making your own laptop bag:
- Custom Fit Perfection: No more awkward gaps or squeezed corners! This pattern is specifically designed to fit a 15-inch laptop snugly, providing optimal protection. You can easily adjust it for other sizes too (see FAQ section!).
- Durability and Protection: Using sturdy stitches and the right yarn, your handmade bag will offer a soft yet robust layer of protection against bumps and scratches. Add an optional fabric lining for even more security.
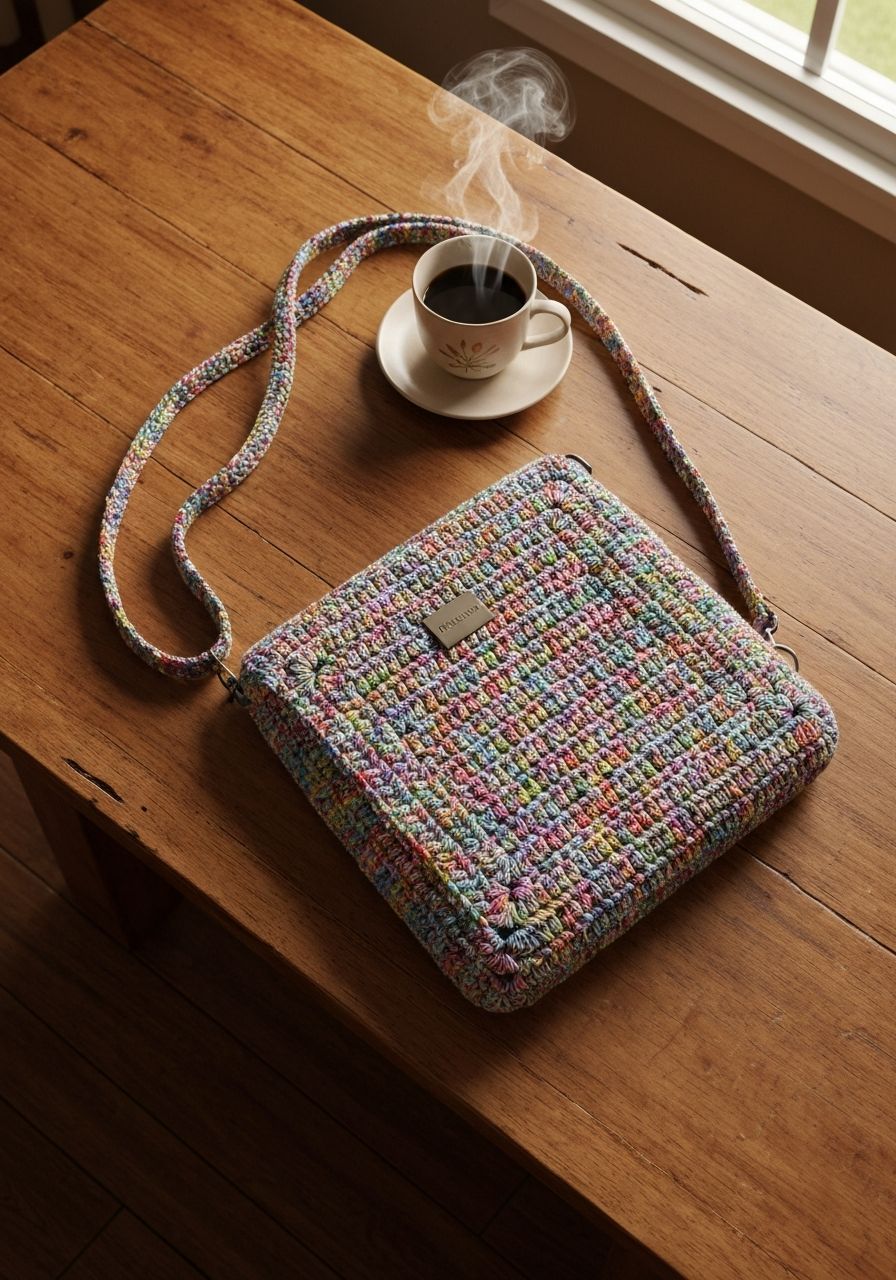
- Express Your Style: Choose your favorite colors and yarn textures to make a bag that's uniquely yours. From vibrant hues to sophisticated neutrals, the possibilities are endless.
- Eco-Friendly Crafting: Reduce your reliance on factory-made accessories by crafting your own. Plus, it's a fantastic way to use up leftover yarn from your stash.
- Skill Building Project: While beginner-friendly, this pattern introduces you to fundamental shaping techniques for bags, helping you grow your crochet skills with a satisfying end product.
- The Perfect Gift: A handmade laptop bag is an incredibly thoughtful and practical gift for students, professionals, or anyone who carries their laptop on the go.
Materials Needed
- Yarn: Approximately 800-1000 yards of worsted weight (Category 4) yarn. A cotton blend or sturdy acrylic is recommended for durability and minimal stretch. For extra structure, look for a yarn with good stitch definition.
- Crochet Hook: H/5.0mm or I/5.5mm (or size needed to obtain gauge).
- Stitch Markers: Essential for keeping track of rounds and key stitches.
- Yarn Needle: For weaving in ends and seaming.
- Scissors: For cutting yarn.
- Measuring Tape: Crucial for checking gauge and sizing.
- Button (optional): For the flap closure, approximately 1.5-2 inches in diameter.
- Fabric for Lining (optional but recommended): A piece of sturdy cotton or canvas fabric, slightly larger than your finished bag dimensions, for a protective lining.
- Sewing Machine & Thread (if adding lining): Or needle and thread for hand-sewing.
Gauge & Sizing
Gauge is critical for this project to ensure your laptop fits! Take the time to make a swatch.
Using your chosen yarn and hook, work a swatch in single crochet (sc):
- Ch 17.
- Row 1: Sc in 2nd ch from hook and in each ch across. (16 sc)
- Rows 2-16: Ch 1, turn, sc in each sc across. (16 sc)
Your finished swatch should measure approximately 4 inches by 4 inches. Adjust your hook size if necessary:
- If your swatch is too large, use a smaller hook.
- If your swatch is too small, use a larger hook.
Finished Bag Dimensions (approximate, before lining):
- Width: 16 inches
- Height: 11 inches (excluding flap)
- Depth: 1.5 inches
Abbreviations
- ch: chain
- sl st: slip stitch
- sc: single crochet
- hdc: half double crochet
- dc: double crochet
- inc: increase (usually 2 sts in one st)
- dec: decrease (usually sc2tog or hdc2tog)
- BLO: back loop only
- st(s): stitch(es)
- rep: repeat
- yo: yarn over
Step-by-Step Pattern
This pattern is worked in continuous rounds for the base and body, then rows for the flap and strap.
Bottom of the Bag (Base)
We'll create an oval base to give the bag structure.
- Starting Chain: Ch 57.
- Round 1: Sc in 2nd ch from hook, sc in next 54 ch, 3 sc in last ch. Now, turn your work to crochet along the other side of the starting chain. Sc in next 54 ch, 2 sc in last ch. Join with a sl st to the first sc of the round. (114 stitches)
- Round 2: Ch 1 (does not count as a stitch), 2 sc in the first st, sc in the next 54 sts, 2 sc in each of the next 3 sts, sc in the next 54 sts, 2 sc in each of the next 2 sts. Join with a sl st to the first sc. (120 stitches)
- Round 3: Ch 1, 2 sc in the first st, sc in the next 56 sts, 2 sc in each of the next 3 sts, sc in the next 56 sts, 2 sc in each of the next 2 sts. Join with a sl st to the first sc. (126 stitches)
- Round 4: Ch 1, 2 sc in the first st, sc in the next 58 sts, 2 sc in each of the next 3 sts, sc in the next 58 sts, 2 sc in each of the next 2 sts. Join with a sl st to the first sc. (132 stitches)
Body of the Bag
Now we'll build up the sides of the bag. We'll use half double crochet (hdc) for a sturdy and quick-to-grow fabric.
- Round 5 (Define Edge): Ch 1, hdc in the back loop only (BLO) of each stitch around. Join with a sl st to the first hdc. (132 hdc) This creates a nice defined edge for the bottom of your bag.
- Rounds 6-36 (Body Height): Ch 1, hdc in both loops of each stitch around. Join with a sl st to the first hdc. (132 hdc per round). Repeat this for a total of 31 rounds (or until the bag measures approximately 11 inches from the base).
- Fasten off, weave in ends.
Flap for Closure
The flap will be worked in rows, covering approximately half the opening of the bag.
- Attach Yarn: Flatten the bag. Count 66 stitches from one side, starting from a side seam. Attach yarn with a sl st into the 66th stitch.
- Row 1: Ch 1, hdc in the same st and in the next 65 sts. Turn. (66 hdc)
- Rows 2-8: Ch 1, hdc in each st across. Turn. (66 hdc)
- Row 9 (Buttonhole Row): Ch 1, hdc in the first 30 sts, ch 4 (this creates your buttonhole), skip next 4 sts, hdc in the last 32 sts. Turn. (62 hdc + 4 ch)
- Row 10: Ch 1, hdc in the first 32 sts, 4 hdc into the ch-4 space, hdc in the last 30 sts. Turn. (66 hdc)
- Rows 11-12: Ch 1, hdc in each st across. Turn. (66 hdc)
- Edging: Ch 1, sl st evenly around the entire edge of the flap for a neat finish. Fasten off, weave in ends.
Strap
A sturdy strap is essential for carrying your laptop. We'll make a simple, strong strap.
- Starting Chain: Ch 9.
- Row 1: Sc in 2nd ch from hook and in each remaining ch across. Turn. (8 sc)
- Rows 2-160: Ch 1, sc in each st across. Turn. (8 sc). Repeat until your strap measures approximately 48-50 inches (or your desired length).
- Fasten off, leaving a very long tail (at least 24 inches) for sewing.
Finishing Touches
- Attach Strap: Place your bag flat. Position the ends of the strap approximately 1 inch down from the top edge on each side of the bag. Use the long yarn tails and your yarn needle to securely stitch the strap ends to the bag, making sure to go through both layers of the strap and into the body of the bag multiple times for strength.
- Attach Button: Sew your chosen button onto the front of the bag, centered under the buttonhole on the flap.
- Weave in All Ends: Carefully weave in any remaining loose yarn ends using your yarn needle.
Pro Tips for Your Crochet Laptop Bag
- Block Your Bag: After completing the bag (and before adding a lining), wet block it. This means getting it thoroughly wet, gently squeezing out excess water, shaping it to the desired dimensions, and letting it air dry completely. Blocking will even out your stitches and give your bag a professional finish.
- Consider a Sturdy Lining: While crochet offers some protection, a sewn fabric lining (like canvas or quilting cotton) will add significant durability, prevent stretching, and offer an extra layer of shock absorption. You can hand-sew or machine-sew a simple pouch lining and slip it inside your bag, stitching it to the top edge.
- Yarn Choice Matters: Avoid very stretchy yarns (like some pure acrylics) if you want a bag that holds its shape well. Cotton blends, sturdy acrylics, or even a tight wool blend work wonderfully.
- Measure as You Go: Keep your measuring tape handy! Periodically check the width and height of your bag against your laptop to ensure it's on track to fit perfectly.
- Reinforce Stress Points: When attaching the strap, sew through the bag multiple times and perhaps even add an extra square of stitching for maximum durability, especially if you carry heavier laptops.
Frequently Asked Questions
Can I adjust this pattern for a different size laptop?
Absolutely! To adjust, you'll need to modify the starting chain and the number of body rounds. For a smaller laptop, start with a shorter chain for the base (measure your laptop's width, subtract its depth, then chain that many inches based on your gauge). For a larger laptop, start with a longer chain. Adjust the number of body rounds (Rounds 6-36) until the bag reaches the desired height for your specific laptop.
What's the best yarn for a laptop bag?
The best yarn is one that offers good structure and minimal stretch. Cotton blends are excellent as they are durable and hold shape well. Sturdy acrylics are also a good, affordable option. Avoid superwash wools or very soft, draping yarns, as they might stretch out over time under the weight of a laptop.
How do I add a fabric lining to my crochet bag?
To add a lining, measure the finished dimensions of your crochet bag (width, height, and depth). Cut two pieces of fabric for the main body (width + 1" seam allowance x height + depth + 1" seam allowance) and one piece for the bottom. Sew the fabric pieces into a simple box shape, mirroring the crochet bag's dimensions. Hem the top edge of the lining, then slip it inside your crochet bag. Hand-stitch the top edge of the fabric lining to the inside top edge of the crochet bag using a sewing needle and matching thread.
Congratulations! You've just created a beautiful, functional, and completely unique Crochet Laptop Bag 15 Inch. Whether you're using it to protect your own tech or gifting it to a loved one, you can take pride in the craftsmanship and personal touch. Don't hesitate to experiment with colors and even add embellishments like appliques or embroidery to truly make it your own. Happy crocheting!