Imagine wrapping yourself in the ultimate comfort, a garment perfectly tailored to your style, crafted by your own hands with love. Picture crisp autumn mornings, cozy evenings by the fire, or simply a relaxed day out, all enhanced by the warmth and unique charm of your very own crochet hoodie. This isn't just a pattern; it's an invitation to create a cherished piece that feels like a warm hug, a personal statement, and a testament to your creative spirit. Get ready to fall in love with your new favorite make!
Welcome, fellow yarn enthusiasts, to the ultimate guide for crocheting your very own cozy hoodie! This free pattern is designed to be accessible for intermediate crocheters, but ambitious beginners with a grasp of basic stitches will find it achievable too. We'll walk you through every step, from selecting your yarn to seaming your masterpiece, ensuring a rewarding and enjoyable crafting experience. Get ready to transform humble skeins of yarn into a stylish, comfortable, and absolutely unique wardrobe staple.
Why You'll Love This Pattern
- Ultimate Comfort: Designed with a relaxed fit and soft stitches, this hoodie is incredibly comfortable for everyday wear.
- Customizable: Easily adjust the length, sleeve fit, and even add pockets or drawstrings to truly make it your own.
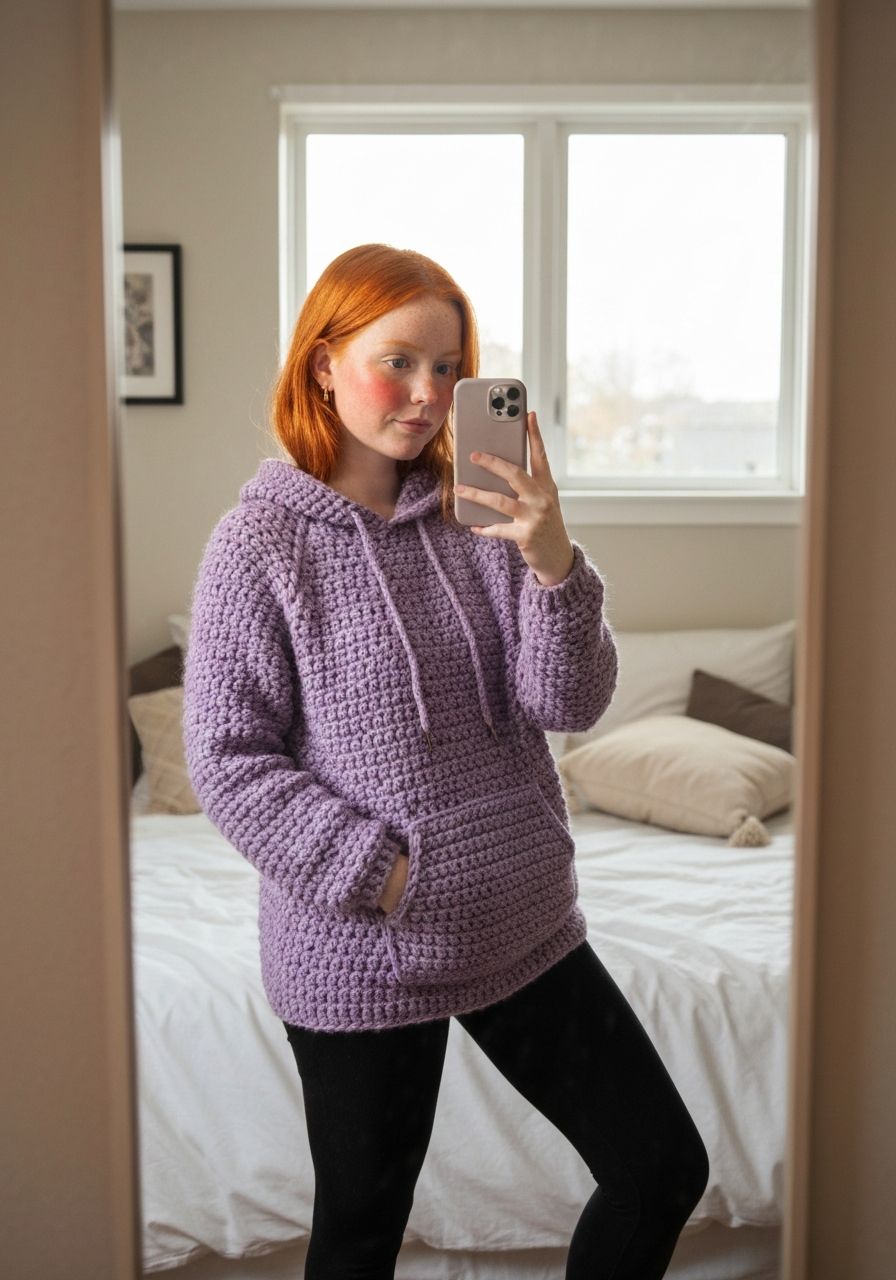
- Stylish & Versatile: A classic design that pairs effortlessly with jeans, leggings, or even over a dress for a layered look.
- Skill-Building: Practice essential techniques like working in rows, seaming, and creating ribbing, building your confidence with each stitch.
- Unique Wardrobe Addition: Stand out from the crowd with a handmade garment that reflects your personal flair – no fast fashion here!
- Thoughtful Gift: A handmade hoodie makes an incredibly thoughtful and cherished gift for loved ones.
Materials Needed
- Yarn: Worsted Weight (Category 4) yarn, approximately 1200 (1400, 1600, 1800, 2000, 2200) yards. I recommend a soft acrylic blend or wool for warmth and drape. (Specific yardage for S, M, L, XL, 2XL, 3XL)
- Crochet Hook: H/5.00mm or size needed to obtain gauge.
- Tapestry Needle: For weaving in ends and seaming.
- Stitch Markers: To mark important stitches or rows.
- Scissors: For cutting yarn.
- Measuring Tape: For checking gauge and sizing.
Gauge & Sizing
Gauge: 14 hdc x 10 rows = 4 inches (10 cm) using H/5.00mm hook.
IMPORTANT: Taking time to check your gauge is crucial for achieving the correct size and fit. If your swatch is too small, try a larger hook. If your swatch is too large, try a smaller hook.
Sizing Information (Finished Bust Circumference):
- Small (S): 36 inches / 91 cm
- Medium (M): 40 inches / 102 cm
- Large (L): 44 inches / 112 cm
- X-Large (XL): 48 inches / 122 cm
- 2X-Large (2XL): 52 inches / 132 cm
- 3X-Large (3XL): 56 inches / 142 cm
The pattern is written for size Small, with changes for M, L, XL, 2XL, 3XL in parentheses (S, M, L, XL, 2XL, 3XL). For example, "Chain 60 (66, 72, 78, 84, 90)" means chain 60 for S, 66 for M, 72 for L, and so on.
Abbreviations
- ch: chain
- sc: single crochet
- hdc: half double crochet
- sl st: slip stitch
- st(s): stitch(es)
- sk: skip
- rep: repeat
- BLO: back loop only
- inc: increase (usually 2 sts in one st)
- dec: decrease (usually hdc2tog)
- FO: fasten off
Step-by-Step Pattern
Body (Make 2: Front & Back Panels)
- Bottom Ribbing: Ch 9.
- Row 1: Sc in 2nd ch from hook and in each ch across. (8 sc)
- Row 2: Ch 1, turn. Sc in BLO of each st across. (8 sc)
- Repeat Row 2: Repeat Row 2 until ribbing measures 18 (20, 22, 24, 26, 28) inches / 46 (51, 56, 61, 66, 71) cm unstretched. Do not FO. You will now work along the long edge of the ribbing.
- Main Body: Ch 2 (does not count as st).
- Row 1: Turn ribbing 90 degrees. Work 1 hdc into the end of each ribbing row. You should have 68 (76, 84, 92, 100, 108) hdc across. (Ensure your hdc count matches the width of your ribbing.)
- Row 2: Ch 2, turn. Hdc in each st across.
- Repeat Row 2: Continue repeating Row 2 until panel measures 16 (16.5, 17, 17.5, 18, 18.5) inches / 40.5 (42, 43, 44.5, 45.5, 47) cm from the top of the ribbing (or desired length before armholes).
- Armhole Shaping:
- Row 1: Ch 2, turn. Sl st in first 3 (3, 4, 4, 5, 5) sts. Ch 2, hdc in next st and in each st across until 3 (3, 4, 4, 5, 5) sts remain. Leave remaining sts unworked. (62, 70, 76, 84, 90, 98 hdc)
- Row 2: Ch 2, turn. Hdc2tog, hdc in each st until last 2 sts, hdc2tog. (60, 68, 74, 82, 88, 96 hdc)
- Repeat Row 2: Repeat Row 2 for a total of 2 (2, 3, 3, 4, 4) rows. (58, 66, 68, 76, 82, 90 hdc remaining)
- Continue working even (hdc in each st across) until panel measures 9 (9.5, 10, 10.5, 11, 11.5) inches / 23 (24, 25.5, 26.5, 28, 29) cm from the start of armhole shaping. FO.
- Make a second identical panel for the back.
Sleeves (Make 2)
- Cuff Ribbing: Ch 9.
- Row 1: Sc in 2nd ch from hook and in each ch across. (8 sc)
- Row 2: Ch 1, turn. Sc in BLO of each st across. (8 sc)
- Repeat Row 2: Repeat Row 2 until ribbing measures 8 (8.5, 9, 9.5, 10, 10.5) inches / 20 (21.5, 23, 24, 25.5, 26.5) cm unstretched. Do not FO.
- Main Sleeve: Ch 2 (does not count as st).
- Row 1: Turn ribbing 90 degrees. Work 1 hdc into the end of each ribbing row. You should have 30 (32, 34, 36, 38, 40) hdc across.
- Row 2: Ch 2, turn. Hdc in each st across.
- Row 3 (Increase Row): Ch 2, turn. 2 hdc in first st, hdc in each st until last st, 2 hdc in last st. (2 sts increased)
- Repeat Rows 2 & 3: Repeat Row 2 once, then Row 3 once. Continue this pattern (1 even row, 1 increase row) until you have 48 (52, 56, 60, 64, 68) hdc.
- Continue working even (hdc in each st across) until sleeve measures 17 (17.5, 18, 18.5, 19, 19.5) inches / 43 (44.5, 45.5, 47, 48, 49.5) cm from the cuff ribbing, or desired length. FO.
Hood
- Ch 2 for turning chain at the beginning of each row.
- Ch 80 (84, 88, 92, 96, 100).
- Row 1: Hdc in 3rd ch from hook and in each ch across. (78, 82, 86, 90, 94, 98 hdc)
- Row 2: Ch 2, turn. Hdc in each st across.
- Repeat Row 2: Repeat Row 2 until hood measures 12 (12.5, 13, 13.5, 14, 14.5) inches / 30.5 (32, 33, 34.5, 35.5, 37) cm from the starting chain.
- FO, leaving a long tail for seaming.
Assembly
- Shoulder Seams: Lay front and back panels flat with right sides facing each other. Using your tapestry needle and a whip stitch or mattress stitch, seam the shoulder edges together. Seam approximately 6 (7, 8, 9, 10, 11) inches / 15 (18, 20.5, 23, 25.5, 28) cm in from each armhole edge, leaving the center unseamed for the neck opening.
- Attach Sleeves: Lay the body flat, open. Find the center top of each sleeve. Align this point with the shoulder seam. Pin the sleeve along the armhole opening of the body. Seam the sleeves to the body using whip stitch or mattress stitch.
- Side & Sleeve Seams: Fold the hoodie in half, right sides together. Starting from the cuff of one sleeve, seam the sleeve side up to the armpit. Continue seaming down the side of the body to the bottom ribbing. Repeat for the other side.
- Assemble Hood: Fold the hood panel in half lengthwise, wrong sides together. Using the long tail you left, seam the top edge (the shorter edge) of the hood closed. This forms the top curve of the hood.
- Attach Hood: With the hoodie right side out, align the center back seam of the hood with the center back of the neck opening on the body. Pin the hood evenly around the neck opening. Using your tapestry needle, seam the hood to the neck opening.
Finishing
- Weave in all remaining loose ends securely with your tapestry needle.
- Block your hoodie if desired to even out stitches and improve drape.
- Optional: Add a drawstring to the hood. Ch 150-200, weave through the front edge of the hood, and knot the ends.
Pro Tips
- Yarn Choice Matters: For a truly comfortable hoodie, choose a yarn that's soft against the skin. Acrylic blends are great for easy care, while wool or merino blends offer superior warmth.
- Test Your Gauge: Seriously, don't skip this! A small deviation in gauge can significantly alter the finished size of your garment.
- Seamless Seams: The mattress stitch creates an almost invisible seam, perfect for a professional finish. Practice it on a swatch first!
- Customizing Length: To make your hoodie longer or shorter, simply add or subtract rows from the main body section before starting the armhole shaping.
- Trying On As You Go: If possible, try on the panels as you go to check the fit, especially the armholes and sleeve length.
- Blocking for Polish: Even if your stitches are perfect, a gentle blocking can make a huge difference in the drape and overall appearance of your finished hoodie.
Frequently Asked Questions
Can I make this hoodie in a different yarn weight?
Yes, you can! However, you will need to adjust your hook size and recalculate your stitch counts to match the desired finished dimensions. Make sure to create a new gauge swatch with your chosen yarn and hook, then modify the initial chain counts and subsequent row stitch counts accordingly. This pattern is designed for Worsted Weight (Category 4), so using a significantly different weight will require substantial adjustments.
How do I adjust the length of the hoodie or sleeves?
To adjust the body length, simply add or subtract an equal number of rows from the 'Main Body' section before you begin the armhole shaping. For sleeve length, add or subtract rows from the 'Main Sleeve' section after you've completed all increase rows and before you fasten off. Always make these adjustments in even-numbered rows to maintain consistency.
Is this pattern suitable for beginners?
This pattern is categorized as intermediate due to the shaping and assembly required. However, an ambitious beginner who is comfortable with basic stitches (ch, sc, hdc, sl st), understands how to read a pattern, and is willing to learn seaming techniques can absolutely tackle this project. Take your time, refer to video tutorials for specific stitches or techniques if needed, and don't be afraid to ask for help!
Congratulations, you're now equipped with everything you need to crochet a stunning and incredibly comfortable hoodie! This project is more than just making a garment; it's about investing time in a creative pursuit that results in something truly special and uniquely yours. Wear your new hoodie with pride, knowing every stitch was crafted by your own hands. Happy crocheting!