Imagine dancing under the stars, feeling the music pulse through you, adorned in an outfit you made with your own hands – an expression of your unique style and a testament to your craft! That dream becomes a vibrant reality today with our exclusive, free pattern for the ultimate Crochet Festival Outfit. Get ready to turn heads and feel utterly incredible in your handcrafted festival wear, designed for comfort, style, and those unforgettable moments. Let's hook up some magic!
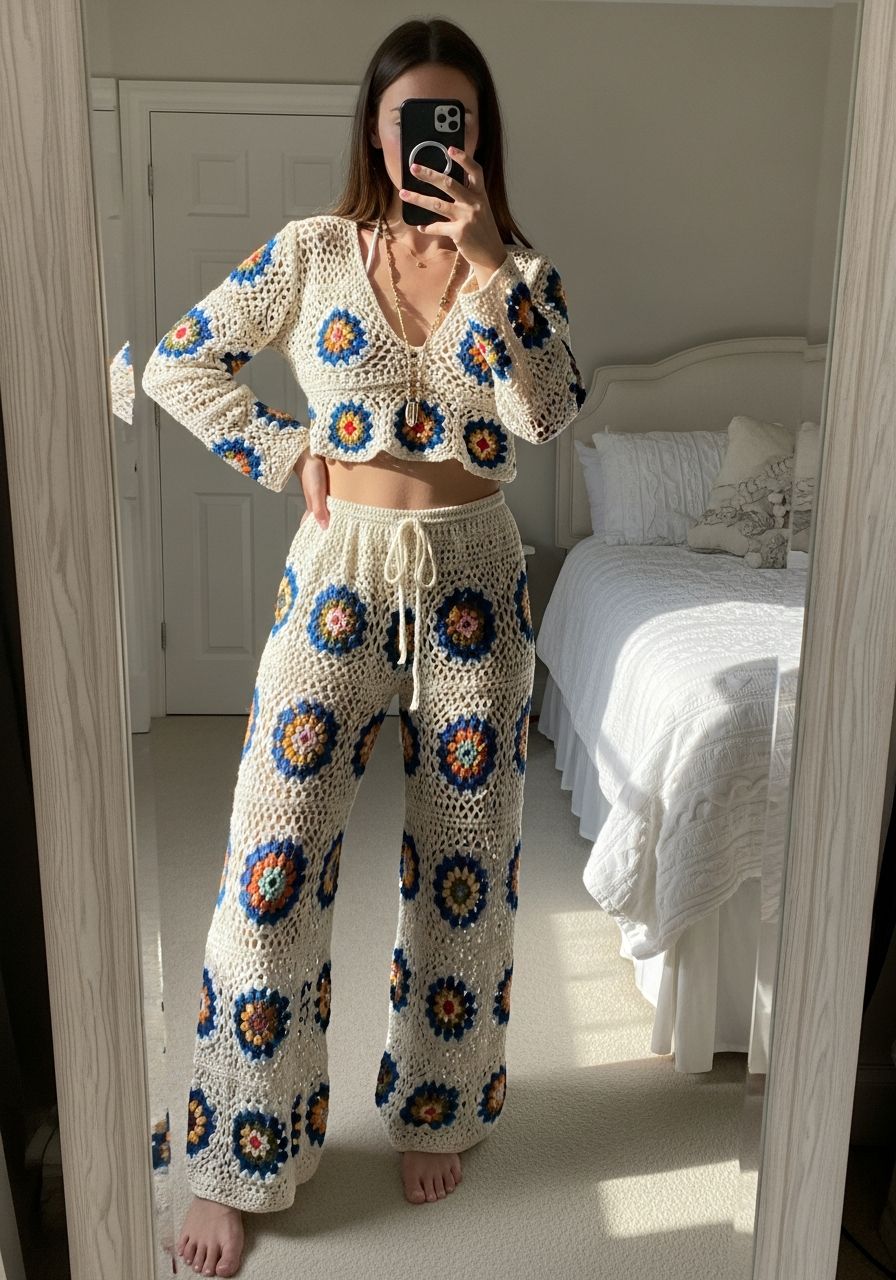
Welcome, fellow yarn enthusiasts! We're thrilled to unveil the 'Boho Rhapsody Festival Set' – a stunning, two-piece ensemble featuring a chic halter bralette top and a flowy, high-waisted mini skirt, both adorned with beautiful, breathable openwork. This pattern is designed for adventurous beginners and intermediate crocheters alike, using fundamental stitches to create a truly spectacular festival look. Whether you're heading to a music festival, a beach party, or just want to infuse your wardrobe with some bohemian flair, this set is your perfect companion. Follow our detailed guide, and you'll be rocking your bespoke festival fashion in no time!
Why You'll Love This Pattern
- Customizable Fit: Tailor the top and skirt to your exact measurements, ensuring a flattering and comfortable fit for all body types.
- Unique Style: Stand out from the crowd with a handmade outfit that reflects your personal creativity and boho spirit.
- Breathable & Lightweight: Designed with openwork stitches and suitable yarn suggestions, this outfit is perfect for warm festival days and nights.
- Skill-Building Project: Practice and master essential crochet stitches like chain, single crochet, half double crochet, and double crochet in a fun and rewarding project.
- Relatively Quick to Make: With its repetitive stitch patterns, you'll be surprised how quickly this beautiful set comes together, even for a full outfit!
- Versatile Pieces: Wear the top and skirt together as a set, or mix and match them with other items in your wardrobe for endless styling possibilities.
Materials Needed
- Yarn: DK weight (Category 3) Cotton or Cotton Blend yarn. We recommend something like Lion Brand Comfy Cotton Blend or a similar soft, breathable yarn.
- For sizes XS/S: Approx. 400-500 yards (2 skeins)
- For sizes M/L: Approx. 600-700 yards (3 skeins)
- For sizes XL/2XL: Approx. 800-900 yards (4 skeins)
- Crochet Hook: 4.0 mm (G/6) or size needed to obtain gauge.
- Tapestry Needle: For weaving in ends.
- Scissors: For cutting yarn.
- Stitch Markers: Essential for marking rounds and important stitches.
- Measuring Tape: For checking gauge and sizing.
Gauge & Sizing
Achieving the correct gauge is crucial for the fit of your festival outfit. Please take the time to make a gauge swatch before you begin.
Gauge: 16 hdc x 12 rows = 4 inches (10 cm) using a 4.0 mm hook.
To check your gauge, chain 18. Work 15 rows of hdc. Your swatch should measure approximately 4 inches wide and 5 inches tall. If your swatch is larger, try a smaller hook. If your swatch is smaller, try a larger hook.
This pattern is written for sizes XS/S (Bust 30-34 inches / Waist 24-27 inches). Instructions for sizes M/L (Bust 36-40 inches / Waist 28-32 inches) and XL/2XL (Bust 42-46 inches / Waist 34-38 inches) are provided in parentheses where applicable (XS/S, M/L, XL/2XL). Remember that cotton yarn can relax with wear, so a snug fit initially is often ideal.
Abbreviations
- ch: chain
- sl st: slip stitch
- sc: single crochet
- hdc: half double crochet
- dc: double crochet
- tr: treble crochet
- inc: increase (usually 2 sts in one st)
- dec: decrease (working 2 sts together)
- st(s): stitch(es)
- rep: repeat
- FO: fasten off
- MR: Magic Ring (or adjustable ring)
- sk: skip
- ch-sp: chain space
Step-by-Step Pattern: The Boho Rhapsody Festival Set
Part 1: The "Rhapsody" Halter Bralette Top
This top is worked by first creating two separate cups, then joining them and adding a bottom band and ties.
Cup (Make 2)
- Row 1: Ch 15 (17, 19). Sc in 2nd ch from hook and in each ch across. (14, 16, 18 sc)
- Row 2: Ch 1, turn. Sc in first st, hdc in next st, dc in next 10 (12, 14) sts, hdc in next st, sc in last st. (14, 16, 18 sts)
- Row 3: Ch 3 (counts as 1 dc here and throughout), turn. Dc in first st (inc made), dc in next 12 (14, 16) sts, 2 dc in last st (inc made). (16, 18, 20 dc)
- Row 4: Ch 3, turn. Dc in first st, dc in next 14 (16, 18) sts, 2 dc in last st. (18, 20, 22 dc)
- Row 5: Ch 3, turn. Dc in first st, dc in next 16 (18, 20) sts, 2 dc in last st. (20, 22, 24 dc)
- Rows 6-8 (9, 10): Repeat Row 5, adding 2 dc stitches in each row. For XS/S, stop at Row 8 (26 dc). For M/L, stop at Row 9 (28 dc). For XL/2XL, stop at Row 10 (30 dc). FO, leaving a long tail for sewing.
Joining Cups & Bottom Band
- With right sides facing, use the long tail from one cup and your tapestry needle to sew the bottom inner edges of the two cups together for about 1-2 inches.
- Edging & Bottom Band Foundation: Join yarn with a sl st to the bottom corner of one cup. Ch 1. Work sc evenly along the entire bottom edge of both cups. Work approximately 2 sc for every dc row and 1 sc for every sc/hdc row. Ensure your stitch count is an even number. (Approx. 60-70 sc for XS/S). Sl st to first sc to join.
- Bottom Band Row 1: Ch 2 (counts as 1 hdc), hdc in each st around. Sl st to top of beg ch-2.
- Bottom Band Row 2-4 (5, 6): Repeat Row 1. The number of rows determines the width of your band. Adjust as desired. For a wider band, add more rows. FO.
Halter Neck Strap (Make 1)
- Attach yarn to the top corner of one cup. Ch 50 (60, 70). Sl st to the top corner of the other cup. This creates the halter strap. FO.
Back Tie Straps (Make 2)
- Attach yarn to the bottom outer corner of the bottom band. Ch 70 (80, 90). FO.
- Repeat for the other side.
- Weave these ties through the last row of the bottom band on the back to create a lace-up effect, or simply tie them at the back.
Part 2: The "Harmony" Mini Skirt
This skirt is worked in rounds from the top down, starting with a solid waistband and transitioning into an openwork shell stitch pattern.
Waistband
- Round 1: Ch 80 (90, 100). Be careful not to twist the chain, then sl st to the first ch to form a ring. (80, 90, 100 ch)
- Round 2: Ch 2 (counts as 1 hdc), hdc in each ch around. Sl st to top of beg ch-2. (80, 90, 100 hdc)
- Round 3-6 (7, 8): Ch 2, hdc in each st around. Sl st to top of beg ch-2. Repeat for a total of 6 (7, 8) hdc rounds for the waistband.
Skirt Body (Shell Stitch Pattern)
The shell stitch pattern is worked over a multiple of 4 stitches.
- Round 7 (8, 9) (Transition Round): Ch 1, sc in first st, *sk 1 st, sc in next st, ch 2* Repeat from * to * around. Sl st to first sc. (This should create an even number of sc and ch-2 spaces. You may need to adjust the very last sequence to ensure the right count, e.g. if you have 80 sts, you'll have 40 sc and 40 ch-2 spaces.)
- Round 8 (9, 10) (Shells): Ch 3 (counts as 1 dc), dc in same ch-2 sp. Ch 1, 2 dc in same ch-2 sp (first shell made). *Sk next sc, sk next ch-2 sp, (2 dc, ch 1, 2 dc) in next ch-2 sp.* Repeat from * to * around. Sl st to top of beg ch-3. (20, 22, 25 shells for XS/S, M/L, XL/2XL respectively).
- Round 9 (10, 11) - Round 14 (15, 16): Ch 3, dc in first dc of shell below, ch 1, 2 dc in same ch-1 sp of shell below (first shell made). *Sk next 2 dc, sk next 2 dc of next shell, (2 dc, ch 1, 2 dc) in ch-1 sp of next shell.* Repeat from * to * around. Sl st to top of beg ch-3. (No increases needed in these rounds).
- Increase Round (Adjust for Length): To flare the skirt, work an increase round every 5-6 rounds, or as desired. For an increase, work (2 dc, ch 1, 2 dc) in the ch-1 space of a shell as usual, but in selected shells (e.g., every 5th shell) work (2 dc, ch 1, 2 dc, ch 1, 2 dc) in the ch-1 space. Alternatively, simply add an additional shell in a ch-sp if there's enough room. Aim for a total of 25 (28, 32) shells for XS/S (M/L, XL/2XL) by the end of the increases.
- Continue Shell Pattern: Repeat the shell pattern (Round 9 of shell pattern, or the basic shell pattern without increases) until the skirt reaches your desired length. For a mini skirt, typically 15-20 rounds of shells after the waistband.
- Final Round (Optional Scalloped Edge): Ch 1, *sc in first 2 dc, (sc, ch 2, sc) in ch-1 sp, sc in next 2 dc, sk 2 dc of next shell*. Repeat from * to * around. Sl st to first sc. FO.
Finishing Touches
Weave in all remaining loose ends securely using your tapestry needle. Take your time with this step for a clean, professional finish. Try on your outfit and make any final adjustments to the ties.
Pro Tips for Your Festival Outfit
- Yarn Choice is Key: Opt for cotton or a cotton blend for maximum breathability and comfort in warm festival environments. Acrylic can be too hot and doesn't absorb moisture as well.
- Check Your Gauge Religiously: A slight difference in gauge can significantly alter the size of your finished garment. Don't skip the swatch!
- Customizing Fit: The beauty of handmade! For the top, you can easily adjust cup size by adding or removing initial chains and rows. For the skirt, adjust the initial chain for waist size, and add or subtract shell rounds for length.
- Care Instructions: Hand wash in cool water with a mild detergent and lay flat to dry. This will help maintain the shape and integrity of your crochet garment.
- Add Embellishments: Personalize your outfit with fringe along the bottom of the skirt, beads crocheted into the ties, or even some embroidery for an extra boho touch.
- Stitch Markers are Your Best Friend: Especially for the skirt's repetitive pattern, use stitch markers to mark the beginning of rounds or specific increase points to keep track.
Frequently Asked Questions
Can I use a different yarn weight?
Yes, you can! However, be aware that changing the yarn weight (e.g., using a worsted weight instead of DK) will significantly alter the final size of your garment. You will need to adjust your hook size to match the new yarn and rigorously check your gauge to ensure the dimensions remain appropriate. Thicker yarn will result in a larger, heavier garment, while thinner yarn will make it smaller and lighter. Always swatch!
Is this pattern suitable for beginners?
While this pattern uses fundamental stitches (ch, sc, hdc, dc), it does involve shaping and working in rounds. An adventurous beginner who is comfortable with these basic stitches and understands how to read a pattern should be able to complete this project. We recommend reviewing tutorials for any stitches you're unfamiliar with before starting. The detailed step-by-step instructions are designed to guide you through each stage.
How do I make this outfit larger or smaller?
For the top, adjust the initial chain for the cups to change the cup size (more chains for larger cups, fewer for smaller). You can also add or subtract rows for cup depth. For the bottom band, ensure your foundation sc row around the cups is the correct circumference for your underbust. For the skirt, adjust the initial chain of the waistband to fit your waist measurement. For the body, you can increase the number of shells (adding an extra shell in a round) to expand the skirt's circumference for larger sizes, or decrease for smaller sizes. You can also add or subtract rounds to adjust the overall length of both pieces.
There you have it – your complete guide to crocheting the ultimate Boho Rhapsody Festival Set! This pattern isn't just about making an outfit; it's about crafting a piece of wearable art that embodies joy, freedom, and your incredible talent. We can't wait to see your unique creations come to life. Happy crocheting, and get ready to shine at your next festival!