Imagine a world where tiny, winged enchantresses flit through sun-dappled glades, sprinkling joy and wonder with every delicate flutter. Now, imagine bringing that very magic into your home, not with a spell, but with your own two hands and a hook! Prepare to be utterly charmed as we unveil our exclusive, absolutely free Crochet Fairy Amigurumi pattern, designed to weave a touch of whimsical wonder into your crafting journey and create a treasured keepsake that sparks imagination. Whether you're a seasoned crocheter seeking a delightful new project or a beginner ready to embark on a magical adventure, this pattern promises hours of enchanting creation and a finished fairy friend that will captivate hearts.
Welcome to the Enchanted Forest of Stitches!
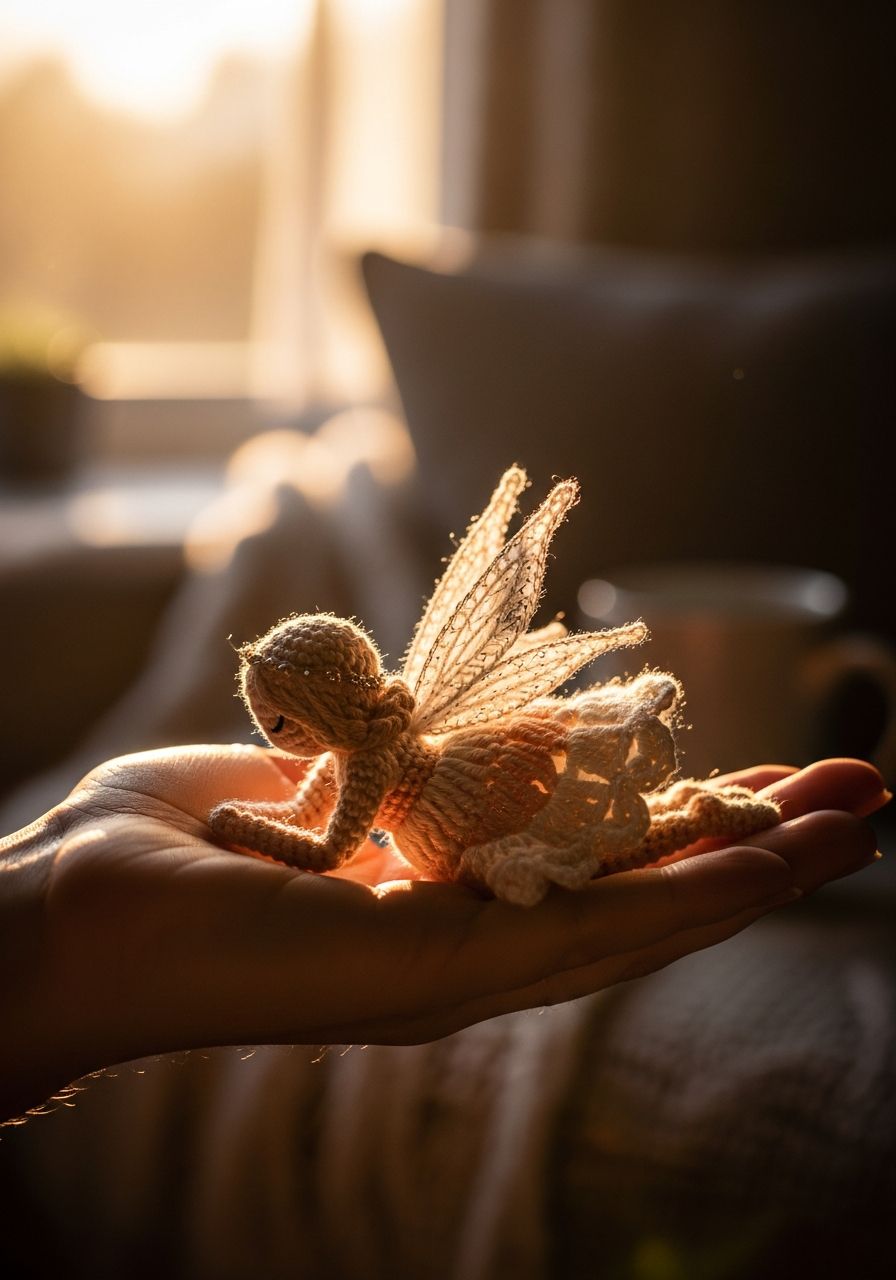
Welcome, fellow makers, to a project that promises to sprinkle a little bit of fairy dust into your crafting world! This detailed guide will walk you through creating your very own adorable crochet fairy. Perfect for decorating a child's room, gifting to a fantasy lover, or simply adding a touch of whimsy to your own space, this amigurumi doll is designed to be approachable yet incredibly rewarding. We've poured our hearts into crafting clear, easy-to-follow instructions, ensuring that every stitch brings you closer to your magical creation. Grab your yarn and hook; let the enchantment begin!
Why You'll Love This Pattern
- Beginner-Friendly: While a full amigurumi project, this fairy uses basic stitches and clear instructions, making it accessible for those new to amigurumi.
- Customizable Charm: Easily change yarn colors for the dress, hair, and wings to create a unique fairy that perfectly matches your vision or recipient's preferences.
- Quick to Create: Designed to be a manageable size, you can whip up this whimsical friend in a weekend or a few dedicated evenings.
- Unique Gift Idea: Handmade gifts are always cherished, and a magical fairy is sure to delight anyone, from children to adults who appreciate fantasy.
- Uses Common Stitches: If you know how to single crochet, increase, and decrease, you're well on your way to crocheting this adorable pixie.
- Portable Project: Take your fairy project with you on the go! It's compact enough for travel or waiting rooms.
Materials Needed
- Yarn: Worsted Weight (Category 4) in the following colors:
- Skin Tone (e.g., beige, peach) - approx. 50g
- Dress Color (e.g., pink, blue, green) - approx. 30g
- Hair Color (e.g., yellow, brown, red) - approx. 20g
- Wing Color (e.g., white, iridescent, light blue) - approx. 10g
- Small amount of pink for cheeks (optional)
- Crochet Hook: 3.0mm or 3.25mm (D/3 or E/4) – choose a size that creates tight stitches for amigurumi.
- Safety Eyes: 6mm or 8mm (choose based on desired look)
- Polyester Fiberfill: For stuffing
- Tapestry Needle: For sewing parts together and weaving in ends
- Scissors
- Stitch Markers: Essential for working in continuous rounds
- Optional: Wire for poseable wings (thin floral wire), fabric glue, blush for cheeks.
Gauge & Sizing
Gauge: 5 sc and 5 rows = 1 inch (2.5 cm). While gauge isn't strictly critical for amigurumi as it is for garments, achieving a tight fabric with no gaps in your stitches is important to prevent stuffing from showing through. Adjust your hook size if necessary to achieve this.
Finished Size: Approximately 6.5-7 inches (16.5-18 cm) tall from head to toe, depending on your yarn and hook choice.
Abbreviations
- ch: chain
- sl st: slip stitch
- sc: single crochet
- hdc: half double crochet
- dc: double crochet
- inc: single crochet increase (2 sc in one stitch)
- dec: single crochet decrease (sc2tog)
- BLO: back loop only
- FO: fasten off
- MR: magic ring (or magic circle)
- st(s): stitch(es)
- rnd(s): round(s)
- [ ] x N: repeat instructions in brackets N times
- ( ): indicates total stitch count for the round
Step-by-Step Pattern
Work in continuous rounds unless otherwise specified. Use a stitch marker to mark the first stitch of each round.
Head (Skin Tone Yarn)
- Rnd 1: 6 sc in MR (6)
- Rnd 2: [inc] x 6 (12)
- Rnd 3: [sc, inc] x 6 (18)
- Rnd 4: [2 sc, inc] x 6 (24)
- Rnd 5: [3 sc, inc] x 6 (30)
- Rnd 6: [4 sc, inc] x 6 (36)
- Rnd 7-14: Sc in each st around (36) (8 rounds)
- Rnd 15: [4 sc, dec] x 6 (30)
- Rnd 16: [3 sc, dec] x 6 (24)
- Rnd 17: [2 sc, dec] x 6 (18)
- Insert safety eyes between Rnd 11 and 12, about 6-7 stitches apart. Begin stuffing firmly.
- Rnd 18: [sc, dec] x 6 (12)
- Rnd 19: [dec] x 6 (6)
- FO, leaving a long tail for sewing. Close the remaining hole with the tail and tapestry needle.
Body (Skin Tone Yarn)
- Rnd 1: 6 sc in MR (6)
- Rnd 2: [inc] x 6 (12)
- Rnd 3: [sc, inc] x 6 (18)
- Rnd 4: [2 sc, inc] x 6 (24)
- Rnd 5-9: Sc in each st around (24) (5 rounds)
- Rnd 10: [2 sc, dec] x 6 (18)
- Rnd 11-12: Sc in each st around (18) (2 rounds)
- Stuff firmly. FO, leaving a long tail for sewing.
Arms (Make 2 - Skin Tone Yarn)
- Rnd 1: 6 sc in MR (6)
- Rnd 2-10: Sc in each st around (6) (9 rounds)
- Lightly stuff the end of the arm. Fold the opening flat and sc through both layers across (3 sc).
- FO, leaving a long tail for sewing.
Legs (Make 2 - Skin Tone Yarn)
- Rnd 1: 6 sc in MR (6)
- Rnd 2: [inc] x 6 (12)
- Rnd 3-5: Sc in each st around (12) (3 rounds)
- Rnd 6: [sc, dec] x 4 (8)
- Rnd 7-15: Sc in each st around (8) (9 rounds)
- Stuff firmly. FO, leaving a long tail for sewing.
Assembly
- Sew the Head to the Body, centering it carefully.
- Sew the Legs to the bottom of the Body, evenly spaced.
- Sew the Arms to the sides of the Body, just below the neck.
Dress (Dress Color Yarn)
- Rnd 1: Attach dress color yarn to Rnd 11 of the Body (where you decreased). Ch 2 (does not count as st), dc in same st, 2 dc in each st around, sl st to first dc. (36 dc)
- Rnd 2: Ch 2, dc in each st around, sl st to first dc. (36 dc)
- Rnd 3: Ch 2, [3 dc, inc] x 9 (45 dc)
- Rnd 4-7: Ch 2, dc in each st around, sl st to first dc. (45 dc) (4 rounds)
- FO and weave in ends.
Hair (Hair Color Yarn)
Wig Cap:
- Rnd 1: 6 sc in MR (6)
- Rnd 2: [inc] x 6 (12)
- Rnd 3: [sc, inc] x 6 (18)
- Rnd 4: [2 sc, inc] x 6 (24)
- Rnd 5: [3 sc, inc] x 6 (30)
- Rnd 6: [4 sc, inc] x 6 (36)
- Rnd 7-9: Sc in each st around (36) (3 rounds)
- Sl st to next st, FO, leaving a long tail for sewing.
Attaching Hair Strands:
- Cut numerous strands of hair color yarn approximately 8-10 inches (20-25 cm) long.
- Using your hook, attach strands to the wig cap. Fold a strand in half, insert hook through a stitch on the wig cap, pull the folded loop through, then pull the two ends of the yarn through the loop and tighten to form a knot.
- Attach strands densely, especially around the face and crown. You can style the hair by trimming or braiding.
- Sew the wig cap onto the head.
Wings (Wing Color Yarn)
- Large Wing (Make 2):
- Ch 10.
- Row 1: Sc in 2nd ch from hook and next 8 ch. (9 sc)
- Row 2: Ch 1, turn. Sc in first 8 sc, dec. (8 sc)
- Row 3: Ch 1, turn. Sc in first 7 sc, dec. (7 sc)
- Row 4: Ch 1, turn. Sc in first 6 sc, dec. (6 sc)
- Row 5: Ch 1, turn. Sc in first 5 sc, dec. (5 sc)
- Ch 1, sc evenly around the entire wing, putting 3 sc in each corner to create a smooth edge. Sl st to first sc. FO, leaving a long tail.
- Small Wing (Make 2):
- Ch 8.
- Row 1: Sc in 2nd ch from hook and next 6 ch. (7 sc)
- Row 2: Ch 1, turn. Sc in first 5 sc, dec. (6 sc)
- Row 3: Ch 1, turn. Sc in first 4 sc, dec. (5 sc)
- Ch 1, sc evenly around the entire wing, putting 3 sc in each corner to create a smooth edge. Sl st to first sc. FO, leaving a long tail.
- Sew the two large wings together at the base, and the two small wings together at the base. Then, sew the small wings slightly overlapping the large wings, creating a layered effect.
- Attach the assembled wings firmly to the back of the fairy's body.
Pro Tips for Your Magical Fairy
- Tight Stitches are Key: For amigurumi, always aim for tight, even stitches. This prevents the stuffing from showing through and gives your fairy a smooth, professional finish. If your stitches are too loose, try going down a hook size.
- Stuff Firmly, but Evenly: Stuff your amigurumi gradually and firmly, using small pieces of fiberfill. Make sure to push stuffing into all parts, especially the head, arms, and legs, to avoid lumps and maintain the shape.
- Invisible Decrease: Use the invisible decrease (insert hook into front loop of first stitch, then into front loop of second stitch, yarn over, pull through both front loops, yarn over, pull through both loops on hook) for a cleaner, less noticeable decrease stitch, especially on the head.
- Safety Eye Placement: Before securely fastening the safety eye backs, place them, stuff the head a little, and check the expression. A small adjustment can make a big difference in your fairy's personality!
- Weave in Ends Securely: Take your time weaving in all yarn tails. For amigurumi, it's crucial to weave them through several stitches in different directions to ensure they don't come undone with handling.
- Embroider Details: Instead of safety eyes, you can embroider eyes for a softer, child-safe finish. A simple V-stitch for eyebrows or a tiny stitch for a mouth can add character.
- Cheek Blush: For an extra touch of cuteness, use a small amount of pink blush (makeup) applied with a cotton swab or paintbrush to give your fairy rosy cheeks.
Frequently Asked Questions
Q: Can I use a different weight of yarn?
A: Absolutely! You can use any yarn weight you prefer, but be aware that it will change the finished size of your fairy. If you use a thicker yarn, your fairy will be larger, and you'll need a larger hook to match. Conversely, a thinner yarn will result in a smaller fairy and require a smaller hook. Just ensure your stitches are tight enough to contain the stuffing.
Q: Is this pattern suitable for complete beginners?
A: While this pattern uses basic stitches, it does involve working in the round, increases, decreases, and assembly, which can be a bit challenging for a complete beginner who has never crocheted before. However, if you're a beginner who knows the basic stitches and is eager to learn amigurumi techniques, this pattern is a fantastic and rewarding project to tackle. There are many great video tutorials available online for the techniques mentioned.
Q: How do I care for my crochet fairy?
A: Amigurumi dolls are generally best spot cleaned with a damp cloth and mild soap. If a deeper clean is necessary, you can hand wash gently in cool water with a small amount of mild detergent, squeezing out excess water without twisting. Reshape the fairy and allow it to air dry completely. Avoid machine washing or drying, as this can distort the shape and damage the yarn or stuffing.
Congratulations, you've brought a little piece of enchantment to life! We hope you enjoyed crocheting your magical fairy as much as we enjoyed designing her. May she bring joy and wonder wherever she goes, reminding you of the magic held within your own hands. Don't forget to share your finished fairy with us online – we love seeing your beautiful creations!