Imagine the pure joy lighting up a child's face as they cuddle their new, handmade best friend. Picture that special little one carrying around a soft, squishy, utterly adorable companion that you crafted with your own two hands. That heartwarming feeling is exactly what awaits you with our delightful Crochet Elephant Amigurumi free pattern! This charming project is designed to bring a smile to anyone's face, whether it's a precious gift for a newborn, a beloved toy for a toddler, or a whimsical decorative piece for your home. Get ready to embark on a creative journey that results in a truly cherished keepsake!
Welcome, fellow yarn enthusiasts, to a pattern that's as enchanting to make as the finished product is to behold. We've poured our hearts into creating a clear, comprehensive, and utterly charming pattern for a sweet little elephant amigurumi that's perfect for crocheters of all skill levels. Whether you're taking your first steps into the magical world of amigurumi or you're a seasoned pro looking for your next rewarding project, this pattern offers a delightful experience. Get your hooks ready, because soon you'll have a lovable, huggable elephant friend ready to bring comfort and joy!
Why You'll Love This Pattern
- Beginner-Friendly: We've broken down each step with clear instructions, making it accessible even if you're new to amigurumi.
- Quick & Satisfying: This project works up relatively fast, offering that instant gratification every crafter loves.
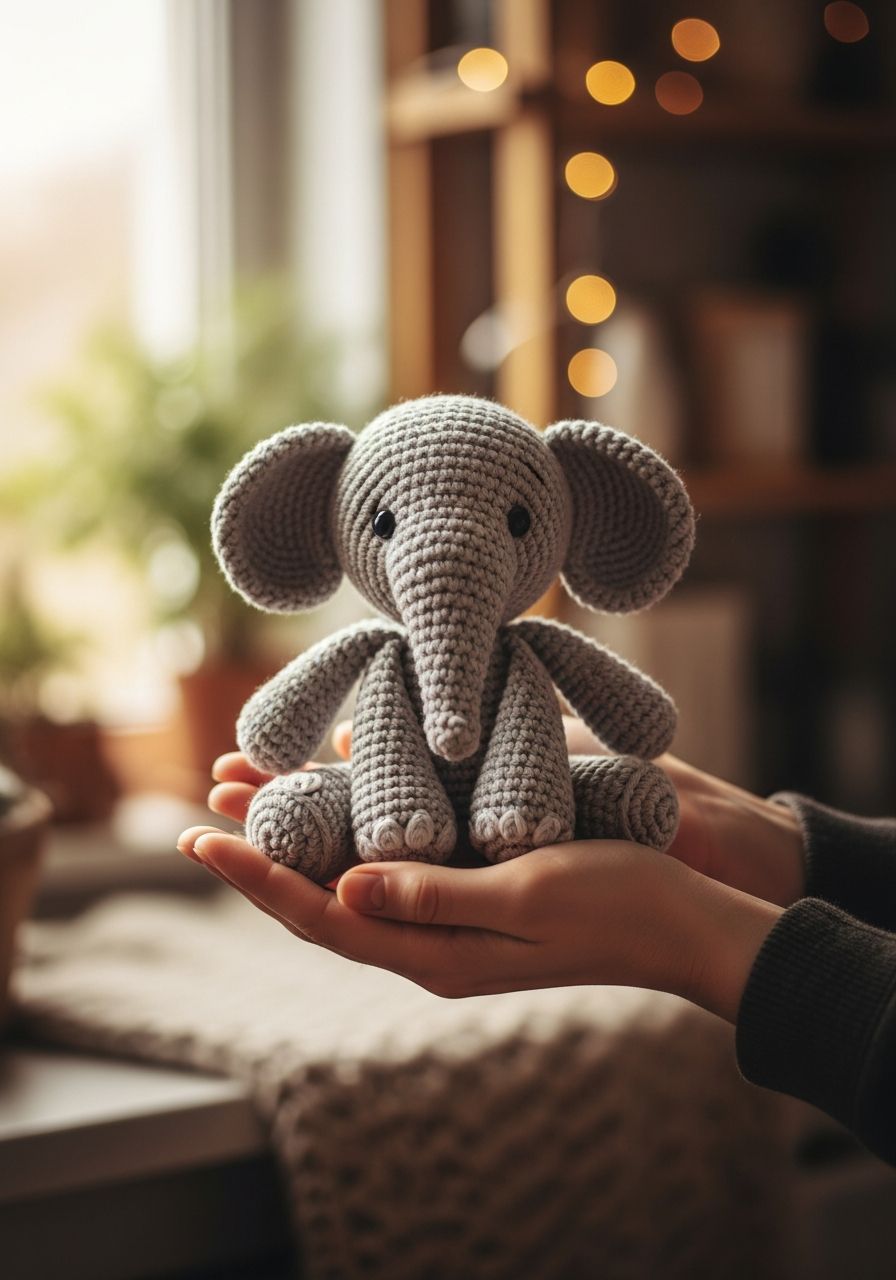
- Adorable Outcome: The finished elephant is irresistibly cute, making it a perfect gift or a lovely addition to your own collection.
- Customizable: Easily change yarn colors, add embroidery, or personalize it to make your elephant truly unique.
- Skill Builder: Practice essential amigurumi techniques like working in the round, increasing, decreasing, and seamless assembly.
- Uses Common Stitches: Relies on fundamental crochet stitches, so you won't need to learn anything new and complex.
Materials Needed
- Worsted weight (Aran/10-ply) yarn in main color (approx. 100g) - We used grey.
- Small amount of worsted weight yarn in accent color (e.g., pink for inner ears)
- 3.0mm or 3.5mm crochet hook (or hook size to achieve tight stitches)
- 9mm or 10mm safety eyes (embroider eyes for babies/toddlers)
- Polyester fiberfill for stuffing
- Yarn needle for weaving in ends and assembly
- Stitch markers
- Scissors
- Optional: Small amount of black embroidery floss for mouth detail (if desired)
Gauge & Sizing
Gauge isn't critical for amigurumi, but it's important to ensure your stitches are tight enough so that the stuffing doesn't show through. If your stitches are too loose, go down a hook size. For reference, with worsted weight yarn and a 3.0mm hook, my gauge was approximately 5 sc x 5 rounds = 1 inch.
When completed with the suggested materials, your adorable crochet elephant amigurumi will stand approximately 7-8 inches tall, making it the perfect size for little hands to hold and cuddle.
Abbreviations
- ch: chain
- sc: single crochet
- hdc: half double crochet
- dc: double crochet
- sl st: slip stitch
- inc: increase (2 single crochets in the same stitch)
- dec: decrease (single crochet 2 together - sc2tog)
- MR: magic ring
- st(s): stitch(es)
- FO: fasten off
- [...] x N: repeat the instructions in brackets N times
- (...): total number of stitches at the end of the round
Step-by-Step Pattern
Head (Main Color)
- MR 6 sc (6)
- Inc in each st around (12)
- [1 sc, inc] x 6 (18)
- [2 sc, inc] x 6 (24)
- [3 sc, inc] x 6 (30)
- [4 sc, inc] x 6 (36)
- [5 sc, inc] x 6 (42)
- [6 sc, inc] x 6 (48)
- Sc in each st around (48)
- Sc in each st around (48)
- Sc in each st around (48)
- Sc in each st around (48)
- Sc in each st around (48)
- Sc in each st around (48)
- [6 sc, dec] x 6 (42)
- [5 sc, dec] x 6 (36)
- [4 sc, dec] x 6 (30)
- [3 sc, dec] x 6 (24)
- Insert safety eyes between rounds 11 and 12, about 8 stitches apart. Begin stuffing firmly.
- [2 sc, dec] x 6 (18)
- FO, leaving a long tail for sewing. Finish stuffing.
Body (Main Color)
- MR 6 sc (6)
- Inc in each st around (12)
- [1 sc, inc] x 6 (18)
- [2 sc, inc] x 6 (24)
- [3 sc, inc] x 6 (30)
- [4 sc, inc] x 6 (36)
- [5 sc, inc] x 6 (42)
- [6 sc, inc] x 6 (48)
- Sc in each st around (48)
- Sc in each st around (48)
- Sc in each st around (48)
- Sc in each st around (48)
- Sc in each st around (48)
- [6 sc, dec] x 6 (42)
- [5 sc, dec] x 6 (36)
- [4 sc, dec] x 6 (30)
- Stuff firmly as you go.
- [3 sc, dec] x 6 (24)
- FO, leaving a long tail for sewing.
Ears (Make 2 - Main Color and Accent Color)
Inner Ear (Accent Color):
- Ch 8.
- Starting in 2nd ch from hook, 1 sc, 1 hdc, 3 dc, 1 hdc, 1 sc. Ch 1, turn. (7)
- 1 sc, 1 hdc, 3 dc, 1 hdc, 1 sc. FO. (7)
Outer Ear (Main Color):
- Ch 8.
- Starting in 2nd ch from hook, 1 sc, 1 hdc, 3 dc, 1 hdc, 1 sc. Ch 1, turn. (7)
- 1 sc, 1 hdc, 3 dc, 1 hdc, 1 sc. Do not FO. (7)
- Place the accent color inner ear on top of the main color outer ear. Work sc stitches around both layers to join them, creating a neat edge. Sl st to join. FO, leaving a long tail for sewing.
Trunk (Main Color)
- MR 5 sc (5)
- Inc in each st around (10)
- Sc in each st around (10)
- [1 sc, inc] x 5 (15)
- Sc in each st around (15)
- Sc in each st around (15)
- [2 sc, inc] x 5 (20)
- Sc in each st around (20)
- Sc in each st around (20)
- Sc in each st around (20)
- [3 sc, inc] x 5 (25)
- Sc in each st around (25)
- Sc in each st around (25)
- Stuff lightly. FO, leaving a long tail for sewing.
Legs (Make 4 - Main Color)
- MR 6 sc (6)
- Inc in each st around (12)
- [1 sc, inc] x 6 (18)
- Sc in each st around (18)
- Sc in each st around (18)
- [1 sc, dec] x 6 (12)
- Sc in each st around (12)
- Sc in each st around (12)
- Stuff firmly. FO, leaving a long tail for sewing.
Tail (Main Color)
- Ch 10.
- Starting in 2nd ch from hook, sl st in each ch across. (9 sl sts)
- FO, leaving a long tail for sewing. You can add a small tassel of yarn to the end if desired.
Assembly
- Attach the Head to the Body: Using the long tail from the head, center the head on top of the body. Stitch them together securely, ensuring the head is upright and firmly attached.
- Attach the Trunk: Position the trunk centrally on the lower part of the head, between the eyes. Sew firmly in place, shaping it slightly as you sew.
- Attach the Ears: Fold each ear slightly at the base. Position them on either side of the head, roughly between rounds 10-15 of the head, slightly above the eyes. Sew securely.
- Attach the Legs: Evenly space the four legs around the bottom of the body. Pin them in place before sewing to ensure symmetry. Sew firmly, making sure the elephant can stand (or sit) balanced.
- Attach the Tail: Sew the tail to the back of the body, centered at the lower back.
- Finishing Touches: Weave in any remaining loose ends. If you're not using safety eyes, embroider small eyes and perhaps a little smile. Give your elephant a gentle squish to distribute the stuffing evenly.
Pro Tips for Amigurumi Success
- Use a Smaller Hook: For amigurumi, it's generally best to use a crochet hook at least one size smaller than recommended for your yarn. This creates tighter stitches, preventing stuffing from showing through.
- Stuff Firmly (But Not Too Firmly!): Stuffing is key to shaping. Add small amounts of fiberfill at a time, pushing it into all areas, especially limbs. Avoid overstuffing, which can distort the shape and stretch your stitches.
- Use a Stitch Marker: When working in continuous rounds, a stitch marker is your best friend. Move it up with each new round to keep track of your first stitch.
- Invisible Decrease: For a cleaner finish, learn the invisible decrease (insert hook into front loop of first stitch, then into front loop of second stitch, yarn over, pull through both loops, yarn over, pull through remaining two loops).
- Weave in Ends Carefully: Before stuffing and closing, weave in any yarn tails from color changes or starting magic rings deeply into the piece to secure them.
- Embroider Features for Babies: If making for a baby or small child, always embroider eyes and any facial features instead of using safety eyes, which can be a choking hazard.
Frequently Asked Questions
Why are my stitches so loose, and my stuffing is showing through?
This is a common issue for amigurumi beginners! The most likely culprit is using a hook that's too large for your yarn. Try going down one or even two hook sizes. You want your fabric to be dense and stiff, with no gaps between stitches when stretched. Another tip is to ensure you're maintaining consistent tension throughout your work. Practice makes perfect!
How do I make my amigurumi stand up straight?
Achieving a good stance often comes down to two main factors: stuffing and leg placement. Ensure your legs are stuffed very firmly and evenly. When attaching them, pin them in place first and check the balance. You might need to adjust the angle slightly for stability. Sometimes, a tiny bit of extra stuffing at the very bottom of the body can create a flatter base, helping it stand.
Can I use different yarn weights for this pattern?
Absolutely! This pattern is very adaptable. Just keep in mind that changing yarn weight will alter the finished size of your elephant. If you use a thicker yarn (e.g., bulky), your elephant will be larger. If you use a thinner yarn (e.g., sport weight), it will be smaller. Always remember to adjust your hook size accordingly to maintain tight stitches – a smaller hook for thinner yarn, and a larger hook for thicker yarn.
And there you have it – your very own delightful crochet elephant amigurumi! We hope you've enjoyed every stitch of this journey, from the first magic ring to the final assembly. This pattern is more than just instructions; it's an opportunity to create something truly special, filled with love and warmth. Share your finished elephant with us online – we can't wait to see your unique creations!