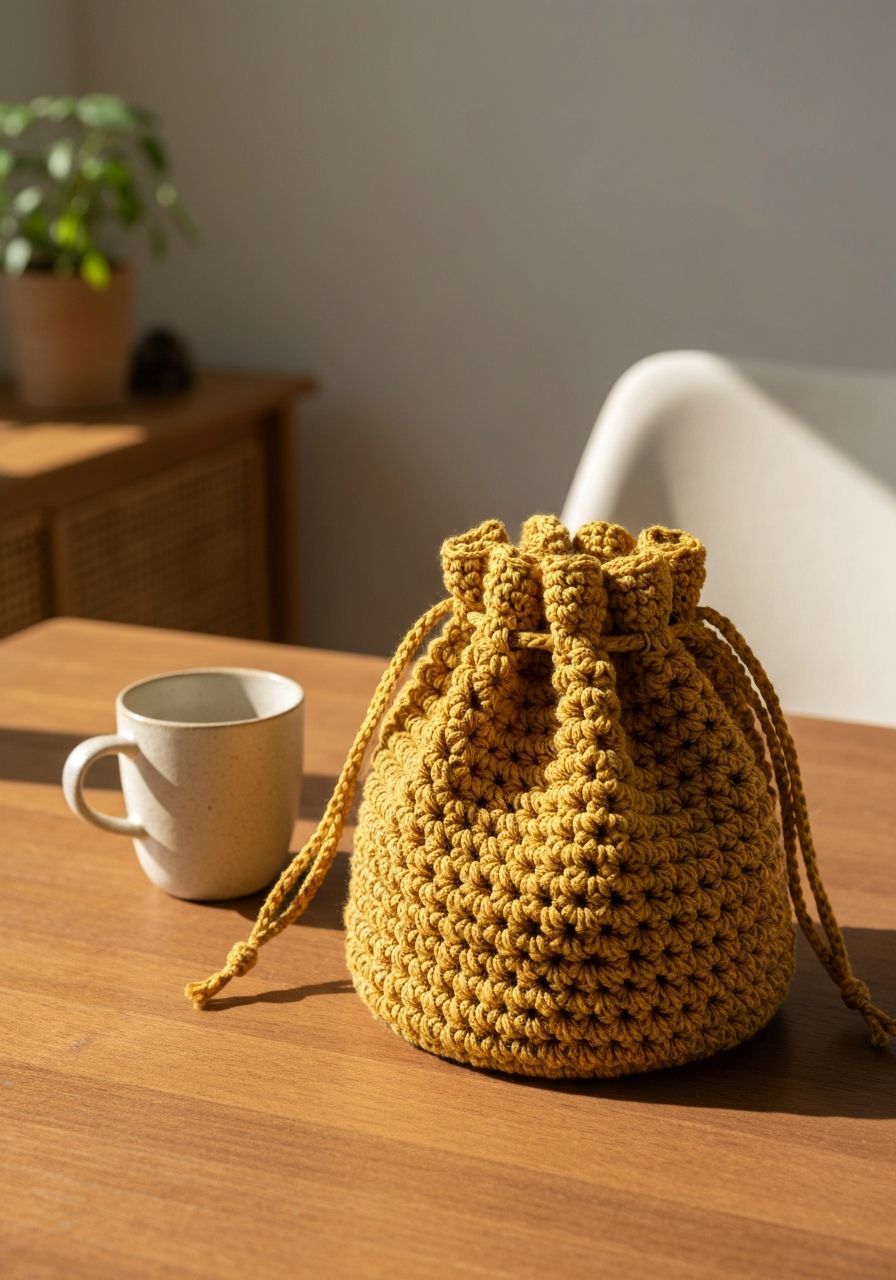
Imagine the perfect little pouch, handcrafted by you, ready to hold your latest project, organize your essentials, or present a thoughtful gift. This isn't just a bag; it's a versatile, charming accessory waiting to come to life under your hook. Get ready to fall in love with making your very own Crochet Drawstring Bag with this comprehensive free pattern!
Welcome, fellow fiber artists! There's something truly satisfying about creating a functional item with your own hands, and a crochet drawstring bag fits that bill perfectly. Whether you're a seasoned crocheter looking for a quick and rewarding project, or a beginner eager to expand your skills, this pattern is designed for you. We'll walk you through every step, from the magic ring base to the final drawstring, ensuring you create a beautiful and sturdy bag you'll be proud to use or gift.
Why You'll Love This Pattern
- Versatile & Practical: These bags are incredibly useful! Use them for gift packaging, organizing small craft supplies, storing jewelry, carrying essentials, or even as a cute coin purse.
- Beginner-Friendly: While it produces a professional-looking result, this pattern primarily uses basic stitches (single crochet, half double crochet) and simple increases, making it accessible for those new to crochet.
- Quick to Make: Designed to be a relatively fast project, you can whip up one of these bags in an afternoon or over a weekend, making it perfect for last-minute gifts or instant gratification.
- Stash Buster: It's a fantastic way to use up those smaller skeins and leftover yarn from previous projects, turning them into something beautiful and functional.
- Customizable: Easily adapt the size, color palette, and embellishments to create a bag that perfectly suits your style or the recipient's taste.
- Skill Builder: Practice essential techniques like working in the round, creating a flat circle, and establishing stitch counts, all while creating something beautiful.
Materials Needed
- Yarn: Worsted weight (Aran/10 ply) cotton or cotton blend yarn. Approximately 100-150 yards (90-135 meters) for a bag of this size. (e.g., Lily Sugar'n Cream, Caron One Pound, Lion Brand 24/7 Cotton).
- Crochet Hook: Size H/8 (5.0 mm) or size needed to obtain gauge.
- Stitch Marker: Essential for working in the round.
- Yarn Needle: For weaving in ends.
- Scissors: For cutting yarn.
- Optional: Beads for drawstring ends, fabric lining for added durability.
Gauge & Sizing
Achieving the correct gauge is crucial for your bag to turn out the intended size. If your gauge is off, your bag might be too small, too large, or you might run out of yarn.
Gauge: 13 sc and 14 rounds = 4" x 4" (10 cm x 10 cm) in single crochet.
To check your gauge, crochet a small swatch: Chain 14, sc in 2nd ch from hook and across (13 sc). Ch 1, turn. Sc in each st across. Repeat for 15 rows. Measure the 4"x4" section. If your swatch is larger, try a smaller hook. If it's smaller, try a larger hook.
Finished Size (approximate): The finished bag will measure approximately 6 inches (15 cm) in diameter at the base and 8 inches (20 cm) tall, not including the drawstring.
Abbreviations
- ch: chain
- sl st: slip stitch
- sc: single crochet
- hdc: half double crochet
- dc: double crochet
- inc: increase (work 2 stitches into the same stitch)
- dec: decrease (work 2 stitches together)
- st: stitch
- sts: stitches
- rep: repeat
- BLO: back loop only
- MR: Magic Ring (also known as Magic Circle or Adjustable Ring)
Step-by-Step Pattern
This pattern is worked in continuous rounds for the base and body, then joined rounds for the drawstring casing. Use a stitch marker to keep track of the beginning of each round when working in continuous rounds.
Magic Ring Base
- Round 1: Make a Magic Ring. Ch 1, work 6 sc into the MR. Pull tail to close. (6 sts)
- Round 2: Work 2 sc in each stitch around. (12 sts)
- Round 3: *Sc in the next st, 2 sc in the next st (inc)*. Repeat from * 6 times around. (18 sts)
- Round 4: *Sc in the next 2 sts, 2 sc in the next st (inc)*. Repeat from * 6 times around. (24 sts)
- Round 5: *Sc in the next 3 sts, 2 sc in the next st (inc)*. Repeat from * 6 times around. (30 sts)
- Round 6: *Sc in the next 4 sts, 2 sc in the next st (inc)*. Repeat from * 6 times around. (36 sts)
- Round 7: *Sc in the next 5 sts, 2 sc in the next st (inc)*. Repeat from * 6 times around. (42 sts)
- Round 8: *Sc in the next 6 sts, 2 sc in the next st (inc)*. Repeat from * 6 times around. (48 sts)
- Round 9: *Sc in the next 7 sts, 2 sc in the next st (inc)*. Repeat from * 6 times around. (54 sts)
- Round 10: *Sc in the next 8 sts, 2 sc in the next st (inc)*. Repeat from * 6 times around. (60 sts)
Your base should now be a flat circle, approximately 6 inches in diameter. At the end of Round 10, move your stitch marker to the first stitch of the next round.
Bag Body
- Round 11: Sc in the back loop only (BLO) of each stitch around. (60 sts) (Working in BLO for this round helps create a defined edge where the base meets the body of the bag.)
- Round 12-30: Sc in each stitch around. (60 sts) (You will work 19 rounds of single crochet. Continue moving your stitch marker up as you complete each round. If you want a taller or shorter bag, adjust the number of these rounds.)
Drawstring Casing
We will now create the eyelets for the drawstring. These rounds will be joined rounds.
- Round 31: Ch 2 (counts as first hdc), hdc in the next stitch. *Ch 1, skip 1 st, hdc in the next 2 sts*. Repeat from * around, ending with ch 1, skip 1 st, sl st to the top of the beginning ch 2. (40 hdc, 20 ch-1 spaces)
- Round 32: Ch 1, sc in each hdc and each ch-1 space around. Sl st to the first sc to join. (60 sc)
- Round 33: Ch 1, sc in each stitch around. Sl st to the first sc to join. (60 sc)
- Fasten off and weave in any remaining ends.
Drawstring
- Ch 120-150 (depending on how long you want your drawstring to be, and if you plan to add beads). A good length is usually about double the circumference of the bag opening, plus 10-20 inches for tying and ends.
- Sl st into the second chain from the hook and in each chain across. This creates a sturdier, less stretchy drawstring.
- Fasten off, leaving a tail long enough to weave in securely. Weave in both ends of the drawstring.
- Using your yarn needle, weave the drawstring through the ch-1 spaces of Round 31 of the bag casing. Start by inserting the drawstring into a ch-1 space, go behind the next two hdc stitches, then out through the next ch-1 space. Continue this 'in and out' pattern all the way around the bag.
Finishing
- Weave in all remaining yarn tails on your bag using your yarn needle.
- Adjust the drawstring so the ends come out on opposite sides of the bag's opening.
- Tie a knot at each end of the drawstring to prevent fraying and to keep it from pulling through the casing. For a decorative touch, you can thread a large wooden or plastic bead onto each end of the drawstring before knotting.
- Gently block your bag if desired, to help it hold its shape.
Pro Tips
- Yarn Choice Matters: Cotton yarn is recommended for its durability, washability, and structure, which helps the bag hold its shape. Acrylic yarn can also work but might be a bit stretchier. Wool blends are lovely but might be less practical for items that need frequent washing.
- Invisible Joins: For a truly seamless look on your drawstring casing, use an invisible join method instead of a standard slip stitch. After your last stitch, cut yarn, pull through, then use a yarn needle to mimic a stitch over the first stitch of the round before weaving in.
- Customize Size: To make a larger base, continue the increase pattern (sc X, inc) for more rounds. To make the bag taller, simply add more rounds to the 'Bag Body' section. For a smaller bag, stop the base increases earlier and reduce body rounds.
- Add a Lining: For extra durability, to prevent small items from poking through, or to give a more polished finish, consider sewing a fabric lining into your bag.
- Decorative Touches: Embellish your finished bag with embroidery, appliques, buttons, or tassels. Experiment with color changes within the body for stripes or color blocks.
- Tension Consistency: Try to maintain consistent tension throughout your project for an even and attractive fabric. If your stitches are too loose, the bag might be floppy; too tight, and it could be stiff or pucker.
Frequently Asked Questions
Q: Can I use a different yarn weight?
A: Absolutely! This pattern is easily adaptable. If you use a thicker yarn (e.g., bulky weight), you'll need to use a larger hook size and your bag will turn out bigger. If you use a thinner yarn (e.g., DK weight), you'll need a smaller hook and your bag will be smaller. Remember to always check your gauge to ensure your finished product is a size you're happy with. You may also need to adjust the number of increase rounds for the base and body rounds for height to compensate for the change in yarn thickness.
Q: How do I make the bag bigger or smaller?
A: To change the size of your bag:
- For a wider base: Continue the increase pattern for more rounds in the 'Magic Ring Base' section (e.g., Round 11: *Sc in next 9 sts, inc*, etc.). Remember that each increase round adds 6 stitches. Ensure your 'Bag Body' rounds match the new stitch count.
- For a taller bag: Simply add more rounds to the 'Bag Body' section (Rounds 12-30).
- For a smaller bag: Stop the base increases earlier (e.g., if you stop at Round 8, your base will have 48 sts) and reduce the number of body rounds.
Q: What's the best way to secure the drawstring?
A: The most common and simple way is to tie a sturdy knot at each end of the drawstring after you've threaded it through the casing. This prevents the drawstring from unraveling or pulling back into the bag. For an extra touch, you can add decorative beads to the ends of the drawstring before knotting them. Make sure the knots are tight so the beads don't slip off. Some people also like to use a small amount of fabric glue or Fray Check on the knots for added security, especially if the yarn tends to unravel.
And there you have it! Your very own beautifully handcrafted crochet drawstring bag. Whether you're filling it with thoughtful gifts, organizing your craft supplies, or simply enjoying the satisfaction of a handmade creation, this bag is sure to bring joy. Don't be afraid to experiment with colors and embellishments to make it truly yours. Happy crocheting!