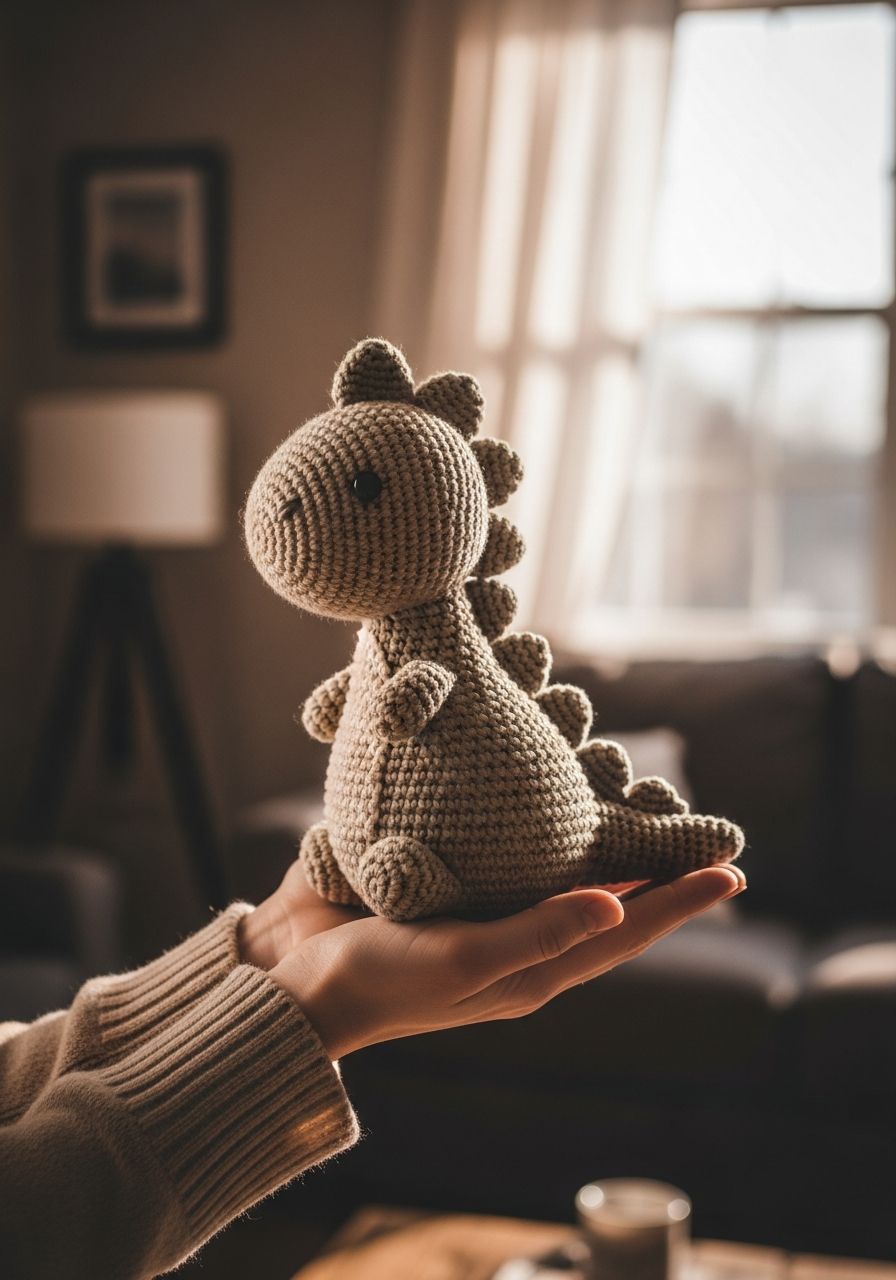
Imagine the pure delight in a child’s eyes, or the whimsical charm added to your desk, when you bring a friendly prehistoric pal to life with your own hands! There's something truly magical about transforming a simple strand of yarn into a huggable, timeless creature. Get ready to embark on a thrilling crafting adventure, because today, we're diving into the wonderful world of amigurumi with a truly special project: a delightful Crochet Dinosaur Amigurumi that's just waiting for your personal touch. This isn't just a pattern; it's a journey to creating a treasured companion, filled with joy and prehistoric charm!
Welcome, fellow yarn enthusiasts, to a roar-some adventure in crochet! Whether you're a seasoned amigurumi artist or picking up your hook for one of your first 3D projects, this pattern is designed to guide you every stitch of the way. We're going to craft an adorable, chunky dinosaur – perfect for gifting, decorating, or simply cuddling. This easy-to-follow guide will walk you through creating each part, assembling your dino, and adding those finishing touches that bring it to life. So, grab your yarn and let's make some prehistoric magic!
Why You'll Love This Pattern
- Beginner-Friendly: While it creates a detailed finished product, the individual parts use basic stitches and shaping, making it accessible for those new to amigurumi.
- Quick to Make: The compact size of our dino means you can whip one up in a weekend, or even a single dedicated crafting session!
- Customizable: Easily change colors, add stripes, or experiment with different safety eye sizes to create a whole herd of unique dinosaurs.
- Perfect Gift: Handmade gifts are always cherished, and a cute crochet dinosaur makes a fantastic present for birthdays, baby showers, or just because.
- Stash Buster: This pattern is ideal for using up those leftover bits of worsted weight yarn you might have in your stash.
Materials Needed
- Worsted weight (Aran/10-ply) yarn in your main dinosaur color (approx. 100g)
- Small amount of worsted weight yarn in a contrasting color for spikes (optional)
- 3.0mm or 3.5mm crochet hook (or size needed to achieve tight stitches for amigurumi)
- 9mm or 10mm safety eyes
- Fiberfill stuffing
- Yarn needle for sewing
- Stitch markers
- Scissors
Gauge & Sizing
Gauge is not critically important for amigurumi as long as your stitches are tight enough to prevent the stuffing from showing through. If your stitches are too loose, go down a hook size. When completed with worsted weight yarn and a 3.0mm hook, your dinosaur will measure approximately 6-7 inches (15-18 cm) long and 4-5 inches (10-12 cm) tall.
Abbreviations
- ch: chain
- sc: single crochet
- hdc: half double crochet
- dc: double crochet
- sl st: slip stitch
- inc: increase (2 sc in one stitch)
- dec: decrease (sc2tog - single crochet two stitches together)
- MR: magic ring (also known as magic circle or adjustable ring)
- FO: fasten off
- st(s): stitch(es)
- [ ] x N: repeat instructions in brackets N times
Step-by-Step Pattern
Work in continuous rounds unless otherwise specified. Use a stitch marker to keep track of the first stitch of each round.
Head
- R1: 6 sc in MR (6 sts)
- R2: [inc] x 6 (12 sts)
- R3: [sc, inc] x 6 (18 sts)
- R4: [2 sc, inc] x 6 (24 sts)
- R5-8: sc around (24 sts) (4 rounds)
- R9: [2 sc, dec] x 6 (18 sts)
- R10: [sc, dec] x 6 (12 sts)
- Insert safety eyes between R6 and R7, about 5-6 stitches apart. Start stuffing firmly.
- R11: [dec] x 6 (6 sts)
- FO, leaving a long tail for sewing. Close the remaining hole with your yarn needle.
Body
- R1: 6 sc in MR (6 sts)
- R2: [inc] x 6 (12 sts)
- R3: [sc, inc] x 6 (18 sts)
- R4: [2 sc, inc] x 6 (24 sts)
- R5: [3 sc, inc] x 6 (30 sts)
- R6-12: sc around (30 sts) (7 rounds)
- R13: [3 sc, dec] x 6 (24 sts)
- R14: [2 sc, dec] x 6 (18 sts)
- Start stuffing firmly.
- R15: [sc, dec] x 6 (12 sts)
- R16: [dec] x 6 (6 sts)
- FO, leaving a long tail for sewing. Close the remaining hole.
Legs (Make 4)
- R1: 6 sc in MR (6 sts)
- R2: [sc, inc] x 3 (9 sts)
- R3-6: sc around (9 sts) (4 rounds)
- FO, leaving a long tail for sewing. Stuff lightly, mostly the bottom part.
Tail
- R1: 4 sc in MR (4 sts)
- R2: [sc, inc] x 2 (6 sts)
- R3: sc around (6 sts)
- R4: [2 sc, inc] x 2 (8 sts)
- R5-6: sc around (8 sts) (2 rounds)
- R7: [3 sc, inc] x 2 (10 sts)
- R8-9: sc around (10 sts) (2 rounds)
- FO, leaving a long tail for sewing. Stuff lightly.
Spikes/Back Plates (Optional, Make 3-5)
- Using contrasting yarn, ch 4.
- Sc in 2nd ch from hook, hdc in next ch, dc in last ch.
- FO, leaving a long tail for sewing. Repeat for desired number of spikes.
Assembly
- Attach the Head: Position the head on the front of the body. Use the long tail from the head and your yarn needle to sew it securely to the body, making sure it's centered and upright. Stitch around the seam multiple times for a sturdy attachment, weaving in and out of both pieces.
- Attach the Legs: Pin the four legs evenly spaced on the underside of the body. Two at the front, two at the back. Ensure your dino stands balanced before sewing. Use the long tails from the legs to sew them firmly to the body, making sure they are well attached to support the body's weight.
- Attach the Tail: Center the tail at the back of the body. Use the tail's long yarn end to sew it securely. The tail should be pointing slightly upwards or straight back, depending on your preference.
- Attach the Spikes (Optional): If you made spikes, arrange them along the back of the dinosaur, from the head down the body. Pin them in place and sew them on using the tails left on each spike. Evenly space them for the best look.
- Weave in Ends: Securely weave in all remaining yarn ends into the body of your dinosaur. Give your dino a good squeeze to evenly distribute the stuffing and shape it.
Pro Tips
- Invisible Decrease: For a cleaner look, use the invisible decrease method (insert hook into front loop of first stitch, then front loop of second stitch, yarn over, pull through both loops, yarn over, pull through remaining two loops on hook).
- Stuffing Smart: Stuff your amigurumi firmly but evenly. Use small pieces of fiberfill to avoid lumps. Pay attention to the extremities like the tail and legs.
- Tight Stitches: Work with a hook size smaller than recommended for your yarn to ensure your stitches are tight. This prevents stuffing from poking through and gives your amigurumi a smooth finish.
- Joining Parts: When sewing parts together, use a whip stitch or mattress stitch for a strong, nearly invisible seam. Take small stitches, going through both pieces of fabric.
- Embroidered Features: If you prefer not to use safety eyes, you can embroider eyes and a mouth with black embroidery floss for a softer, baby-safe finish.
- Stitch Markers are Your Friend: Especially when working in continuous rounds, a stitch marker in the first stitch of each round is invaluable for keeping track of your count.
Frequently Asked Questions
What kind of yarn is best for amigurumi?
Worsted weight (Aran/10-ply) acrylic yarn is a fantastic choice for amigurumi. It's affordable, widely available, comes in a huge range of colors, and is easy to work with. Cotton yarn also works wonderfully for amigurumi, providing a slightly denser fabric and excellent stitch definition, though it has less stretch. Always opt for yarns that are durable and easy to care for.
Can I make this dinosaur bigger or smaller?
Absolutely! To make a larger dinosaur, use a bulkier yarn (like chunky or super bulky) and a proportionally larger crochet hook. To make a smaller one, use a finer yarn (like sport or fingering weight) and a smaller hook. Remember that changing yarn and hook size will alter the amount of yarn needed and the size of your safety eyes and other notions.
How do I make sure my stitches are tight enough?
The key to tight amigurumi stitches that prevent stuffing from showing through is to use a crochet hook that is at least one or two sizes smaller than what is typically recommended for your chosen yarn. For example, if your worsted weight yarn recommends a 4.0mm or 5.0mm hook, try using a 3.0mm or 3.5mm hook for your dinosaur. Consistent tension also plays a huge role; practice helps!
And there you have it – your very own crochet dinosaur, ready to stomp its way into your heart! This pattern is a fantastic way to practice your amigurumi skills and create something truly special. Remember, the beauty of handmade items lies in their unique imperfections, so don't be afraid to let your creativity shine. We hope you enjoyed crafting this prehistoric pal as much as we enjoyed designing the pattern for you. Happy crocheting!