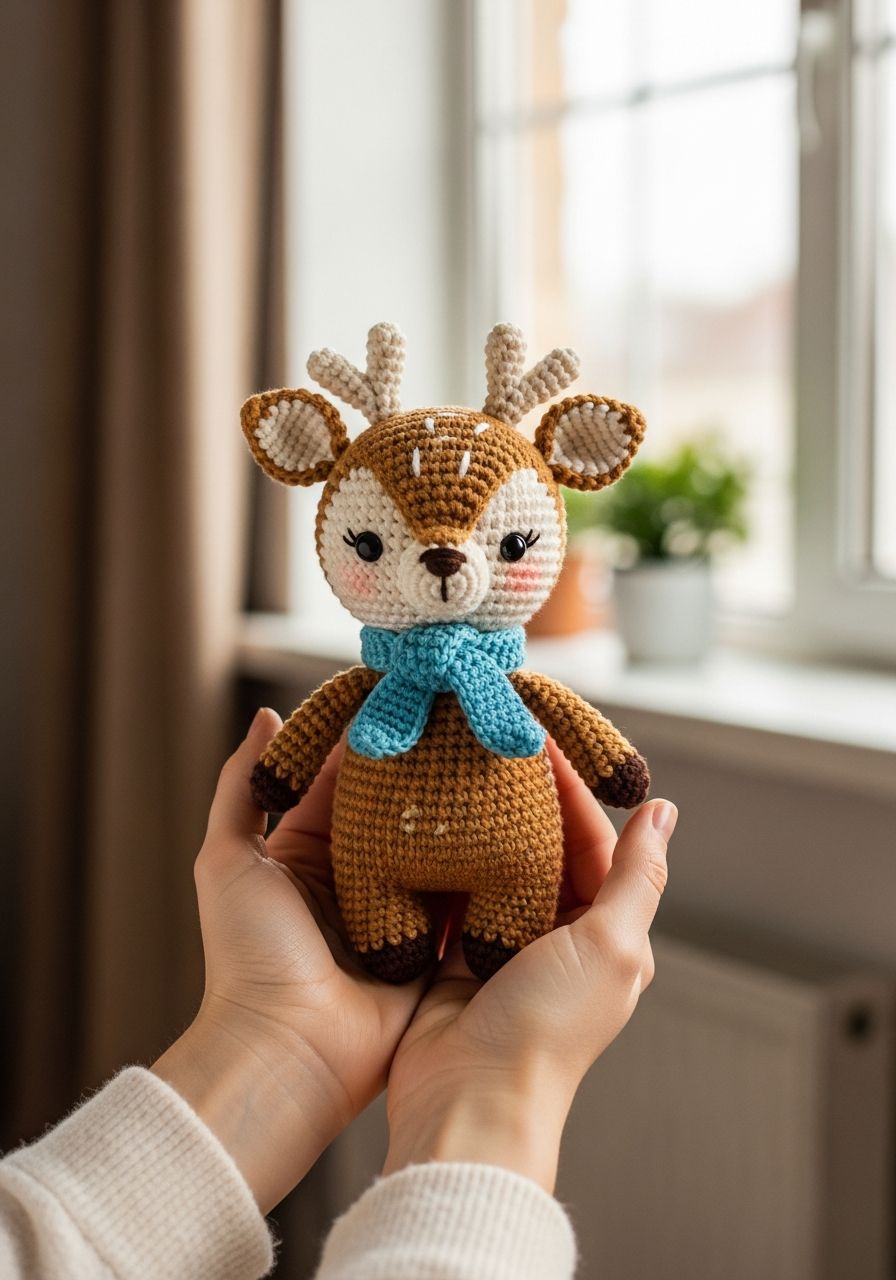
Imagine the pure joy on a child's face, or the cozy woodland charm added to your own decor, when you present them with a handmade, irresistibly soft Crochet Deer Amigurumi! This delightful little fawn, with its gentle eyes and tiny antlers, is more than just a toy; it's a huggable piece of nature brought to life by your own hands. We're so thrilled to share this free pattern with you today so you can start stitching your very own forest friend, ready to inspire smiles and warm hearts.
Introduction to Your Woodland Friend
Welcome, fellow crochet enthusiasts, to a pattern that promises not only a charming finished project but also a wonderfully relaxing crafting experience. This detailed guide will walk you through every stitch needed to create an enchanting deer amigurumi. Whether you're an experienced crocheter looking for your next captivating project or a curious beginner eager to try your hand at amigurumi, this pattern is designed to be accessible and rewarding. We'll cover everything from materials to assembly, ensuring your little deer comes to life beautifully, stitch by careful stitch.
Why You'll Love This Pattern
- Beginner-Friendly: While detailed, the pattern primarily uses basic crochet stitches, making it perfect for those new to amigurumi. Clear instructions break down each step.
- Charming Design: This deer features an adorable, classic look that appeals to all ages, making it a wonderful gift or a sweet addition to your own collection.
- Customizable: Easily change yarn colors to create a unique fawn, a majestic buck, or even a whimsical fantasy deer. Experiment with different yarn weights for varied sizes!
- Detailed Instructions: Each part of the deer is explained round by round, with stitch counts to keep you on track.
- Quick to Create: Despite its detailed appearance, this amigurumi works up relatively quickly, allowing you to enjoy your finished piece sooner.
- Skill-Building: Practice essential amigurumi techniques like working in the round, invisible increases and decreases, and seamless assembly.
Materials Needed
- Yarn: Worsted weight (Aran/10-ply) 100% cotton or acrylic yarn in:
- Main Color (MC): Approximately 100g (e.g., light brown, tan)
- Contrast Color 1 (CC1): Small amount for snout/ears (e.g., cream, off-white)
- Contrast Color 2 (CC2): Small amount for spots/antlers (e.g., dark brown, grey)
- Crochet Hook: 3.0mm (or size recommended for your chosen yarn to achieve tight stitches)
- Safety Eyes: 8-10mm (black)
- Polyester Fiberfill: For stuffing
- Yarn Needle: For sewing pieces together and weaving in ends
- Stitch Marker: Essential for working in continuous rounds
- Scissors: Sharp pair for cutting yarn
Gauge & Sizing
Gauge: Amigurumi gauge isn't as critical as it is for garments, but for this project, you want tight stitches to prevent stuffing from showing through. A good test is to crochet 10 sc stitches and measure. It should be approximately 1 inch (2.5 cm) wide, but adjust your hook size if your stitches are too loose or too stiff.
Finished Size: When made with worsted weight yarn and a 3.0mm hook, your finished Crochet Deer Amigurumi will stand approximately 7-8 inches (18-20 cm) tall from foot to antler tip, making it a perfect handheld size.
Abbreviations
- ch: Chain
- sc: Single Crochet
- hdc: Half Double Crochet
- dc: Double Crochet
- sl st: Slip Stitch
- inc: Increase (2 sc in one stitch)
- dec: Decrease (single crochet 2 together - use invisible decrease method for best results)
- MR: Magic Ring (or adjustable ring)
- st(s): Stitch(es)
- FO: Fasten Off
- MC: Main Color
- CC1: Contrast Color 1
- CC2: Contrast Color 2
Step-by-Step Pattern
This pattern is worked in continuous rounds unless otherwise specified. Use a stitch marker to keep track of the first stitch of each round.
Head (MC)
- MR 6 sc (6)
- Inc in each st around (12)
- [Sc, inc] x 6 (18)
- [2 sc, inc] x 6 (24)
- [3 sc, inc] x 6 (30)
- [4 sc, inc] x 6 (36)
- [5 sc, inc] x 6 (42)
- Sc in each st around (42)
- Sc in each st around (42)
- Sc in each st around (42)
- Sc in each st around (42)
- Sc in each st around (42)
- [5 sc, dec] x 6 (36)
- [4 sc, dec] x 6 (30)
- [3 sc, dec] x 6 (24)
- Insert safety eyes between R10 and R11, approximately 6-7 stitches apart. Start stuffing the head firmly.
- [2 sc, dec] x 6 (18)
- [Sc, dec] x 6 (12)
- [Dec] x 6 (6)
- FO, leaving a long tail for sewing. Finish stuffing and close the opening.
Body (MC)
- MR 6 sc (6)
- Inc in each st around (12)
- [Sc, inc] x 6 (18)
- [2 sc, inc] x 6 (24)
- [3 sc, inc] x 6 (30)
- [4 sc, inc] x 6 (36)
- [5 sc, inc] x 6 (42)
- Sc in each st around (42)
- Sc in each st around (42)
- Sc in each st around (42)
- [5 sc, dec] x 6 (36)
- Sc in each st around (36)
- [4 sc, dec] x 6 (30)
- Sc in each st around (30)
- [3 sc, dec] x 6 (24)
- Sc in each st around (24)
- Start stuffing the body.
- FO, leaving a long tail for sewing. Finish stuffing firmly.
Legs (Make 4 - MC)
- MR 6 sc (6)
- Inc in each st around (12)
- Sc in each st around (12)
- Sc in each st around (12)
- Sc in each st around (12)
- Sc in each st around (12)
- Sc in each st around (12)
- Sc in each st around (12)
- FO, leaving a long tail for sewing. Stuff lightly, not too firmly, so the deer can stand.
Ears (Make 2 - MC, with CC1 inner ear detail)
- Using MC: MR 4 sc (4)
- [Sc, inc] x 2 (6)
- [2 sc, inc] x 2 (8)
- Sc in each st around (8)
- FO, leaving a long tail for sewing. Flatten the ear.
- For inner ear: Using CC1, ch 4. Sc in 2nd ch from hook, hdc in next ch, dc in last ch. FO, leaving a tail for sewing.
- Sew the CC1 inner ear piece onto the MC ear piece.
Antlers (Make 2 - CC2)
- Ch 5. Sl st into 2nd ch from hook, sc in next ch, hdc in next ch, dc in last ch.
- Ch 3. Sl st into 2nd ch from hook, sc in next ch.
- Sl st into the base of the previous dc (where the first 'tine' branched off).
- FO, leaving a long tail for sewing. Gently shape.
Tail (CC1 and MC)
- Using CC1: MR 5 sc (5)
- Sc in each st around (5)
- Switch to MC: Sc in each st around (5)
- [Sc, dec] x 1, sc in last 2 sts (4)
- FO, leaving a long tail for sewing. Lightly stuff.
Assembly
- Attach Head to Body: Center the head on top of the body. Use your yarn needle and the long tail from the head to sew it securely to the body, making sure it's straight and firmly attached.
- Attach Legs: Position the four legs evenly around the bottom of the body. The front legs should be slightly forward, and the back legs slightly back. Sew them firmly in place, ensuring the deer can stand balanced.
- Attach Ears: Pinch the open end of each ear closed. Sew them to the top of the head, slightly to the sides, above the eyes.
- Attach Antlers: Sew the antlers to the top of the head, slightly behind the ears. You might need to make a few passes to secure them upright.
- Attach Tail: Sew the tail to the back of the body, centered and slightly below the midpoint.
- Add Spots (Optional): Using CC2 and your yarn needle, embroider small French knots or tiny running stitches on the deer's back and sides for classic fawn spots.
- Embroider Nose and Mouth (Optional): Use CC2 to embroider a small upside-down 'V' or a triangle for the nose directly below the safety eyes. You can add a small line down from the nose for a mouth.
- Weave in all remaining ends: Ensure all loose tails are securely woven into the amigurumi to prevent unraveling.
Pro Tips for Amigurumi Success
- Invisible Decrease: For seamless amigurumi, learn the invisible decrease (insert hook into front loop of first st, then front loop of second st, yarn over, pull through both front loops, yarn over, pull through both loops). It practically disappears!
- Stuffing Smartly: Stuff your amigurumi gradually and firmly, especially the head. Use small pieces of fiberfill to avoid lumps. A blunt tool (like the back of a crochet hook or a chopstick) can help push stuffing into tight spots.
- Stitch Markers are Your Best Friend: Always use a stitch marker to mark the first stitch of each round when working in continuous spirals. This prevents mistakes and saves you from constantly recounting.
- Tight Stitches: Use a hook size slightly smaller than what's recommended for your yarn to ensure tight stitches. This prevents stuffing from escaping and gives your amigurumi a polished look.
- Practice Makes Perfect: Don't get discouraged if your first amigurumi isn't perfect. Each project builds your skills and confidence.
- Reading Your Work: Learn to recognize your stitches (the 'V' shape of the top of a single crochet). This helps you identify where to place your hook and catch errors early.
Frequently Asked Questions
Is this pattern suitable for beginners?
Absolutely! While it does involve multiple parts and assembly, the pattern primarily uses basic stitches like single crochet, increases, and decreases. Each step is broken down, and our pro tips section offers guidance for common amigurumi challenges. If you can make a magic ring and a single crochet, you're well on your way to creating this adorable deer!
What kind of yarn should I use?
We recommend worsted weight (Aran/10-ply) acrylic or cotton yarn. Acrylic is soft, durable, and comes in a wide range of colors, making it great for toys. Cotton yarn creates a slightly denser, more defined stitch and is often preferred for baby items due to its natural fibers. Avoid super bulky or very thin yarns for your first try, as they can make it harder to see your stitches or achieve the desired size.
Can I make this deer bigger or smaller?
Yes, you can! To make a larger deer, use a thicker yarn weight (e.g., bulky or super bulky) and a proportionally larger crochet hook. For a smaller deer, use a thinner yarn (e.g., sport or fingering weight) and a smaller hook. Remember that changing yarn and hook size will also require adjusting the size of your safety eyes and the amount of stuffing needed.
We hope you thoroughly enjoy bringing your very own charming Crochet Deer Amigurumi to life! There's a special magic in creating something beautiful and tangible with your own hands, and this little fawn is sure to become a treasured companion or a heartfelt gift. Happy crocheting!