Imagine the cozy satisfaction of creating something beautiful with your own hands, the rhythmic click of your hook, the soft whisper of yarn, and the incredible feeling of belonging to a vibrant, supportive network of fellow makers. That's the magic waiting for you in the Crochet Community! Get ready to unlock a world of creativity, connection, and endless possibilities, turning simple string into cherished treasures and finding your crafting tribe along the way.
Welcome, aspiring crocheter! You've taken the first exciting step into a craft that is as relaxing as it is rewarding. This isn't just about learning to loop yarn; it's about joining a global family united by hooks and stitches. This guide will walk you through the absolute essentials of beginning your crochet journey, from your very first slip knot to finding your place within the welcoming embrace of the wider crochet world. We'll cover everything from basic tools and stitches to your first simple project, ensuring you feel confident and connected from the very start.
Why It Matters
Crochet is more than just a hobby; it's a gateway to numerous benefits that enrich your life. For many, it's a powerful tool for stress relief and mindfulness. The repetitive motion of looping yarn can be incredibly meditative, helping to calm the mind and reduce anxiety. But beyond the personal calm, there's a profound sense of accomplishment that comes with transforming a skein of yarn into a tangible, beautiful item.
Furthermore, joining the crochet community means tapping into an endless source of inspiration, support, and friendship. It's a place where you can share your triumphs, ask for help with tricky stitches, and celebrate your progress with others who truly understand the joy of a finished project. Whether you're making gifts for loved ones, decorating your home, or even starting a small business, crochet offers practical skills and endless creative outlets. It fosters patience, problem-solving, and a unique form of self-expression, making it a truly rewarding endeavor.
What You Need to Know
Before you dive hook-first into your first project, understanding the basics of tools, materials, and terminology will set you up for success.
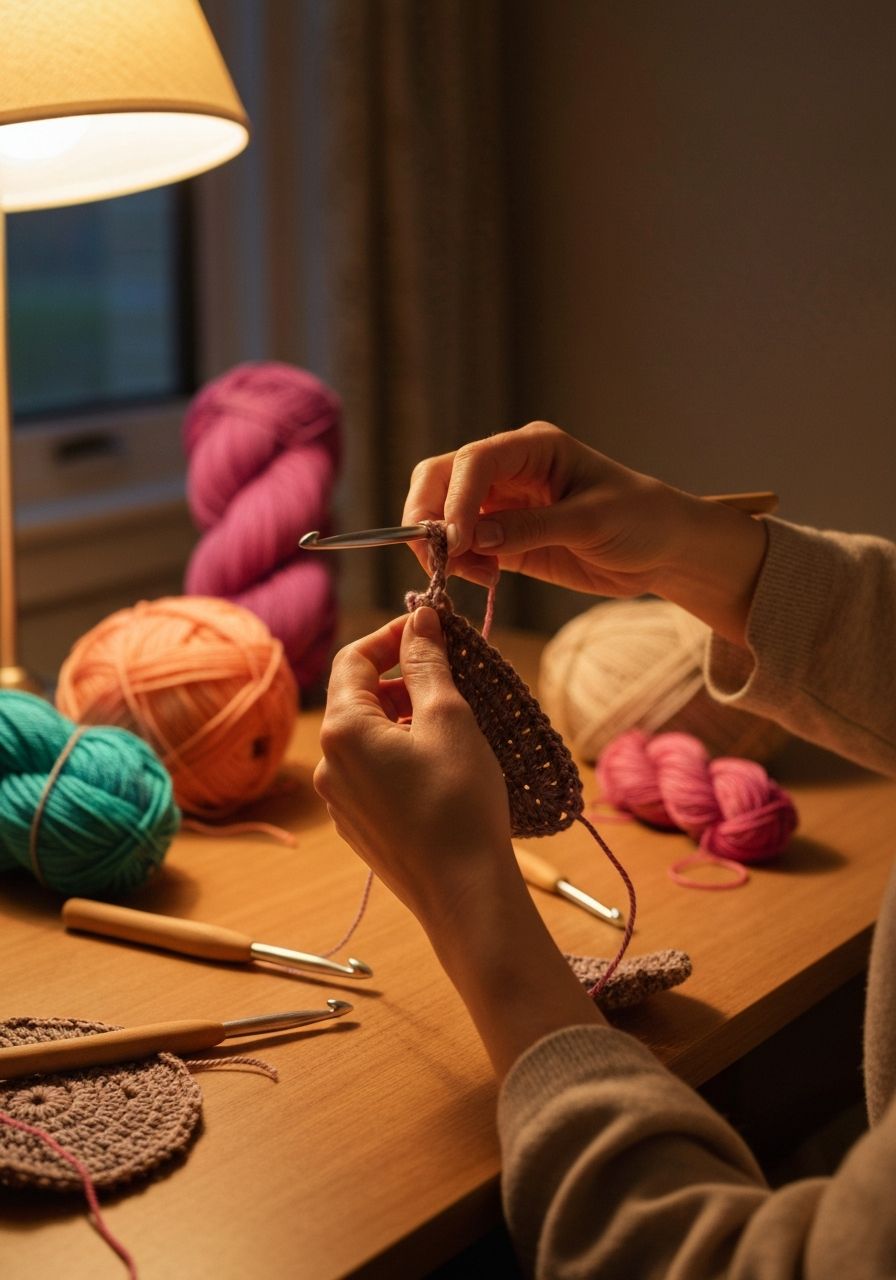
Basic Tools You'll Need
- Crochet Hook: These come in various sizes (labeled with letters or numbers in the US, or millimeters universally). Start with a medium-sized hook, like an H/5.0mm or I/5.5mm, as it’s easier to see your stitches.
- Yarn: For beginners, a smooth, light-colored worsted weight (medium #4) acrylic or cotton yarn is ideal. Avoid dark colors, fuzzy yarns, or very thin/thick yarns initially, as they can obscure stitches.
- Scissors: Any small pair will do for cutting yarn tails.
- Tapestry Needle: Also called a yarn needle, this is essential for weaving in your yarn ends neatly.
- Stitch Markers: Small clips that help you keep track of specific stitches, especially useful when working in rounds or counting.
Understanding Yarn Weights & Hook Sizes
Yarn weight refers to its thickness, from lace (very thin) to jumbo (very thick). Most patterns will recommend a specific yarn weight and hook size. Generally, thicker yarns use larger hooks, and thinner yarns use smaller hooks. Matching them correctly ensures your fabric has the right drape and density.
Reading Patterns & Abbreviations
Crochet patterns use a universal language of abbreviations. You'll quickly learn common ones, but always check the pattern's abbreviation key. Be aware that patterns can use either US or UK crochet terms, which can be confusing as some terms mean different stitches in different regions (e.g., a US single crochet is a UK double crochet). Most patterns will specify which terminology they use.
Basic Stitches Overview
- ch (chain): The foundational stitch, forming a chain of loops.
- sl st (slip stitch): A very flat stitch used to join rounds, move across stitches without adding height, or finish off work.
- sc (single crochet): The shortest and most basic stitch, creating a dense fabric.
- hdc (half double crochet): Taller than a single crochet, offering a bit more drape.
- dc (double crochet): Taller than a half double crochet, creating a looser fabric.
- inc (increase): Working two or more stitches into one stitch to add stitches and expand your work.
- dec (decrease): Working two or more stitches together to reduce stitches and contract your work.
Your First Stitches: A Simple Coaster Project
Let's put theory into practice! This simple coaster project will guide you through creating a flat circle, introducing you to essential techniques like the magic ring, chain, single crochet, and basic increases.
Gather Your Supplies
- Worsted weight (medium #4) cotton yarn (e.g., Lily Sugar'n Cream)
- H/5.0mm crochet hook
- Scissors
- Tapestry needle
- Stitch marker (optional, but helpful for rounds)
Mastering the Basics
- The Slip Knot: This is the first loop on your hook. Hold the yarn tail in your left hand, wrap the working yarn (coming from the ball) around two fingers, cross it over the tail, insert your hook under the first strand and catch the second, pulling it through to form a loop. Pull the working yarn to tighten the loop on your hook, but not too tightly.
- The Chain Stitch (ch): Yarn over (wrap the yarn from back to front over your hook), then pull the yarn through the loop on your hook. This creates one chain stitch. Repeat to make a chain of any desired length. For our coaster, you'll start with a small chain or a magic ring.
- The Single Crochet (sc): Insert your hook into the designated stitch (for a chain, skip the first chain from the hook), yarn over, pull up a loop (you now have two loops on your hook), yarn over again, and pull through both loops on your hook. You've made one single crochet!
- The Slip Stitch (sl st): Insert your hook into the designated stitch, yarn over, and pull through both the stitch and the loop on your hook in one smooth motion.
Project: Beginner-Friendly Coaster
This coaster is worked in continuous rounds. Use a stitch marker to mark the first stitch of each round if you're a beginner.
-
Starting (Magic Ring): Create a magic ring (also known as a magic circle or adjustable ring).
(Alternatively, you can chain 2, then work all stitches of Round 1 into the second chain from your hook.) - Round 1: Chain 1 (does not count as a stitch). Work 6 single crochet (sc) stitches into the magic ring. Pull the tail of the magic ring tight to close the center hole. Join with a slip stitch (sl st) to the first sc to close the round. (6 stitches)
- Round 2: Chain 1. Work 2 sc into each stitch around (this is an increase, or 'inc'). Join with a sl st to the first sc. (12 stitches)
- Round 3: Chain 1. *Work 1 sc in the first stitch, then work 2 sc in the next stitch (inc)*. Repeat from * to * 6 times around. Join with a sl st to the first sc. (18 stitches)
- Round 4: Chain 1. *Work 1 sc in the next 2 stitches, then work 2 sc in the next stitch (inc)*. Repeat from * to * 6 times around. Join with a sl st to the first sc. (24 stitches)
- Round 5: Chain 1. *Work 1 sc in the next 3 stitches, then work 2 sc in the next stitch (inc)*. Repeat from * to * 6 times around. Join with a sl st to the first sc. (30 stitches)
- Finishing: Fasten off by cutting your yarn, leaving a 6-inch tail. Yarn over and pull the tail completely through the loop on your hook. Use your tapestry needle to weave in all loose ends securely.
Common Mistakes to Avoid
- Too Tight or Too Loose Tension: Finding consistent tension is key. If your stitches are too tight, they'll be hard to work into; too loose, and your fabric will be gappy. Practice helps find your sweet spot.
- Not Counting Stitches: This is perhaps the most common beginner error. Always count your stitches at the end of each round or row to ensure your piece is growing correctly and symmetrically.
- Ignoring Gauge (for future projects): While not critical for a coaster, for garments or larger items, gauge (the number of stitches and rows per inch) is vital to ensure your finished object is the correct size.
- Giving Up Too Soon: Crochet takes practice. Your first attempts might not be perfect, and that's completely normal. Don't get discouraged!
- Comparing Yourself to Others: The crochet community is full of incredibly talented artists. Admire their work, but focus on your own progress and joy, not on matching their skill level immediately. Everyone starts somewhere!
Pro Tips for Beginners
- Practice Consistently: Even 15-20 minutes a day can significantly improve your muscle memory and skill.
- Watch Video Tutorials: Seeing a stitch demonstrated can be incredibly helpful when written instructions are unclear. YouTube is a fantastic resource.
- Join Online Groups and Forums: Platforms like Ravelry, Facebook groups, and Reddit's r/crochet are treasure troves of patterns, advice, and camaraderie. Don't hesitate to ask questions!
- Don't Be Afraid to Undo (Tink/Frogging): It's called 'tinking' (knit spelled backward) or 'frogging' (rip-it, rip-it). Undoing mistakes is a crucial part of the learning process. It's better to undo and correct than to continue with an error.
- Start with Simple Projects: Coasters, washcloths, and simple scarves are excellent first projects. They allow you to practice basic stitches without overwhelming you.
- Invest in Good Tools: While you don't need the most expensive hooks, a comfortable ergonomic hook can make a huge difference in preventing hand fatigue.
Frequently Asked Questions
What's the best yarn for beginners?
For beginners, a smooth, light-colored, worsted-weight acrylic or cotton yarn is highly recommended. Acrylic is affordable and easy to work with, while cotton is great for items like dishcloths. Avoid dark colors, fuzzy textures, or very slippery yarns as they make it harder to see your stitches.
How do I choose the right hook size?
Most yarn labels will recommend a hook size for that particular yarn weight. For your first projects, an H/5.0mm or I/5.5mm hook is a good all-around choice. As you gain experience, you'll learn how hook size affects the fabric's drape and adjust accordingly for different projects.
What's the difference between US and UK terms?
The primary difference is that many stitch names are shifted. For example, a US 'single crochet' is equivalent to a UK 'double crochet', and a US 'double crochet' is equivalent to a UK 'treble crochet'. Always check the pattern's terminology section to ensure you're using the correct stitch.
Your journey into the Crochet Community is just beginning, and it's full of exciting possibilities. Remember, every master crocheter was once a beginner. Embrace the learning process, celebrate every tiny victory, and don't be shy about connecting with fellow makers. The joy of creation, the warmth of handmade items, and the bond of a shared passion await you. Pick up your hook, choose your yarn, and let your creative adventure begin!