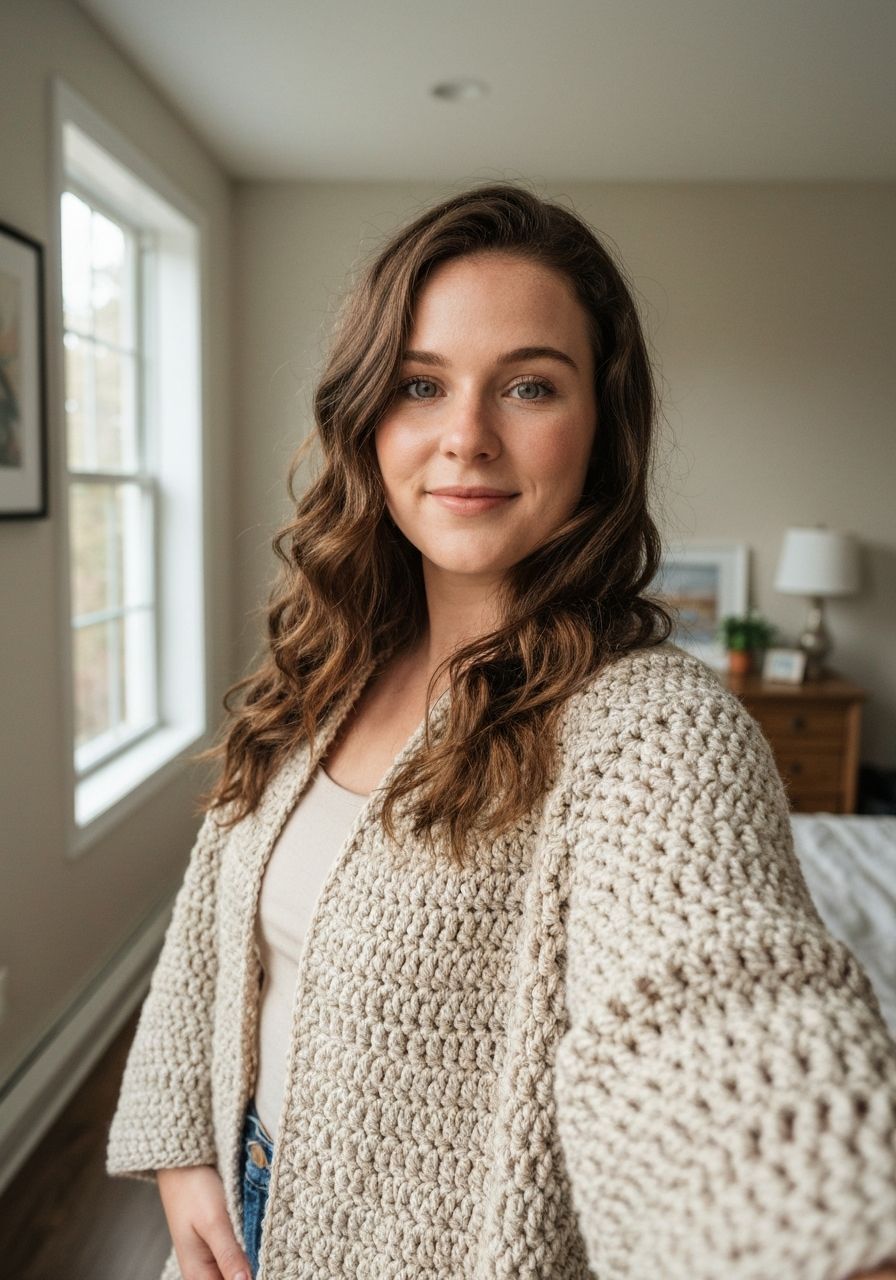
Imagine stepping out on a crisp autumn morning, enveloped in a hug of your own making, a stunning, custom-fit Crochet Coat that not only keeps you warm but also turns heads. This isn't just a garment; it's a statement of your craft, a testament to your dedication, and a cozy shield against the chill. Get ready to embark on a truly rewarding crochet journey that culminates in a wearable masterpiece you'll cherish for years!
Welcome to our detailed guide and free pattern for creating your very own beautifully textured crochet coat! Whether you're a seasoned crocheter looking for your next exciting project or an adventurous beginner ready to tackle a larger garment, this pattern is designed to be accessible and enjoyable. We've broken down each step to ensure clarity, making the process of creating this stylish, comfortable, and wonderfully warm coat a breeze. From selecting the perfect yarn to seaming your finished pieces, we've got you covered. Let's pick up our hooks and create something truly spectacular!
Why You'll Love This Pattern
- Beginner-Friendly: While it's a larger project, this coat primarily uses simple stitches like half double crochet, making it approachable for those new to garment making.
- Customizable Sizing: The pattern includes notes on adjusting length and width, allowing you to create a coat that fits your unique body perfectly.
- Stylish & Versatile: With its classic silhouette and rich texture, this coat can be dressed up or down, making it a versatile addition to any wardrobe.
- Warm & Cozy: Designed with worsted weight yarn, this coat provides excellent warmth, perfect for cooler weather.
- Sense of Accomplishment: There's nothing quite like the pride of wearing something you've created with your own hands. This coat will be a constant source of joy!
Materials Needed
- Yarn: Worsted Weight (Category 4) yarn. Approximately 2000-2400 yards (1830-2200 meters) for size Medium. (Adjust quantity for other sizes). A wool blend or acrylic yarn is recommended for warmth and drape.
- Crochet Hook: 6.0mm (US J/10) or size needed to obtain gauge.
- Stitch Markers: Essential for marking armholes and panel divisions.
- Yarn Needle: For weaving in ends and seaming.
- Scissors: For cutting yarn.
- Measuring Tape: For checking gauge and garment dimensions.
Gauge & Sizing
Gauge is CRITICAL for this project! Taking the time to create a swatch will ensure your coat turns out the correct size. If your gauge is off, your coat will be too big or too small, regardless of the stitch counts.
Gauge: 12 hdc x 9 rows = 4 inches (10 cm) square, blocked.
How to Check Your Gauge:
- Chain 15.
- Row 1: Hdc in 2nd ch from hook and in each ch across. (14 hdc)
- Rows 2-12: Ch 1 (does not count as st), turn, hdc in each st across. (14 hdc)
- Fasten off and block your swatch.
- Measure the middle 4 inches. If you have more than 12 hdc, try a larger hook. If you have fewer than 12 hdc, try a smaller hook. Adjust until you match the gauge.
Finished Bust Measurements (approximate, with positive ease):
- Small: 36 inches (91 cm)
- Medium: 40 inches (102 cm)
- Large: 44 inches (112 cm)
- XL: 48 inches (122 cm)
- 2XL: 52 inches (132 cm)
- 3XL: 56 inches (142 cm)
The pattern is written for size Medium. Changes for other sizes (S, L, XL, 2XL, 3XL) are given in parentheses (S, L, XL, 2XL, 3XL).
Abbreviations
- ch: chain
- sl st: slip stitch
- sc: single crochet
- hdc: half double crochet
- dc: double crochet
- hdc2tog: half double crochet two stitches together (decrease)
- inc: increase
- st(s): stitch(es)
- sk: skip
- rep: repeat
- FO: fasten off
Step-by-Step Pattern
This coat is worked in separate panels (Back, 2 Fronts, 2 Sleeves) and then seamed together. We'll use mostly hdc for a dense, warm fabric.
Body (Back Panel)
Starting with your 6.0mm hook and worsted weight yarn.
- Chain: Ch 61 (55, 67, 73, 79, 85).
- Row 1: Hdc in 2nd ch from hook and in each ch across. (60, 54, 66, 72, 78, 84 hdc)
- Rows 2-45 (43, 47, 49, 51, 53): Ch 1 (does not count as a stitch), turn, hdc in each st across. (60, 54, 66, 72, 78, 84 hdc)
- Armhole Shaping (Next 2 Rows):
- Row 46 (44, 48, 50, 52, 54): Ch 1, turn, sl st in first 3 (3, 4, 4, 5, 5) sts, hdc in next st and in each st across until 3 (3, 4, 4, 5, 5) sts remain, leaving remaining sts unworked. (54, 48, 58, 64, 68, 74 hdc)
- Row 47 (45, 49, 51, 53, 55): Ch 1, turn, hdc2tog, hdc in each st across until 2 sts remain, hdc2tog. (52, 46, 56, 62, 66, 72 hdc)
- Rows 48-68 (46-66, 50-70, 52-72, 54-74, 56-76): Ch 1, turn, hdc in each st across. (52, 46, 56, 62, 66, 72 hdc). Work until armhole measures approximately 9 (8.5, 9.5, 10, 10.5, 11) inches from decrease row.
- Shoulder Shaping (Next 2 Rows):
- Row 69 (67, 71, 73, 75, 77): Ch 1, turn, sl st in first 10 (8, 11, 12, 13, 15) sts, hdc in next st and in each st across until 10 (8, 11, 12, 13, 15) sts remain, leaving remaining sts unworked. (32, 30, 34, 38, 40, 42 hdc for neck)
- Row 70 (68, 72, 74, 76, 78): Ch 1, turn, hdc in each st across. (32, 30, 34, 38, 40, 42 hdc)
- FO, leaving a long tail for seaming.
Body (Front Panels - Make 2)
- Chain: Ch 31 (28, 34, 37, 40, 43).
- Row 1: Hdc in 2nd ch from hook and in each ch across. (30, 27, 33, 36, 39, 42 hdc)
- Rows 2-45 (43, 47, 49, 51, 53): Ch 1, turn, hdc in each st across. (30, 27, 33, 36, 39, 42 hdc)
- Armhole Shaping (Next 2 Rows):
- Row 46 (44, 48, 50, 52, 54) (Right Front): Ch 1, turn, sl st in first 3 (3, 4, 4, 5, 5) sts, hdc in next st and in each st across. (27, 24, 29, 32, 34, 37 hdc)
- Row 46 (44, 48, 50, 52, 54) (Left Front): Ch 1, turn, hdc in each st across until 3 (3, 4, 4, 5, 5) sts remain, leaving remaining sts unworked. (27, 24, 29, 32, 34, 37 hdc)
- Row 47 (45, 49, 51, 53, 55) (Right Front): Ch 1, turn, hdc2tog, hdc in each st across. (26, 23, 28, 31, 33, 36 hdc)
- Row 47 (45, 49, 51, 53, 55) (Left Front): Ch 1, turn, hdc in each st across until 2 sts remain, hdc2tog. (26, 23, 28, 31, 33, 36 hdc)
- Rows 48-60 (46-58, 50-62, 52-64, 54-66, 56-68): Ch 1, turn, hdc in each st across. Work until armhole measures approx 7 (6.5, 7.5, 8, 8.5, 9) inches from decrease row.
- Neck Shaping (Next 2 Rows):
- Row 61 (59, 63, 65, 67, 69) (Right Front): Ch 1, turn, hdc in next 16 (15, 17, 19, 20, 22) sts, hdc2tog, leaving remaining sts unworked. (17, 16, 18, 20, 21, 23 hdc)
- Row 61 (59, 63, 65, 67, 69) (Left Front): Ch 1, turn, hdc2tog, hdc in next 16 (15, 17, 19, 20, 22) sts. (17, 16, 18, 20, 21, 23 hdc)
- Row 62 (60, 64, 66, 68, 70) (Right Front): Ch 1, turn, hdc in each st across until 2 sts remain, hdc2tog. (16, 15, 17, 19, 20, 22 hdc)
- Row 62 (60, 64, 66, 68, 70) (Left Front): Ch 1, turn, hdc2tog, hdc in each st across. (16, 15, 17, 19, 20, 22 hdc)
- Rows 63-68 (61-66, 65-70, 67-72, 69-74, 71-76): Ch 1, turn, hdc in each st across. (16, 15, 17, 19, 20, 22 hdc). Work until front armhole length matches back armhole length.
- FO, leaving a long tail for seaming.
Sleeves (Make 2)
- Chain: Ch 35 (32, 38, 41, 44, 47). Sl st to first ch to form a loop, being careful not to twist.
- Round 1: Ch 1 (does not count as st), hdc in each ch around. Sl st to first hdc to join. (34, 31, 37, 40, 43, 46 hdc)
- Rounds 2-5: Ch 1, hdc in each st around. Sl st to join.
- Increase Round (Round 6): Ch 1, hdc in first st, inc in next st, hdc in each st around until 1 st remains, inc in last st. Sl st to join. (36, 33, 39, 42, 45, 48 hdc).
- Rounds 7-10: Ch 1, hdc in each st around. Sl st to join.
- Repeat Rounds 6-10 until you have 54 (51, 57, 60, 63, 66) hdc stitches, ending with a non-increase round. This should be approx 40 (35, 45, 50, 55, 60) rounds total.
- Continue working straight (no increases) until sleeve measures approximately 18 (17.5, 19, 19.5, 20, 20.5) inches from cuff, or desired length.
- FO, leaving a long tail for seaming.
Assembly
- Shoulder Seams: Lay the Back Panel flat. Align the shoulders of the Front Panels with the shoulders of the Back Panel, right sides together. Using your yarn needle and the long tails, seam the shoulders together using the whip stitch or mattress stitch.
- Side Seams: Fold the front panels over the back panel, right sides together. Starting from the bottom hem, seam the side edges of the front panels to the side edges of the back panel, stopping at the armhole shaping. Repeat for both sides.
- Set in Sleeves: With the coat still inside out, align the top center of each sleeve with the shoulder seam. Carefully pin the sleeve into the armhole opening. Seam the sleeves into the armholes using your preferred seaming method.
- Weave in all remaining ends.
Edging/Collar
- With the right side facing you, join yarn with a sl st at the bottom front corner of one front panel.
- Round 1: Ch 1, work sc evenly all the way around the entire opening of the coat (up one front panel, around the neck, down the other front panel, and along the bottom hem). Aim for approximately 1 sc per hdc row along the vertical edges and 1 sc per hdc along the bottom. Sl st to first sc to join.
- Rows 2-4: Ch 1, turn, sc in each sc around.
- FO.
Pro Tips
- Don't Skip the Gauge Swatch: Seriously, this is the most important step for a garment. Your finished coat's size depends entirely on it!
- Weave in Ends As You Go: This will save you a huge amount of time and effort at the end of the project. A tapestry needle is your best friend here.
- Try On Your Coat: As you assemble the pieces, periodically try on your coat (especially after seaming panels and sleeves) to ensure it's fitting as you desire. This allows for minor adjustments before it's too late.
- Blocking is Your Friend: After your coat is fully assembled, blocking can dramatically improve the drape, even out your stitches, and help the garment lie beautifully. Follow your yarn's care instructions for wet or steam blocking.
- Customize Length: If you want a longer or shorter coat, simply add or subtract rows from the main body panels and sleeves before beginning any shaping (armholes or neck).
- Yarn Choice Matters: A yarn with good drape will make for a more comfortable and stylish coat. Avoid very stiff yarns unless you're aiming for a structured look.
Frequently Asked Questions
Can I use a different yarn weight for this pattern?
While you can, it will significantly alter the final size and drape of your coat. If you choose a different yarn weight, you MUST create a new gauge swatch and adjust your hook size until you meet the specified gauge (12 hdc x 9 rows = 4 inches). You will also likely need to adjust the starting chain counts for the panels to achieve your desired width, as a different yarn weight will produce a different stitch count per inch even with the correct hook size for gauge.
Is this pattern suitable for complete beginners?
This pattern is designed to be accessible to advanced beginners or intermediate crocheters. While it primarily uses simple stitches like hdc, the size of the project and the need for accurate gauge and seaming require some patience and attention to detail. If you've successfully completed smaller projects using hdc, you should be able to tackle this coat with confidence!
How can I make the coat longer or shorter?
To adjust the length of the coat, simply add or subtract rows from the main body panels (Back and Fronts) before you begin the armhole shaping. For example, if you want it 4 inches longer, add 9 rows. Do this evenly across all panels. Similarly, for the sleeves, add or subtract rounds before you begin working straight, or adjust the number of straight rounds after your increases.
Congratulations, designer! You've just created a stunning, unique Crochet Coat that will keep you warm and stylish. Wear it with pride, knowing every stitch was placed with care by your own hands. We hope you enjoyed this journey and look forward to seeing your beautiful creations. Happy crocheting!