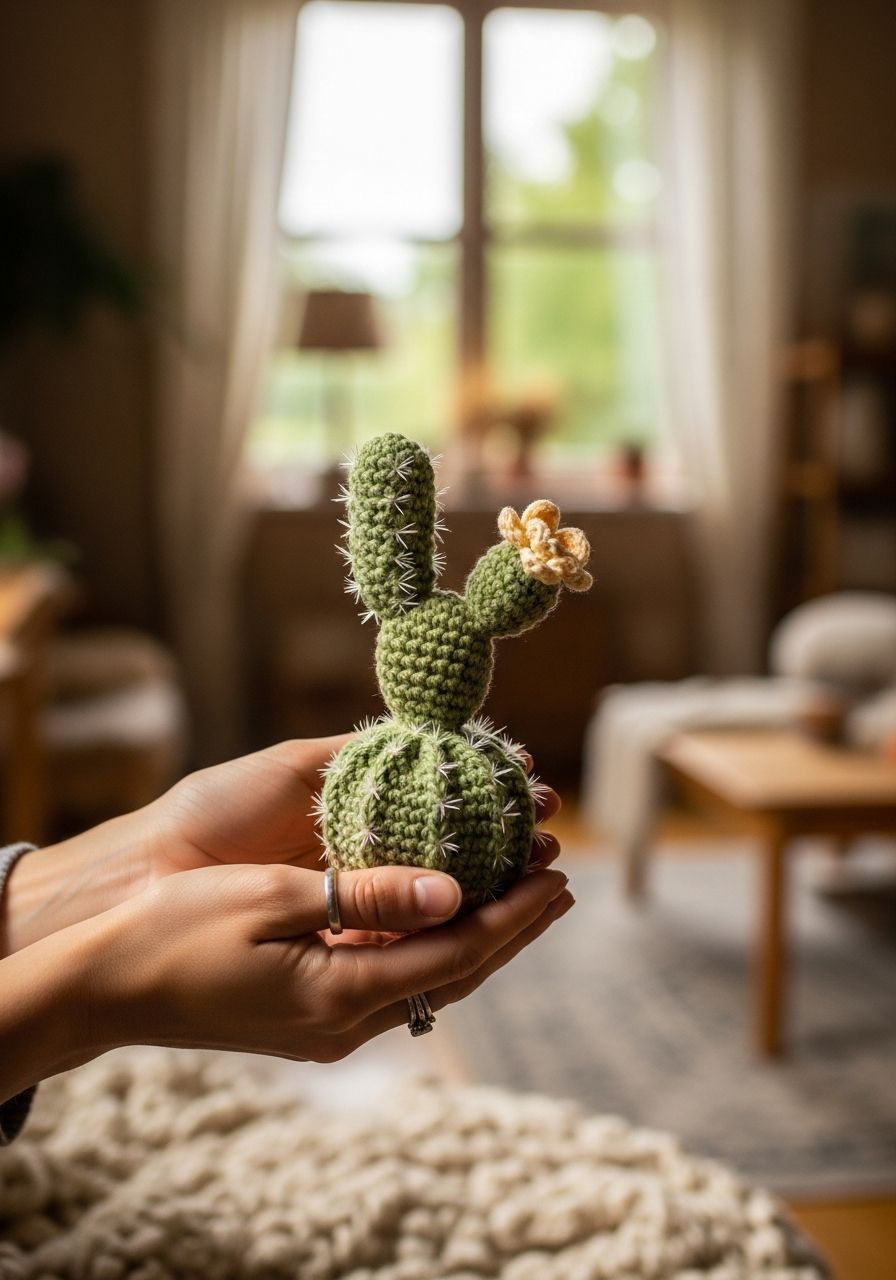
Imagine a vibrant touch of nature gracing your windowsill, a cheerful desk companion that never needs watering, or the perfect handmade gift that embodies warmth and creativity. Now, picture yourself bringing this delightful vision to life with just a hook and some yarn! Dive into the joyful world of amigurumi with our enchanting Crochet Cactus Amigurumi pattern. This project isn't just about making a cute little plant; it's about cultivating a sense of accomplishment, adding a pop of everlasting charm to your home, and experiencing the pure joy of handmade artistry. Get ready to crochet your very own resilient desert friend!
Welcome, fellow yarn enthusiasts! Today, I'm thrilled to share a pattern that's as charming as it is easy to make: our very own Crochet Cactus Amigurumi. Whether you're a seasoned crocheter looking for a quick, satisfying project or a beginner eager to try amigurumi for the first time, this pattern is designed to bring you joy. This little cactus is perfect for brightening up any room, makes a wonderful housewarming gift, or can simply be a cute, prickly-free friend for yourself. Let's grab our hooks and transform some yarn into an adorable desert delight!
Why You'll Love This Pattern
- No Green Thumb Required: Enjoy the beauty of a plant without any watering, sunlight, or wilting worries. It's truly everlasting!
- Quick & Satisfying: This project works up relatively fast, making it perfect for a weekend craft session or a last-minute gift. The instant gratification is incredibly rewarding.
- Beginner-Friendly: Using mostly basic stitches, this pattern is approachable for those new to amigurumi. Clear, step-by-step instructions ensure a smooth crocheting experience.
- Customizable: Experiment with different yarn colors for your cactus body, add a variety of flower colors, or even embroider unique details like tiny 'spines' or a friendly face.
- Perfect for Gifts & Decor: Brighten up your own space or create thoughtful, handmade gifts for friends, family, or colleagues. They're excellent for desk decor, bookshelves, or nurseries.
- Stash Buster: A great way to use up those smaller skeins of yarn you have lingering in your stash.
Materials Needed
- Yarn: Worsted weight (Aran/10-ply) cotton or acrylic yarn.
- Green (approx. 50g for cactus body)
- Brown (approx. 20g for soil insert)
- Small amount of pink, yellow, or red for the flower
- Crochet Hook: 3.5mm (E/4) or size appropriate for your yarn to achieve tight stitches.
- Stuffing: Polyester fiberfill.
- Yarn Needle: For weaving in ends and assembly.
- Scissors: For cutting yarn.
- Stitch Marker: Essential for working in continuous rounds.
- Small Terracotta Pot (Optional): Approximately 2.5-3 inches (6-7.5 cm) in diameter at the top.
- Safety Eyes (Optional): 6mm if adding a face, or black embroidery floss to stitch eyes.
Gauge & Sizing
Gauge is not critical for this amigurumi project, as long as your stitches are tight enough to prevent the stuffing from showing through. If your stitches are too loose, try going down a hook size. When completed and placed in a 2.5-3 inch pot, your finished cactus will stand approximately 3.5-4 inches (9-10 cm) tall from the base of the soil to the top of the cactus.
Abbreviations
- ch: Chain
- sc: Single Crochet
- hdc: Half Double Crochet
- dc: Double Crochet
- sl st: Slip Stitch
- inc: Increase (2 sc in the same stitch)
- dec: Decrease (single crochet 2 stitches together)
- MR: Magic Ring (or magic circle)
- FO: Fasten Off
- st(s): Stitch(es)
- Rnd: Round
- [ ] x N: Repeat instructions in brackets N times
- ( ): Total number of stitches at the end of the round
Step-by-Step Pattern
This pattern is worked in continuous rounds unless otherwise specified. Use a stitch marker to keep track of the beginning of each round.
Cactus Body (Make 1)
Using Green yarn:
- Rnd 1: Start with a MR, sc 6 into the ring. (6 sts)
- Rnd 2: [Inc] x 6. (12 sts)
- Rnd 3: [Sc 1, inc] x 6. (18 sts)
- Rnd 4: [Sc 2, inc] x 6. (24 sts)
- Rnd 5: [Sc 3, inc] x 6. (30 sts)
- Rnd 6: [Sc 4, inc] x 6. (36 sts)
- Rnd 7-15: Sc in each st around for 9 rounds. (36 sts)
(Optional: If adding safety eyes, attach them between Rnd 10 and 11, about 4-5 stitches apart, before stuffing.) - Rnd 16: [Sc 4, dec] x 6. (30 sts)
- Rnd 17: [Sc 3, dec] x 6. (24 sts)
- Rnd 18: [Sc 2, dec] x 6. (18 sts)
Begin stuffing firmly, shaping the cactus as you go. Ensure it's packed tightly enough to hold its shape but not so much that the stitches stretch. - Rnd 19: [Sc 1, dec] x 6. (12 sts)
- Rnd 20: [Dec] x 6. (6 sts)
Finish stuffing. - Cut yarn, leaving a long tail for sewing. Using your yarn needle, weave the tail through the front loop of each remaining stitch and pull tight to close the opening. Weave in the end securely.
Soil Insert (Make 1)
Using Brown yarn:
- Rnd 1: Start with a MR, sc 6 into the ring. (6 sts)
- Rnd 2: [Inc] x 6. (12 sts)
- Rnd 3: [Sc 1, inc] x 6. (18 sts)
- Rnd 4: [Sc 2, inc] x 6. (24 sts)
- Rnd 5: [Sc 3, inc] x 6. (30 sts)
- Rnd 6: [Sc 4, inc] x 6. (36 sts)
- Sl st into the next stitch to finish the round. FO, leaving a long tail for sewing.
Cactus Flower (Optional) (Make 1)
Using Pink, Yellow, or Red yarn:
- Rnd 1: Start with a MR, ch 2 (does not count as a stitch). Work [dc 2, ch 2, sl st] 5 times into the ring to create 5 petals.
- Pull the magic ring tight to close the center of the flower.
- FO, leaving a short tail for sewing. Weave in the starting tail.
Assembly
- Attach Cactus to Soil: Take your green cactus body and the brown soil insert. Position the open bottom of the cactus over the top of the soil insert. Using the long tail from the cactus body and your yarn needle, carefully sew the cactus to the soil, going through a stitch on the cactus and a corresponding stitch on the soil. Stitch securely all around. Weave in any remaining ends.
- Place in Pot: Gently press the assembled cactus and soil into your small terracotta pot. The soil insert should fit snugly inside the rim of the pot. You may need to add a small amount of extra stuffing under the soil if the pot is deeper than the soil insert to make it sit flush.
- Attach Flower: Using the tail from your flower and your yarn needle, sew the flower to the top or side of your cactus. Position it as desired for a blooming effect. Weave in the end.
- Add Spines (Optional): With a contrasting color yarn (e.g., white, cream, or a lighter green) and your yarn needle, embroider small 'X' shapes or tiny straight stitches randomly over the surface of the cactus body to mimic spines.
- Add a Face (Optional): If you didn't use safety eyes, embroider small 'V' shapes for eyes and a small 'Y' or straight line for a mouth using black embroidery floss or a thin black yarn.
Pro Tips
- Invisible Decreases: For a cleaner finish on your amigurumi, use the invisible decrease method (insert hook into front loop of first stitch, then into front loop of second stitch, yarn over, pull through both front loops, yarn over, pull through both loops on hook).
- Stuffing Consistency: Stuff your amigurumi firmly and evenly. Add small amounts of fiberfill at a time, pushing it into all areas to avoid lumps and maintain the desired shape. The firmer the stuffing, the better your cactus will stand.
- Stitch Marker is Your Friend: Especially when working in continuous rounds, a stitch marker is crucial for keeping track of the beginning of your rounds and preventing mistakes.
- Weaving in Ends: Take your time to weave in all yarn tails securely. For amigurumi, it's best to weave them back and forth through the stuffing a few times to ensure they don't pop out.
- Customization is Key: Don't be afraid to personalize your cactus! Use variegated yarn for a unique look, add beads for extra embellishments, or create multiple cacti in different sizes and shapes for a charming desert garden display.
- Consider the Pot: If using a pot, ensure your soil insert fits well. You can adjust the size of your soil circle (add or subtract rounds) to match your chosen pot's diameter.
Frequently Asked Questions
How do I make my crochet cactus stand up straight in the pot?
The key to a sturdy cactus is firm and even stuffing. Make sure the cactus body itself is well-packed. When assembling, ensure the soil insert is also adequately stuffed or has a solid base. If your pot is deep, add extra fiberfill beneath the soil insert to elevate it so the soil sits flush with the rim. For extra stability in wider pots, you can place a small, flat stone or a few pennies (secured in a piece of fabric) at the very bottom of the pot before adding stuffing and the cactus.
Can I use a different yarn weight for this pattern?
Yes, you absolutely can! Using a different yarn weight will primarily affect the finished size of your cactus. If you use a thinner yarn (e.g., sport weight), your cactus will be smaller, and you'll likely need a smaller hook (e.g., 2.5mm or 3.0mm). Conversely, if you use a bulkier yarn (e.g., chunky), your cactus will be larger, and you'll need a larger hook (e.g., 5.0mm or 6.0mm). Always choose a hook size that creates tight stitches for the yarn you select, preventing stuffing from showing through.
What's the easiest way to embroider the little 'spines' on my cactus?
For simple, effective spines, use a contrasting color of embroidery floss or a thinner yarn. Thread your yarn needle and bring the needle up from the inside of the cactus body at point A, then insert it back down at point B (just a few millimeters away) to create a tiny straight stitch. Repeat this process, creating small, evenly spaced stitches or 'X' shapes across the cactus surface. You can also make a French knot for a more textured 'prickle' look.
And there you have it – your very own charming Crochet Cactus Amigurumi! This little project is a testament to the joy of creating something beautiful and enduring with your own hands. Whether it's a gift or a delightful addition to your home, I hope this pattern brings you as much happiness in making it as it will in admiring it. Happy crocheting, and don't forget to share your prickly-perfect creations with us!