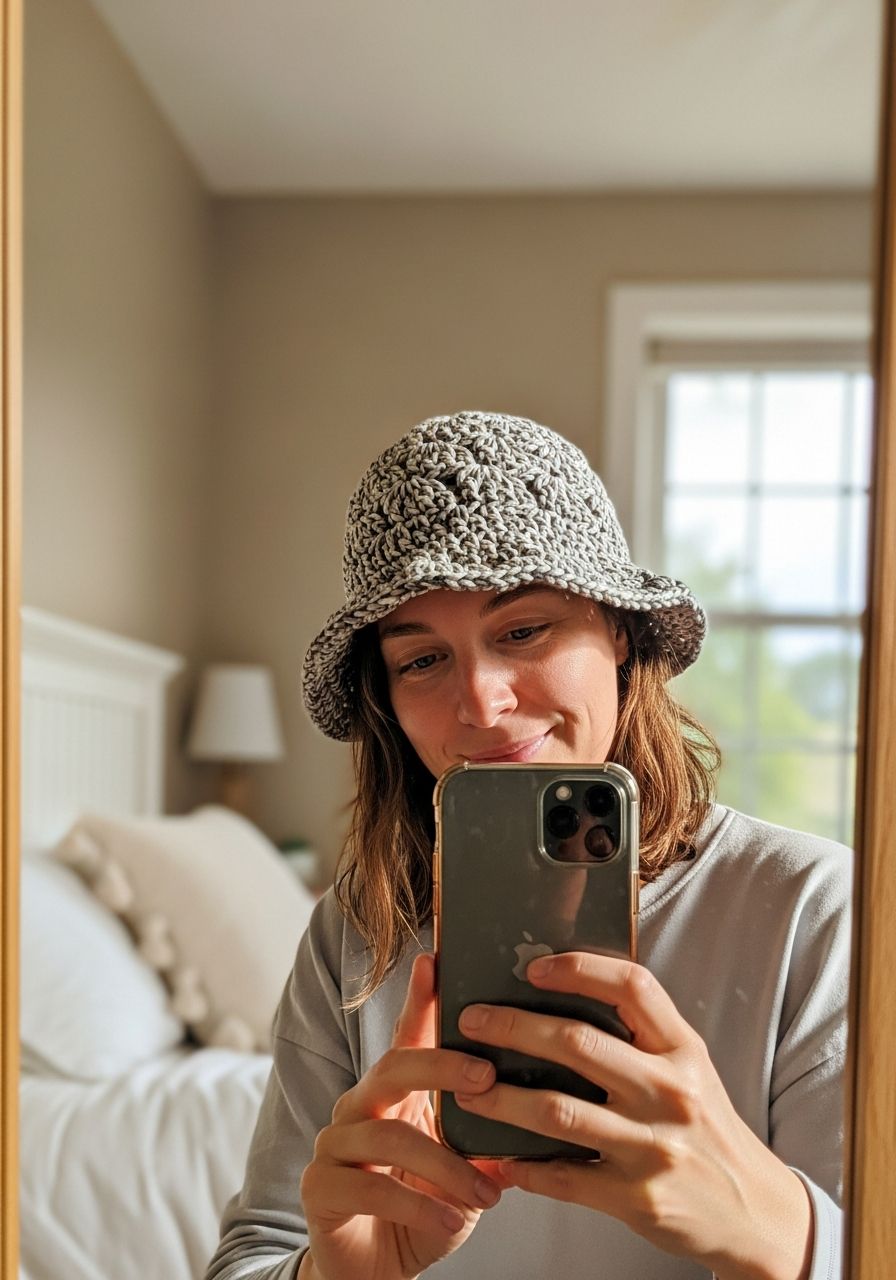
Imagine strolling through a sun-drenched park, turning heads with your effortlessly chic, handmade accessory. That dream is about to become a reality! Get ready to dive into the ultimate guide to crafting your very own `Crochet Bucket Hat`, a timeless piece that blends retro charm with modern flair. This free pattern is designed to be fun, accessible, and utterly satisfying, whether you're a seasoned hooker or picking up your first crochet hook. Prepare to unleash your creativity and make a statement with a hat that's as unique as you are!
Why You'll Love This Pattern
This `Crochet Bucket Hat` pattern isn't just about making an accessory; it's about crafting a mood. Here’s why this project is destined to become your next favorite:
- Fashion-Forward & Trendy: Bucket hats have made a massive comeback, gracing runways and street style alike. Now you can create your own custom version to match any outfit or season.
- Perfect for All Skill Levels: While comprehensive, this pattern uses basic stitches (single crochet, half double crochet) making it approachable for adventurous beginners and a quick, satisfying project for experienced crocheters.
- Customizable Style: Choose your favorite yarn color, add stripes, or even embellishments. The possibilities are endless to truly make it your own.
- Practical & Versatile: Ideal for sun protection, bad hair days, or simply adding a touch of cool to your ensemble. It's lightweight, packable, and perfect for travel.
- Instant Gratification: This hat works up surprisingly fast, meaning you can go from yarn to stylish accessory in just a few dedicated crochet sessions.
- Thoughtful Gift: Handmade gifts are always cherished. Whip up a bucket hat for friends and family – they’ll adore the personal touch!
Materials Needed
- Yarn: Approximately 150-200 yards (137-183 meters) of worsted weight (Category 4) cotton or cotton blend yarn. Cotton provides good stitch definition and structure, while blends can offer more drape. Consider a yarn with good stitch memory.
- Crochet Hook: H/8 (5.0 mm) hook (or size needed to obtain gauge).
- Stitch Marker: Essential for working in continuous rounds.
- Yarn Needle: For weaving in ends.
- Scissors: For cutting yarn.
- Measuring Tape: For checking gauge and sizing.
Gauge & Sizing
Gauge: 13 HDC and 10 rows = 4 inches (10 cm) using a 5.0 mm hook, worked in continuous rounds.
IMPORTANT: Checking your gauge is crucial for achieving the correct hat size. If your gauge swatch is too small (more stitches per 4 inches), go up a hook size. If your swatch is too large (fewer stitches per 4 inches), go down a hook size. Take the time to make a swatch – it will save you frustration later!
Finished Size (Adult Small/Medium): Approximately 21-22 inches (53-56 cm) head circumference. The pattern is designed for an average adult head. Instructions for adjusting size are included in the 'Pro Tips' section.
Abbreviations
- ch: chain
- sl st: slip stitch
- sc: single crochet
- hdc: half double crochet
- dc: double crochet
- inc: increase (work 2 stitches in the same stitch)
- sc2tog: single crochet 2 together (single crochet decrease)
- hdc2tog: half double crochet 2 together (half double crochet decrease)
- st(s): stitch(es)
- rep: repeat
- rnd(s): round(s)
- **: repeat instructions between asterisks
Step-by-Step Pattern
This pattern is worked in continuous rounds, meaning you will not join with a slip stitch at the end of each round unless specified. Use a stitch marker to mark the first stitch of each round.
Part 1: The Crown (Top of the Hat)
We'll start by creating a flat circle that will form the top of your `Crochet Bucket Hat`. We'll be using half double crochet (hdc) for a sturdy yet flexible crown.
- Rnd 1: Make a Magic Ring. Ch 2 (does not count as a stitch), work 10 hdc into the ring. Pull tail to close ring. (10 hdc)
- Rnd 2: 2 hdc in each st around. (20 hdc)
- Rnd 3: *1 hdc in next st, 2 hdc in next st* rep around. (30 hdc)
- Rnd 4: *1 hdc in next 2 sts, 2 hdc in next st* rep around. (40 hdc)
- Rnd 5: *1 hdc in next 3 sts, 2 hdc in next st* rep around. (50 hdc)
- Rnd 6: *1 hdc in next 4 sts, 2 hdc in next st* rep around. (60 hdc)
- Rnd 7: *1 hdc in next 5 sts, 2 hdc in next st* rep around. (70 hdc)
- Rnd 8: *1 hdc in next 6 sts, 2 hdc in next st* rep around. (80 hdc)
- Rnd 9: *1 hdc in next 7 sts, 2 hdc in next st* rep around. (90 hdc)
- Rnd 10: *1 hdc in next 8 sts, 2 hdc in next st* rep around. (100 hdc)
- Rnd 11: *1 hdc in next 9 sts, 2 hdc in next st* rep around. (110 hdc)
At the end of Rnd 11, your circle should measure approximately 7-7.5 inches (18-19 cm) in diameter. If it's significantly larger or smaller, you may need to adjust your hook size or add/remove a round of increases to achieve the desired diameter for an adult head (which is usually around 7-8 inches).
Part 2: The Sides (Hat Body)
Now we'll work straight rounds to create the height of the hat. No increases or decreases in this section.
- Rnd 12-25 (or until desired height): 1 hdc in each st around. (110 hdc)
Continue working hdc in each stitch until the hat measures approximately 6.5-7 inches (16.5-18 cm) from the top center of the crown down to the last worked round. This should comfortably cover the top of the head and reach the top of the ears. Adjust the number of rounds as needed for a deeper or shallower fit.
Part 3: The Brim
The brim gives the bucket hat its characteristic shape. We'll introduce increases again to make it flare out.
- Rnd 26: *1 hdc in next 10 sts, 2 hdc in next st* rep around. (120 hdc)
- Rnd 27: 1 hdc in each st around. (120 hdc)
- Rnd 28: *1 hdc in next 11 sts, 2 hdc in next st* rep around. (130 hdc)
- Rnd 29: 1 hdc in each st around. (130 hdc)
- Rnd 30: *1 hdc in next 12 sts, 2 hdc in next st* rep around. (140 hdc)
- Rnd 31: 1 hdc in each st around. (140 hdc)
- Rnd 32: *1 hdc in next 13 sts, 2 hdc in next st* rep around. (150 hdc)
- Rnd 33: 1 hdc in each st around. (150 hdc)
- Rnd 34: 1 sc in each st around. (150 sc)
After Rnd 34, sl st to the next st to finish off. Fasten off and weave in all loose ends securely. Give your `Crochet Bucket Hat` a gentle block if desired to help shape the brim.
Pro Tips
- Yarn Choice Matters: For a stiffer, more structured brim, opt for 100% cotton or a cotton/acrylic blend. For a softer, floppier look, a blend with some rayon or bamboo can work. Avoid super soft, drapey yarns like pure merino wool unless you're aiming for a very relaxed brim that won't hold its shape.
- Blocking for Shape: After finishing, a light blocking can help your hat maintain its shape, especially the brim. Dampen the hat, gently shape it, and let it air dry. You can even use a bowl or a small hat form to help the brim set.
- Adjusting Size:
- For a smaller hat: Stop increasing on the crown one or two rounds earlier (e.g., end at Rnd 9 or 10) and then proceed with the body rounds. Adjust brim increases accordingly.
- For a larger hat: Add an extra round or two of increases to the crown (e.g., Rnd 12: *1 hdc in next 10 sts, 2 hdc in next st*). Ensure your final crown diameter is suitable for the head circumference you need. Then continue with the body and brim, adjusting increase spacing as needed.
- Seamless Look: Working in continuous rounds creates a smooth, spiral fabric. Always use a stitch marker to keep track of the start of your rounds.
- Experiment with Stripes: Change colors every few rounds on the body or brim for a fun, striped effect. This is a great way to use up yarn scraps!
- Stitch Tension: Maintain consistent tension throughout your project. Inconsistent tension can lead to a wavy brim or an uneven hat body. If you notice your brim flaring too much or too little, adjust your increase rounds – add more increases for more flare, or fewer for less.
Frequently Asked Questions
Can I use a different stitch for the body of the hat?
Absolutely! While half double crochet creates a nice dense fabric with good drape, you could experiment with other stitches. Single crochet would create a very dense, stiff hat, potentially requiring more yarn and time. Double crochet would result in a looser, lacier fabric with more drape, but might not offer as much sun protection or hold its shape as well. If you change the stitch, be sure to re-check your gauge and adjust the number of rounds for the crown and body accordingly to achieve the desired size and height.
How do I make the brim wider or narrower?
To make the brim wider, simply add more increase rounds after Rnd 33. Maintain the pattern of increasing by 10 stitches per increase round (e.g., Rnd 34: *1 hdc in next 14 sts, 2 hdc in next st* (160 hdc), Rnd 35: 1 hdc in each st around, etc.). To make the brim narrower, stop the increase rounds earlier. For example, you could finish after Rnd 31 or Rnd 32, then work a final sc round. Experiment with what looks best and provides the coverage you desire!
My hat is curling up at the brim, what should I do?
If your brim is curling up, it usually means it doesn't have enough increases to lie flat. This can happen if your tension is too tight or if you skipped an increase round. You can try gently blocking the brim to help it flatten. For future hats, consider adding an extra increase round or ensuring your increases are evenly spaced and sufficient for the desired flare. Sometimes, simply adding one more round of single crochet at the very end can help define and flatten the edge.
And there you have it! Your very own, stylish `Crochet Bucket Hat`, handcrafted with love and skill. This pattern is just the beginning of your journey into custom hat-making. Wear it with pride, knowing you've created a unique accessory that's as fashionable as it is fun to make. Happy crocheting!