Imagine the warm, comforting scent of a freshly baked loaf filling your kitchen. Now, picture that beautiful, crusty creation nestled perfectly in a handmade bag, keeping it fresh and inviting. This isn't just any container; it's a testament to your craft, a sustainable choice, and a touch of rustic elegance. Our free Crochet Bread Bag pattern isn't just about making a functional item; it’s about embracing a lifestyle where handmade quality and eco-conscious living go hand-in-hand. Get ready to create a gorgeous, breathable bag that will extend the life of your delicious bakes and add a charming touch to your home or make the perfect thoughtful gift!
Whether you're a seasoned baker or simply love the idea of keeping your store-bought artisanal loaves fresh, this pattern is designed to be straightforward and satisfying. We've crafted instructions that are easy to follow for crocheters of all levels, resulting in a durable and stylish bread bag that you'll be proud to use every day. Say goodbye to plastic bags and hello to a sustainable, beautiful way to store your bread.
Why You'll Love This Pattern
- Keeps Bread Fresher, Longer: Unlike plastic, a crochet bag allows air to circulate, preventing sogginess and extending the life of your bread's crust and crumb.
- Eco-Friendly & Sustainable: Reduce your reliance on single-use plastic bags. This reusable option is a wonderful step towards a more sustainable kitchen.
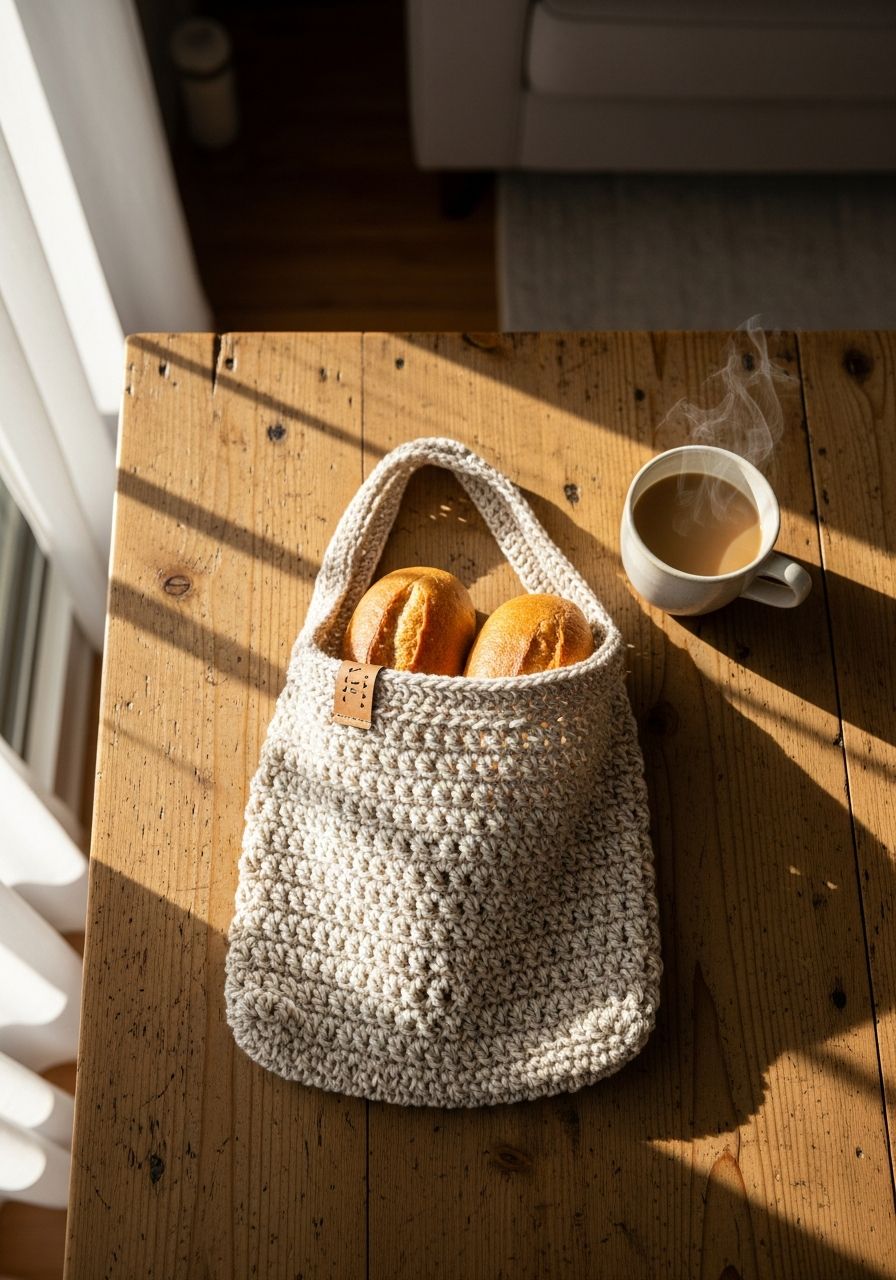
- Beautiful & Rustic Charm: Add a touch of handmade warmth and rustic elegance to your kitchen counter or dinner table. It's a functional piece of decor!
- Perfect for Gifting: Pair a homemade loaf with a handmade crochet bag for an incredibly thoughtful and impressive gift that any recipient will cherish.
- Beginner-Friendly: Using basic stitches like single crochet and half double crochet, this pattern is accessible for those new to crochet or looking for a relaxing project.
- Customizable: Easily adjust the size to fit various loaf shapes and sizes, from baguettes to round boules.
- Durable & Washable: Made with natural fibers like cotton, your bread bag will stand up to repeated use and can be easily washed to keep it clean.
Materials Needed
- Yarn: Approximately 400-450 yards of Worsted Weight (Category 4) 100% cotton or cotton/linen blend yarn. Natural fibers are crucial for breathability and food safety. We recommend a sturdy, unmercerized cotton for best results.
- Crochet Hook: H/5.0mm (or size needed to obtain gauge).
- Tapestry Needle: For weaving in ends.
- Scissors: For cutting yarn.
- Stitch Marker: (Optional but recommended) To mark the beginning of rounds, especially if working in continuous spirals.
- Measuring Tape: To check your gauge and the bag's dimensions.
Gauge & Sizing
Gauge: 14 hdc x 10 rows = 4" x 4" (10 cm x 10 cm) in half double crochet (hdc) stitch.
Achieving the correct gauge is important for this project, as it ensures your bread bag will be the intended size and have the right density to protect your bread. To check your gauge, crochet a swatch:
- Chain 16.
- Row 1: Hdc in the 3rd chain from the hook and in each chain across. (14 hdc)
- Row 2-10: Chain 2 (counts as first hdc), turn, hdc in each stitch across. (14 hdc)
- Measure the center of your swatch. If your swatch is larger than 4 inches, try a smaller hook. If it's smaller, try a larger hook.
Finished Size: Approximately 12 inches (30 cm) wide by 16 inches (40 cm) tall, suitable for a standard rectangular loaf of bread. You can easily adjust the height by adding or subtracting body rounds.
Abbreviations
- ch: Chain
- sl st: Slip stitch
- sc: Single crochet
- hdc: Half double crochet
- dc: Double crochet
- st(s): Stitch(es)
- BLO: Back loop only
- inc: Increase (work 2 sts into the same stitch)
- R: Round
Step-by-Step Pattern
This pattern is worked in rounds. The base is worked by crocheting around a foundation chain to create an oval/rectangular shape, then the sides are worked upwards in continuous rounds (joining with a slip stitch at the end of each round if preferred, or using a stitch marker for continuous spirals).
Base of the Bag (Oval/Rectangle)
- Foundation Chain: Ch 31.
- R1: Hdc in 2nd ch from hook, hdc in next 28 ch, 3 hdc in last ch. Turn to work along the other side of the foundation chain. Hdc in next 28 ch, 2 hdc in last ch. Join with sl st to first hdc. (62 sts)
- R2: Ch 1, inc (2 hdc) in first st, hdc in next 28 sts, inc (2 hdc) in next 3 sts, hdc in next 28 sts, inc (2 hdc) in last 2 sts. Join with sl st to first hdc. (68 sts)
- R3 (Base Edge): Ch 1, sc in BLO in each st around. Join with sl st to first sc. (68 sc) This round creates a nice ridge at the bottom of the bag, defining the base.
Body of the Bag
- R4-R38: Ch 1, hdc in each st around. Join with sl st to first hdc. (68 hdc)
(This creates 35 rounds for the main body of the bag. You can add or subtract rounds here to adjust the height of your bag.) - R39 (Top Edge Prep): Ch 1, sc in each st around. Join with sl st to first sc. (68 sc)
Drawstring Casing
- R40 (Drawstring Holes): Ch 2 (counts as first dc), dc in next st, *ch 1, skip next st, dc in next 2 sts*. Repeat from * around, ending with ch 1, skip next st, dc in the last st. Join with sl st to the top of the beginning Ch 2. (45 dc, 23 ch-1 spaces, total of 68 stitch points)
(Note: If your stitch count doesn't align perfectly for the final repeat, you can slightly adjust the last segment, e.g., dc in 1 or 3 sts, as long as you maintain the open ch-1 spaces for the drawstring). - R41: Ch 1, hdc in each dc and each ch-1 space around. Join with sl st to first hdc. (68 hdc)
- R42: Ch 1, hdc in each st around. Join with sl st to first hdc. (68 hdc)
- Fasten off and weave in all ends securely.
Drawstring
- Ch 120 (for a standard length). For a thicker drawstring, you can make an I-cord or chain 2 and work sc or hdc into the chain.
- Fasten off, leaving long tails on both ends.
- Weave the drawstring through the ch-1 spaces of R40, starting from the front center of the bag and going all the way around. Make sure the ends emerge from the front center.
- Tie a knot at each end of the drawstring to prevent fraying and slipping.
Pro Tips
- Yarn Choice Matters: Always use 100% natural fibers like cotton, linen, or hemp. Acrylics and other synthetic yarns are not breathable and can cause condensation, leading to soggy bread. They also aren't ideal for direct contact with food.
- Adjusting Size: To make a wider bag, start with a longer foundation chain in the base. To make it taller, simply add more rounds to the 'Body of the Bag' section. Remember to adjust your drawstring length accordingly.
- Caring for Your Bag: Most cotton yarns are machine washable. Wash your bread bag on a gentle cycle with cold water and lay flat to air dry. Avoid high heat in a dryer, which can cause shrinkage.
- Personalize It: Add a touch of personality by embroidering a small design, a witty bread-related phrase, or even a simple initial onto the finished bag using contrasting yarn.
- Blocking: While not strictly necessary, blocking your finished bag can help even out your stitches and give it a more polished, professional look. Simply wet the bag, gently reshape it, and let it air dry.
- Alternative Closures: Instead of a drawstring, you could sew on a button and create a loop closure, or add a simple tie closure with two long strips of crochet or fabric.
Frequently Asked Questions
What kind of yarn is best for a bread bag?
The best yarn for a bread bag is 100% natural, breathable fiber like cotton, linen, or hemp. These materials allow air to circulate around the bread, which helps to prevent mold and keeps the crust from becoming soft too quickly. They are also generally food-safe and easy to wash. Avoid synthetic yarns like acrylic, which can trap moisture and are not ideal for food storage.
How do I keep my bread fresh in this bag?
To keep your bread fresh, store it at room temperature in your crochet bread bag. The bag allows for air circulation, which helps maintain a crisp crust longer than plastic bags. Avoid refrigerating most types of bread, as this can actually make them stale faster. For longer storage, you can place the bread bag inside a larger airtight container or a bread box after a day or two, or freeze your bread wrapped in the bag within an airtight freezer bag.
Can I machine wash my crochet bread bag?
Yes, most crochet bread bags made with 100% cotton or linen yarn can be machine washed. It's best to wash on a gentle cycle with cold water and a mild detergent. After washing, reshape the bag and lay it flat to air dry to prevent shrinking and maintain its shape. Always check your specific yarn label for care instructions, as some natural fibers may have specific washing requirements.
Crafting your own Crochet Bread Bag is a delightful journey that combines practicality with handmade charm. You're not just making a bag; you're creating a sustainable solution, a beautiful piece for your home, and perhaps even a cherished gift. We hope you enjoy every stitch of this pattern and savor the fresh, delicious results it helps to preserve. Happy crocheting!