Imagine slipping into something that feels like a warm hug, perfectly molded to your unique shape, and radiates handmade charm. That’s the magic of a custom-fitted crochet bralette! Forget about ill-fitting, uncomfortable lingerie; today, we’re embarking on a journey to create a gorgeous, comfortable, and truly personalized bralette that you’ll love wearing. Whether it’s for lounging, layering, or as a stylish crop top, this pattern is your ticket to a wardrobe staple that’s as unique as you are. Get ready to fall in love with your crochet hook all over again!
Welcome to your new favorite project! This free crochet bralette pattern is designed to be adaptable, allowing you to create a piece that fits perfectly, no matter your size or style preference. We’ll walk through every step, from crafting the individual cups to assembling the band and straps, ensuring a beautiful, comfortable finish. It’s an ideal project for intermediate crocheters, but even ambitious beginners will find success with our detailed instructions and helpful tips.
Why You'll Love This Pattern
- Customizable Fit: Say goodbye to generic sizing! This pattern is designed to be easily adjustable, ensuring a perfect fit for your unique body shape.
- Comfort Beyond Compare: Choose your favorite soft yarn to create a bralette that feels luxurious against your skin, perfect for all-day wear or cozy evenings.
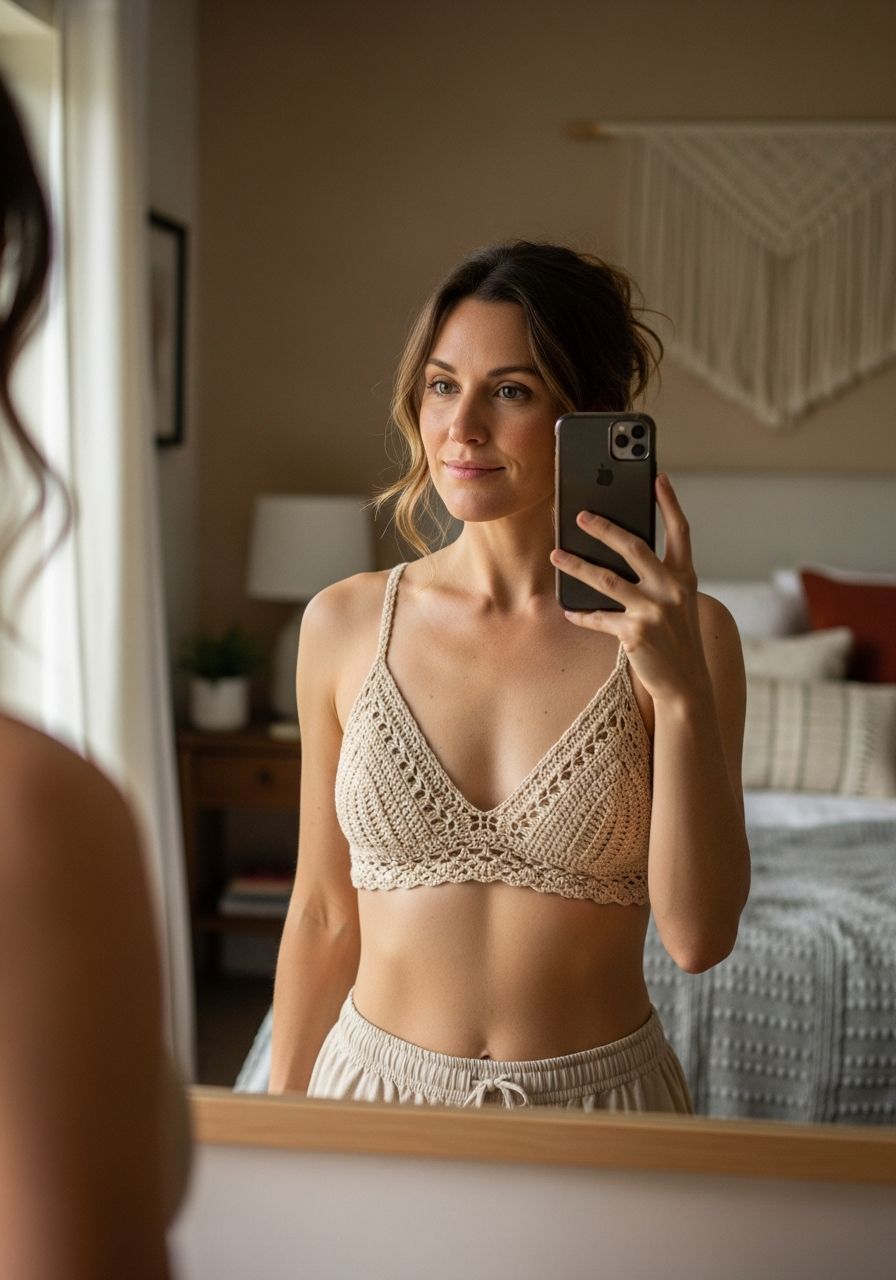
- Stylish & Versatile: Wear it as a standalone top in warmer weather, layer it under open shirts or sheer tops, or simply enjoy it as comfortable loungewear.
- Quick to Make: Made with simple stitches and working up relatively quickly, you can whip up a new bralette in just a few dedicated crafting sessions.
- Great for Skill Building: Practice foundational stitches, learn shaping techniques, and gain confidence in creating wearable garments.
Materials Needed
- Yarn: Approximately 200-300 yards (180-275 meters) of DK weight (Category 3) cotton or cotton blend yarn. Cotton offers breathability and shape retention, perfect for garments. For a softer drape, bamboo or a cotton/acrylic blend can also work. (e.g., Lion Brand 24/7 Cotton, Yarn Bee Sugarwheel Cotton Solids)
- Crochet Hook: 4.0 mm (G/6) or size needed to obtain gauge.
- Tapestry Needle: For weaving in ends.
- Scissors: For cutting yarn.
- Stitch Markers: Essential for marking increases and important stitches, especially for the cups.
- Measuring Tape: Crucial for checking gauge and ensuring a custom fit.
Gauge & Sizing
Gauge is incredibly important for garments, especially fitted ones like a bralette. Taking the time to check your gauge will save you frustration later and ensure your bralette fits as intended.
Gauge Swatch: Chain 22. Work 10 rows of Half Double Crochet (hdc). Your swatch should measure approximately 4 inches (10 cm) wide by 4 inches (10 cm) tall. If your swatch is too large, use a smaller hook. If it's too small, use a larger hook.
Sizing Notes: This pattern is written for a general A/B cup size, with instructions on how to easily adjust for larger cup sizes. The band length is also customizable. Please refer to your own measurements (bust circumference, underbust circumference) when making adjustments.
Abbreviations
- ch: chain
- sl st: slip stitch
- sc: single crochet
- hdc: half double crochet
- dc: double crochet
- inc: increase (usually 2 stitches in one)
- dec: decrease (working 2 stitches together)
- sk: skip
- st(s): stitch(es)
- BLO: back loop only
- MR: magic ring (or magic circle)
- FO: fasten off
Step-by-Step Pattern
Cup (Make 2)
We'll create a half-circle cup shape that provides good coverage and structure. The initial instructions are for an A/B cup. See 'Sizing Up Your Cups' below for adjustments.
- Row 1: Start with a Magic Ring (MR). Ch 2 (does not count as a stitch here or in subsequent rows). Work 8 hdc into the MR. Ch 2, turn. (8 hdc)
- Row 2: 2 hdc in each st across. Ch 2, turn. (16 hdc)
- Row 3: *2 hdc in first st, 1 hdc in next st*, repeat from * to * across. Ch 2, turn. (24 hdc)
- Row 4: *2 hdc in first st, 1 hdc in next 2 sts*, repeat from * to * across. Ch 2, turn. (32 hdc)
- Row 5: *2 hdc in first st, 1 hdc in next 3 sts*, repeat from * to * across. Ch 2, turn. (40 hdc)
- Row 6 (Optional for A/B, Recommended for fuller A/B): *2 hdc in first st, 1 hdc in next 4 sts*, repeat from * to * across. Ch 2, turn. (48 hdc)
- Edging: Ch 1 (does not count as st), sc evenly along the straight edge of the cup (the bottom edge). This will provide a neat edge for joining. For Row 5 cups, you should have about 5-6 sc along this edge. For Row 6 cups, about 6-7 sc. Sl st to the first sc to join. FO, leaving a long tail on one cup for joining.
Sizing Up Your Cups (C/D, E/F)
- For C/D Cups: Continue adding 1-2 more rows to the cup pattern. For each additional row, increase the number of single hdc stitches between the '2 hdc in first st' repeats. For example, Row 7 would be *2 hdc in first st, 1 hdc in next 5 sts*, repeat from * to * across. (56 hdc). Row 8 would be *2 hdc in first st, 1 hdc in next 6 sts*, repeat from * to * across. (64 hdc). Then add sc edging.
- For E/F Cups: Add 3-4 more rows, following the same increase pattern. Always check the cup against your body or a bra you own to ensure adequate coverage before adding the edging.
Joining Cups & Creating the Band
This section creates the underbust band and connects the two cups securely.
- Join Cups: With the long tail from one cup, use your tapestry needle to sew the two cups together for about 1-1.5 inches (2.5-4 cm) at their bottom center edges. Ensure they are centered and evenly aligned. Weave in ends.
- Foundation Row for Band: Rejoin yarn with a sl st to the bottom corner of one cup (the outer edge where you just worked the sc edging). Ch 1. Sc evenly along the entire bottom edge of both cups, working into the sc edging created earlier. Make sure your stitch count is even and comfortable. This will be approximately 20-30 sc, depending on cup size and how tightly you joined them. (e.g., for A/B cups, around 20-24 sc is a good target).
- Band Row 1 (Underbust): Ch 1, turn. Sc in each sc across. (Total sc count from step 2).
- Band Row 2 (Underbust): Ch 1, turn. Sc in BLO in each sc across.
- Repeat Band Rows: Repeat Row 2 until the band measures approximately 2-2.5 inches (5-6 cm) in height. FO.
- Back Ties (Make 2): Attach yarn to the corner of the band on one side. Ch 80 (or desired length for tying). Sl st in 2nd ch from hook and in each ch across. Sl st into the band to secure. FO. Repeat for the other side of the band.
Creating Straps (Make 2)
These simple chain straps are adjustable and comfortable.
- Attach to Cup: Rejoin yarn to the top center point of one cup (where the ch-2 turning chain was made in the final cup row). Ch 1. Sc in the same space.
- Chain Strap: Ch 150 (or desired length for an adjustable tie-up strap).
- Sl St Back: Sl st in 2nd ch from hook and in each ch across until you reach the sc at the top of the cup. Sl st into the sc to secure. FO, leaving a tail for weaving in.
- Weave In: Use your tapestry needle to weave in the ends securely.
- Repeat: Make a second strap for the other cup.
Finishing
Weave in all remaining loose ends. Block your bralette if desired. Blocking helps to even out stitches, relax the fabric, and give a professional finish. Gently wet your bralette, shape it to its desired dimensions on a flat surface or blocking mats, and let it air dry completely.
Pro Tips
- Yarn Choice Matters: For softness against the skin and good drape, always opt for cotton or a cotton blend. Avoid wool or rough acrylics for innerwear.
- Measure as You Go: Don't wait until the end to check fit! Hold the cups up to your chest, measure the band against your underbust, and adjust strap length before fastening off.
- Stitch Markers are Your Friend: Use stitch markers to mark the center point of your cups, the beginning of rows, or any increase points to keep track of your progress.
- Blocking for the Win: While optional, blocking can significantly improve the look and drape of your finished bralette, especially with cotton yarns. It helps to even out any tension inconsistencies.
- Experiment with Edging: If you want a fancier look, try a shell stitch or picot stitch edging around the top of the cups or the entire bralette for a decorative touch.
Frequently Asked Questions
What's the best way to get a perfect fit for the band?
The best way to get a perfect fit for the band is to measure your underbust circumference. As you work the band, periodically wrap it around your underbust. The ribbed stitch provides some stretch, so it should feel snug but not restrictive. You can adjust the number of rows for the ties to customize the back closure further, or if you prefer a solid band, you can crochet rows until it reaches your desired length minus a few inches for negative ease, and then sew on a bra hook and eye closure.
Can I use a different yarn weight for this pattern?
Yes, you can, but you will need to adjust your hook size and potentially your stitch counts. If you use a lighter weight yarn (e.g., sport weight), you'll likely need a smaller hook and more rows for the cups to achieve the same coverage, and more stitches for the band. If you use a heavier weight (e.g., worsted weight), you'll need a larger hook and fewer rows/stitches. Always make a gauge swatch with your chosen yarn and hook to ensure the fabric has a good drape and isn't too stiff or too loose.
How do I make the straps adjustable without tying?
To make the straps adjustable without tying, you can crochet them to a fixed length and then sew on small rings and sliders, similar to traditional bra straps. Alternatively, you can crochet buttonholes into the back band and attach buttons to the strap ends, allowing you to button them at different lengths. For a simple adjustable strap, crochet a longer solid strap and attach it to the front cup, then simply tie it around your neck or through loops on the back band.
Congratulations, you’re now equipped to create your very own custom-fitted crochet bralette! This pattern is more than just instructions; it’s an invitation to explore your creativity and craft something truly special for yourself. Enjoy the process, wear your handmade bralette with pride, and revel in the comfort and confidence that comes with creating something beautiful with your own hands. Happy crocheting!