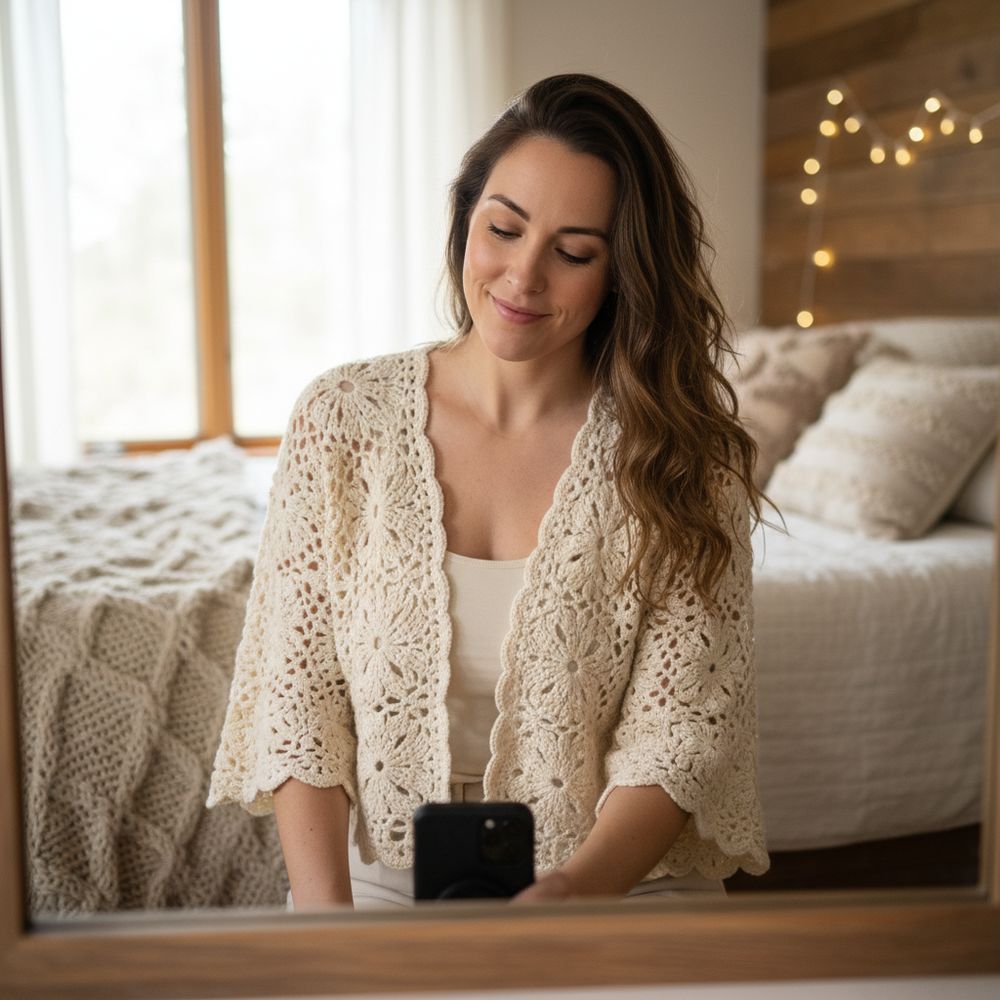
Imagine stepping out, feeling effortlessly chic and perfectly put-together, with a handmade touch that whispers unique style. That's the magic of a beautifully crafted Crochet Bolero – the ultimate layering piece that adds a pop of personality and warmth to any outfit, from elegant dresses to casual tanks. Get ready to transform your yarn stash into your new favorite accessory!
Welcome, fellow hookers! Today, we're diving into a project that's both satisfying to make and incredibly versatile to wear: the crochet bolero. This pattern is designed to be accessible for confident beginners while still offering a delightful rhythm for experienced crocheters. Whether you're looking for a light cover-up for a summer evening, a stylish accent for a special occasion, or simply a fun, quick project, this bolero has got you covered – literally!
Why You'll Love This Pattern
- Versatile Style: Dress it up or down! Pair it with a sundress, a camisole, or over a long-sleeved top for added flair.
- Quick to Make: Constructed primarily from simple rectangles, this bolero works up surprisingly fast.
- Beginner-Friendly: Uses basic stitches and straightforward construction, great for expanding skills.
- Customizable: Easily adjust length, width, and sleeve style for a perfect fit.
- Yarn Buster: A great way to use up those beautiful skeins of yarn you've been saving.
Materials Needed
- Worsted Weight (Category 4) Yarn: Approximately 600-800 yards (e.g., Lion Brand Vanna's Choice, Red Heart Super Saver)
- Crochet Hook: H/8 (5.0 mm)
- Yarn Needle
- Scissors
- Stitch Markers (optional, but recommended)
- Measuring Tape
Gauge & Sizing
- Gauge: 14 stitches x 10 rows = 4" in half double crochet (hdc)
- How to Measure Gauge: Chain 16, then hdc in the 3rd chain from hook and across (14 hdc). Chain 2, turn. Work 9 more rows of hdc. Your swatch should measure 4 inches wide and 4 inches tall. If your swatch is larger, try a smaller hook. If it's smaller, try a larger hook. Achieving the correct gauge is crucial for your bolero to fit as intended.
- Sizing: This pattern is written for a women's size Small/Medium (approx. 32-36" bust). Notes for adjusting to larger sizes (Large/XL, 2X/3X) are provided within the pattern. The beauty of this construction is its adaptability. For a larger size, you'll simply increase the starting chain and/or the number of rows for the main panel.
Abbreviations
- ch: chain
- sc: single crochet
- hdc: half double crochet
- dc: double crochet
- sl st: slip stitch
- st(s): stitch(es)
- rep: repeat
- sk: skip
- ea: each
- FO: fasten off
Step-by-Step Pattern
This bolero is constructed from a single large rectangle that forms the back and sleeves. Once crocheted, it's folded and seamed to create the sleeve openings. The front edges are then worked directly onto the main panel.
Main Panel (Back & Sleeves)
- Ch 100 (for S/M; for L/XL ch 110; for 2X/3X ch 120).
- Row 1: Hdc in 3rd ch from hook and in ea ch across. (98 hdc for S/M; 108 hdc for L/XL; 118 hdc for 2X/3X). Ch 2, turn.
- Row 2: Hdc in ea st across. Ch 2, turn.
- Repeat Row 2 until your panel measures 18" tall (for S/M; for L/XL 20" tall; for 2X/3X 22" tall). This should be approximately 45 rows for S/M (adjust as needed based on your gauge). Do not fasten off.
Assembly & Seaming
- Lay your finished rectangle flat. Fold the two shorter ends inwards so they meet in the middle. The fold lines will become your shoulder seams. The two open edges (where you started and ended) will be the bottom of your sleeves.
- Measure 6" (for S/M; 7" for L/XL; 8" for 2X/3X) from each outer folded edge inwards along the long sides and place a stitch marker. This marks the beginning of your sleeve opening.
- Using your yarn needle and a length of yarn, whip stitch or sl st the two raw edges together from the outer edge towards the stitch marker. Stop at the stitch marker. This creates the seam for the underside of your sleeves. Ensure your seams are neat and secure.
- Fasten off and weave in ends. You should now have two armholes.
Front Edging (Worked in Rounds)
Now we will work around the entire opening of the bolero (the front edges and the bottom back edge) to create a neat border.
- Join yarn with a sl st to the bottom corner of one front opening.
- Round 1: Ch 1. Work sc evenly around the entire opening of the bolero. This means working sc stitches along the front edges (approximately 2 sc per hdc row end), across the bottom edge of the back panel (1 sc per hdc st), and up the other front edge. Sl st to first sc to join.
- Round 2: Ch 1. Sc in ea sc around. Sl st to first sc to join.
- Round 3: Ch 1. Sc in ea sc around. Sl st to first sc to join.
- Fasten off and weave in ends securely.
Sleeve Cuffs (Optional, but Recommended)
To give your sleeves a more finished look, we'll add a simple ribbed cuff.
- Join yarn with a sl st to the seam of one armhole.
- Round 1: Ch 2 (does not count as st here and throughout). Hdc evenly around the armhole opening. Aim for approximately 2 hdc for every 3 rows of the main panel. (You want an even number of stitches that looks neat, typically around 30-36 hdc for S/M). Sl st to first hdc to join.
- Round 2: Ch 2. *Front Post Double Crochet (fpdc) around next hdc, Back Post Double Crochet (bpdc) around next hdc*. Rep from * to * around. Sl st to first fpdc to join. (This creates a ribbed effect.)
- Round 3-4: Rep Round 2.
- Fasten off and weave in ends. Repeat for the second sleeve.
Pro Tips
- Block Your Bolero: Wet blocking improves drape, evens stitches, and ensures a beautiful finish.
- Yarn Choice Matters: Experiment with fibers (cotton for summer, acrylic for care, wool for warmth). Always check gauge!
- Customize Your Fit: Adjust starting chains for width, rows for length. Try it on as you go for a perfect fit.
- Add Embellishments: Consider a decorative button or crochet flower for a personal touch.
- Practice Seaming: Neat seaming ensures a professional finish. Practice on scrap pieces if new.
Frequently Asked Questions
Can I use a different yarn weight for this bolero?
Yes, but you must adjust hook size and re-check gauge. Your final dimensions will change significantly, so swatch first!
How can I make my bolero longer or shorter?
Adjust the number of rows for the Main Panel. More rows for longer, fewer for cropped. Note this also affects sleeve length.
Is this pattern suitable for beginners?
Ideal for confident beginners or intermediate crocheters. Basic stitches and simple construction are used, but familiarity with patterns and seaming helps.
And there you have it – your very own handmade crochet bolero, ready to add a touch of handmade elegance to your wardrobe! This project is more than just a garment; it's a testament to your creativity and skill. Wear it with pride, knowing you've created something beautiful and functional with your own two hands. Happy hooking!