Imagine holding your latest crochet creation, fresh off the hook, and feeling a tiny spark of disappointment. Maybe the edges are a bit wavy, the stitches aren't perfectly uniform, or it's just not lying quite flat. You've poured your heart into every loop and pull, but it lacks that polished, professional finish you admire in others' work. What if I told you there's a simple, magical step that can transform your handmade pieces from 'homemade' to 'heirloom'? That secret is Crochet Blocking, and it's about to become your new best friend in the world of fiber arts. Get ready to elevate every scarf, blanket, and garment to its absolute best!
Crochet Blocking is a finishing technique that involves wetting or steaming your finished crochet project and then shaping it to its final dimensions while it dries. This process relaxes the fibers, evens out stitches, opens up lacework, and sets the final shape, resulting in a much more polished and professional-looking item. For beginners, understanding blocking can feel like unlocking a hidden superpower that makes all your hard work truly shine.
Why It Matters
Many beginners skip blocking, thinking it's an unnecessary extra step. However, once you see the transformative power of blocking, you'll wonder how you ever crocheted without it. Here's why it's a game-changer:
- Achieve Correct Size and Shape: Crochet fabric often shrinks or grows slightly as you work, or pieces might come off the hook a bit skewed. Blocking allows you to gently stretch or compress your fabric to meet the exact dimensions specified in a pattern or to achieve your desired shape. This is crucial for garments and projects with specific measurements.
- Even Out Stitches: Even experienced crocheters can have slight inconsistencies in their tension. Blocking helps to 'bloom' the yarn, making your stitches look more uniform, defined, and beautifully aligned. It softens the fabric and makes every single crochet (sc), half double crochet (hdc), and double crochet (dc) stitch look its best.
- Enhance Drape: Blocking can dramatically improve the way a fabric hangs or flows. It relaxes the fibers, making stiff or rigid fabrics softer and more pliable, perfect for scarves, shawls, and garments that need a beautiful drape.
- Open Up Lace Patterns: For intricate lace designs, blocking is non-negotiable. It opens up the spaces created by chains (ch) and stitch combinations, allowing the full beauty of the pattern to emerge and creating crisp, defined edges.
- Create Crisp Edges: Whether it's a granny square border or the edge of a blanket, blocking helps to straighten out wavy edges and create a clean, sharp finish, making joining pieces much easier and neater.
- Professional Finish: Ultimately, blocking is the difference between a handmade item and a handcrafted masterpiece. It gives your projects a refined, polished look that elevates them from hobby-level to truly professional.
What You Need to Know
Before you dive into blocking, it's essential to understand the basics, including the different methods and what supplies you'll need.
Blocking Methods:
- Wet Blocking: This method involves fully submerging your project in water (often with a tiny bit of wool wash for natural fibers). The water saturates the fibers, allowing them to relax completely. It's ideal for natural fibers like wool, cotton, linen, and blends, as these fibers absorb water well and reshape beautifully.
- Steam Blocking: With steam blocking, you introduce steam to your dry project without directly wetting it. This method is excellent for acrylics, superwash wool, and other synthetic fibers that might not respond as well to wet blocking or could be damaged by excessive moisture. The heat and moisture from the steam relax the fibers, and then you shape the item as it cools. Be cautious with acrylics; too much direct heat can 'kill' the fiber, making it permanently limp and shiny.
- Spray Blocking: A lighter version of wet blocking, this involves lightly misting your project with a spray bottle until it's damp but not saturated. It's suitable for smaller projects, delicate items, or when you only need minor adjustments.
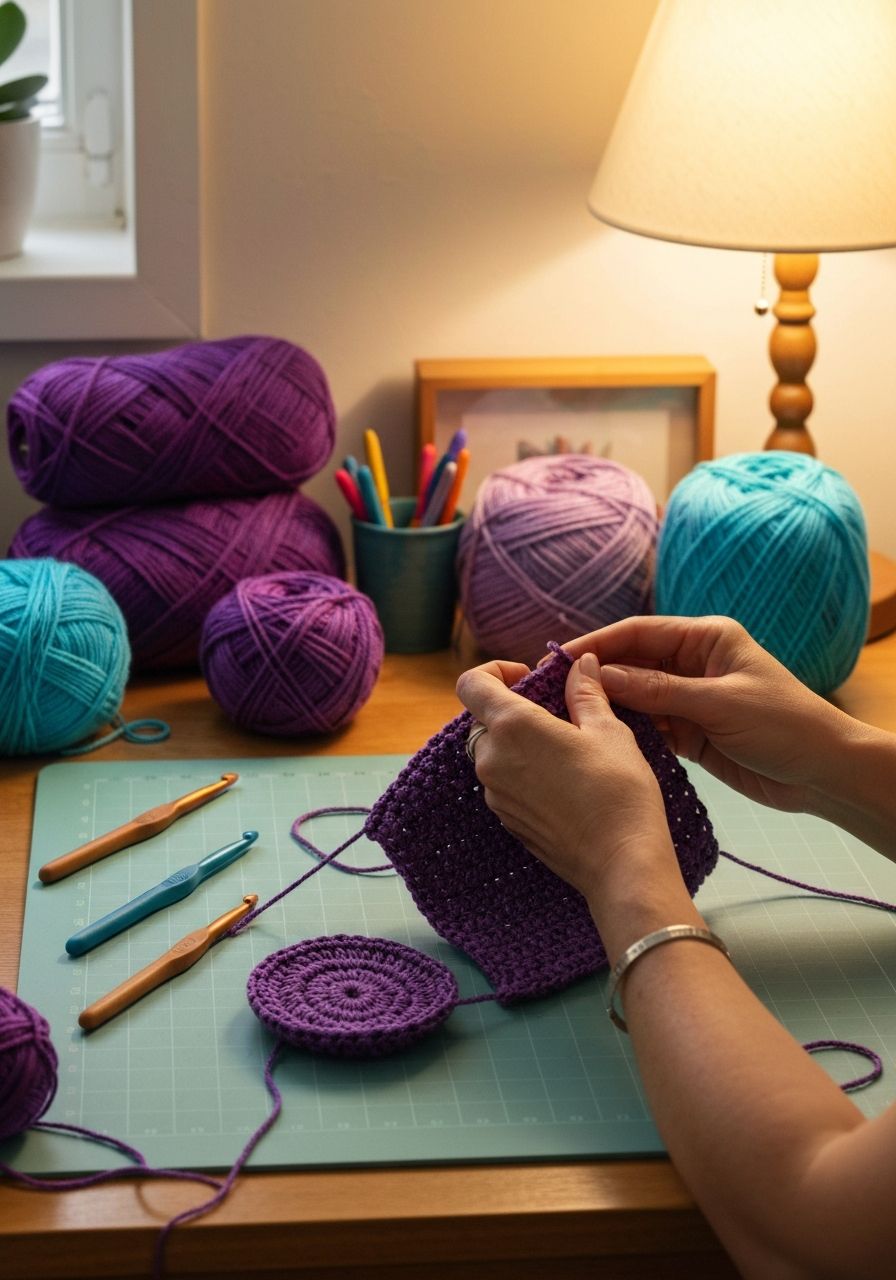
Essential Supplies:
- Blocking Mats: Interlocking foam mats (often sold for kids' playrooms or specifically for blocking) create a large, pin-able surface. They usually have a grid pattern, which is incredibly helpful for ensuring straight edges and accurate dimensions.
- Rust-Proof T-Pins or Blocking Pins: These pins have a T-shaped head, making them easy to push into mats and remove. Ensure they are rust-proof to avoid staining your project.
- Measuring Tape: Essential for checking your project's dimensions as you pin it out.
- Spray Bottle: For spray blocking or for spot-wetting areas during steam blocking.
- Iron with Steam Setting or Garment Steamer: For steam blocking. A dedicated steamer is often easier to control.
- Gentle Wool Wash (Optional): For wet blocking natural fibers, especially if your project needs a wash or you want to add a nice scent.
- Clean Towels: To absorb excess water if wet blocking.
How to Block Your Crochet Project
Let's walk through the general steps for blocking, combining the best practices for different methods.
1. Gather Your Supplies
Lay out your blocking mats, T-pins, measuring tape, and either your spray bottle, basin of water, or steamer/iron. Ensure you have enough space to lay your project flat without disturbing it.
2. Prepare Your Project
- For Wet Blocking: Gently submerge your finished project in lukewarm water. If using wool wash, follow the product instructions. Let it soak for 15-30 minutes, ensuring it's fully saturated. Gently squeeze out excess water, avoiding twisting or wringing. Roll it in a clean towel and press firmly to absorb as much water as possible until it's damp but not dripping.
- For Steam Blocking: Your project should be dry. Lay it flat on your blocking mats.
- For Spray Blocking: Lay your dry project flat on your blocking mats.
3. Choose Your Method and Begin Shaping
This is where the magic happens! Lay your damp (wet blocking) or dry (steam/spray blocking) project onto your blocking mats. Using your measuring tape and the grid on your mats as a guide, gently begin to stretch and shape your project to its desired dimensions.
- For All Methods: Start by pinning one corner, then the opposite. Work your way around the perimeter, placing pins every 1-2 inches (2.5-5 cm) to maintain an even tension. For straight edges, use the grid lines. For curves, place pins closer together. Don't be afraid to gently pull and coax your fabric into shape.
- For Wet Blocking: Once fully pinned, leave the project to dry completely. This can take anywhere from several hours to a couple of days, depending on the yarn and humidity. Ensure it's bone dry before removing pins.
- For Steam Blocking: With your project pinned out, hold your steamer or iron (on a steam setting, *not* touching the fabric for acrylics) about 1-2 inches (2.5-5 cm) above the fabric. Move it slowly and evenly over the entire surface, allowing the steam to penetrate the fibers. Watch the fibers relax. For acrylics, stop as soon as the fibers relax to avoid 'killing' the yarn. Once steamed, allow the project to cool and dry completely before removing pins.
- For Spray Blocking: Pin your dry project into shape. Then, lightly mist the entire surface with your spray bottle until it's evenly damp. Avoid saturating it. Let it dry completely before removing pins.
4. Let it Dry Completely
This is a critical step that cannot be rushed. Your project MUST be completely dry before you remove the pins. If you remove pins too soon, the fibers may spring back to their original shape, undoing all your hard work. Patience is key here.
Common Mistakes to Avoid
- Overstretching: While blocking involves stretching, do so gently. Aggressively pulling your fabric can distort stitches permanently, creating a flimsy, holey fabric.
- Not Using Enough Pins: Skimping on pins leads to wavy edges and uneven shaping. Use plenty of pins to hold every part of your project securely in place.
- Blocking Acrylic with Too Much Heat: Direct, prolonged heat from an iron on acrylic yarn can 'melt' or 'kill' the fibers, making them permanently limp, shiny, and losing all their bounce. Use steam blocking with caution and keep the iron elevated.
- Removing Pins Before Fully Dry: As mentioned, this is a big one. Always wait until your project is completely dry to the touch, and then some, before carefully unpinning.
- Forgetting to Block Swatches: If you're unsure how a yarn will react to blocking, always block a small gauge swatch first. This allows you to practice the method and see the results without risking your entire project.
- Using Rusty Pins: Rust can stain your beautiful yarn permanently. Always use rust-proof pins.
Pro Tips
- Block Before Joining: If your project consists of multiple pieces (like a granny square blanket or a sweater with separate front, back, and sleeves), block each piece individually *before* joining them. This ensures all pieces are the correct size and makes seaming much neater.
- Consider Odorless Wool Wash: For wet blocking, especially wool, a good quality odorless wool wash (like Eucalan or Soak) can clean your project and leave it soft without needing to rinse.
- Label Your Mats: If you're blocking multiple identical pieces (e.g., squares for an afghan), measure and mark your blocking mats with tape or a permanent marker for consistent sizing across all pieces.
- Invest in a Blocking Wire Set: For very long, straight edges (like a scarf or blanket edge), blocking wires can be threaded through the edge stitches and then pinned, providing a perfectly straight and even perimeter with fewer pins.
- Use a Fan: To speed up the drying process for wet-blocked items, you can place a fan nearby, but avoid direct heat sources.
Crochet Blocking FAQ
Can I skip blocking?
While you *can* technically skip blocking, it's highly recommended for most projects, especially those where fit, drape, or precise dimensions matter. For small, simple items like scrubbies or dishcloths, it might not be strictly necessary, but for garments, blankets, and anything with lace, blocking is essential for a professional finish.
What's the difference between wet blocking and steam blocking?
Wet blocking fully saturates the fabric with water, which is then shaped and dried. It's best for natural fibers that absorb water well and need significant reshaping. Steam blocking uses steam to relax fibers without fully wetting the project; it's quicker and often preferred for synthetics like acrylic, or for superwash wool, where less saturation is desired.
Does blocking work on all fibers?
Most fibers benefit from some form of blocking. Natural fibers like wool, cotton, linen, and alpaca respond beautifully to wet blocking. Acrylic and other synthetics benefit from steam blocking (with caution). Superwash wool can be wet or steam blocked but may grow significantly when wet, so always test a swatch. Some novelty yarns with delicate textures might not block well or at all, but generally, the answer is yes.
You've just learned the secret weapon of professional crocheters! Crochet Blocking is not just an extra step; it's a transformative process that enhances the beauty, drape, and overall quality of your handmade items. It takes your projects from lovely to absolutely stunning, making every stitch you've crafted truly sing. So, the next time you finish a project, don't just admire it – block it! You'll be amazed at the difference, and your finished pieces will have that polished, ready-for-display quality you've always dreamed of achieving. Happy blocking!