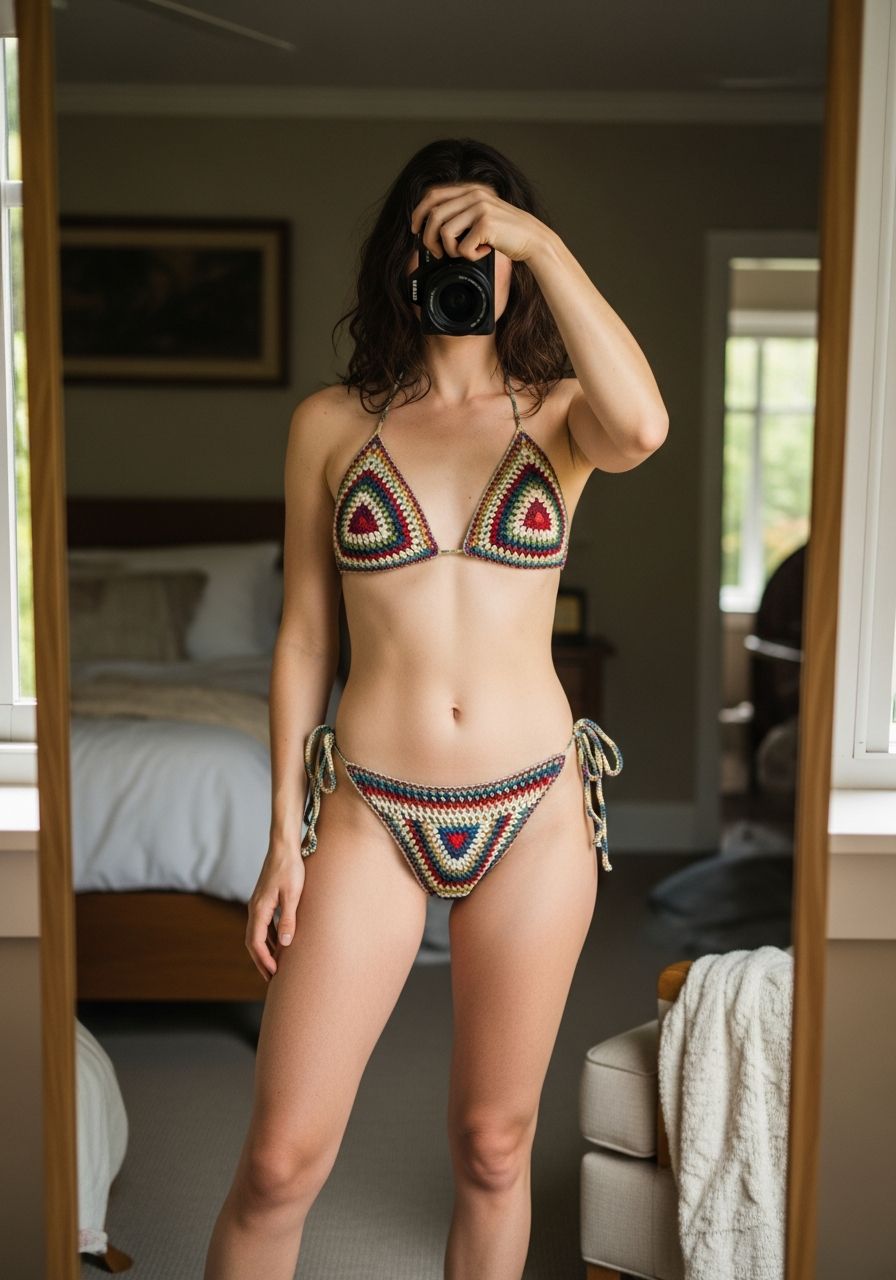
Picture yourself basking in the sun, feeling utterly confident and uniquely stylish in a swimsuit you made with your own hands. That's the magic of a handmade Crochet Bikini! Forget about ill-fitting, mass-produced swimwear. This comprehensive guide and free pattern will empower you to create a stunning, custom-fit bikini that celebrates your body and showcases your incredible crafting skills. Get ready to turn heads and embrace the summer vibes in a truly personal way!
Welcome, fellow yarn enthusiasts, to the ultimate guide for crocheting your very own bikini! This project is more than just making a piece of clothing; it's about crafting confidence, expressing individuality, and enjoying the immense satisfaction that comes from wearing something you created from scratch. Whether you're dreaming of a classic two-piece, a cheeky bottom, or a supportive top, this pattern offers a versatile foundation that you can customize to your heart's content. We'll walk you through every stitch, from choosing the perfect yarn to finishing touches, ensuring your handmade swimwear is ready for all your sun-dsoaked adventures.
Why You'll Love This Pattern
- Custom Fit: Say goodbye to swimwear struggles! This pattern allows you to adjust cup size, bottom coverage, and strap length to perfectly flatter your unique shape.
- Unique Style: Stand out from the crowd with a one-of-a-kind bikini. Choose your favorite colors and add personal embellishments to express your individual flair.
- Beginner-Friendly: While it might seem daunting, this pattern uses basic stitches and clear, step-by-step instructions, making it accessible for ambitious beginners and satisfying for experienced crocheters.
- Cost-Effective: Creating your own swimwear can be significantly more affordable than purchasing high-quality, specialty bikinis from boutiques.
- Immense Satisfaction: There's truly nothing like the pride of wearing something beautiful and functional that you've crafted with your own hands.
Materials Needed
- Yarn: Approximately 200-300 yards (180-270m) of Sport (2) or DK (3) weight mercerized cotton or a cotton/acrylic blend. Look for yarns labeled "swimwear safe" or that are specifically designed for garments that get wet. We recommend Scheepjes Catona or similar. Choose a color that makes you feel amazing!
- Crochet Hook: 2.5mm (C/2) or 3.0mm (D/3) hook, depending on your tension and desired fabric density. A tighter stitch is crucial for swimwear.
- Scissors: For cutting yarn.
- Yarn Needle: For weaving in ends.
- Stitch Markers: Essential for marking center points and stitch counts.
- Measuring Tape: For accurate sizing and gauge checking.
- Optional: Swimsuit lining fabric (stretch nylon/spandex) and matching thread for added modesty and structure, bra cups for the top, elastic cord (swimwear specific) for edges.
Gauge & Sizing
Gauge is absolutely CRITICAL for swimwear! An incorrect gauge can lead to a bikini that sags when wet or doesn't fit properly. Please make a swatch before you begin.
Recommended Gauge: 4 inches x 4 inches (10 cm x 10 cm) = 24 single crochet stitches x 26 rows.
To check your gauge:
- Chain 27.
- Single crochet in the 2nd chain from the hook and in each chain across (26 sc).
- Chain 1, turn. Single crochet in each stitch across (26 sc).
- Repeat Step 3 for a total of 28 rows.
- Measure the center of your swatch. If your swatch is larger than 4x4 inches, use a smaller hook. If it's smaller, use a larger hook. Adjust until your gauge matches.
Sizing: This pattern is designed to be highly customizable. The stitch counts for the cups and bottom panels are provided as a starting point for a Small/Medium size. Instructions will guide you on how to easily adjust for larger or smaller sizes by adding or subtracting rows/stitches.
Abbreviations
- ch: chain
- sc: single crochet
- hdc: half double crochet
- dc: double crochet
- sl st: slip stitch
- inc: increase (2 sc in one stitch)
- dec: decrease (single crochet 2 stitches together - sc2tog)
- MR: Magic Ring (used in some variations for cups, not this pattern)
- st(s): stitch(es)
- rep: repeat
- FO: Fasten off
- RS: Right Side
- WS: Wrong Side
Step-by-Step Pattern
Bikini Top (Cup - Make 2)
We'll create a classic triangle cup. Adjust the starting chain and number of rows to achieve your desired cup size.
- Foundation Chain: Ch 15 (for a small/medium cup). This chain length determines the bottom width of your cup. For a larger cup, add more chains in multiples of 2 (e.g., ch 19 for a Medium/Large).
- Row 1: Sc in the 2nd ch from hook and in each of the next 6 ch. (sc, ch 1, sc) in the next ch (this is your center point). Sc in each of the remaining 6 ch across. (14 sc, 1 ch-1 space).
- Row 2: Ch 1, turn. Sc in the first st, inc in the next st. Sc in each st until you reach the ch-1 space. (sc, ch 1, sc) in the ch-1 space. Sc in each st until the last 2 sts. Inc in the next st, sc in the last st. (18 sc, 1 ch-1 space).
- Row 3: Ch 1, turn. Sc in the first st, inc in the next st. Sc in each st until you reach the ch-1 space. (sc, ch 1, sc) in the ch-1 space. Sc in each st until the last 2 sts. Inc in the next st, sc in the last st. (22 sc, 1 ch-1 space).
- Continue Increasing: Repeat Row 3 until your cup reaches the desired size. Each row will increase by 4 sc stitches.
- For A/B Cup: Approximately 8-10 rows total.
- For C/D Cup: Approximately 11-14 rows total.
- For DD+ Cup: Approximately 15+ rows total.
- Finishing Cup 1: FO and weave in ends.
- Finishing Cup 2: Do NOT FO after completing your final row. You will continue to connect the cups.
Connecting the Cups & Straps
- Joining Cups: With Cup 2 still on your hook, lay Cup 1 next to it. Working along the bottom edge of both cups, sl st into the bottom corner stitch of Cup 1. Ch 1, then sc evenly along the bottom edge of Cup 1 (this can be approximately 1 sc per row end or 2 sc per 3 row ends, adjust for a flat edge). When you reach the inner corner of Cup 1, ch 5 (this is the bridge between cups, adjust for desired spacing). Then sc evenly along the bottom edge of Cup 2. (This creates a continuous bottom edge).
- Back Band (Row 1): Ch 1, turn. Sc in each sc stitch along the bottom edge of Cup 2, across the ch-5 bridge, and along the bottom edge of Cup 1. (This forms the first row of your back band).
- Back Band (Rows 2+): Ch 1, turn. Sc in each stitch across. Repeat this row for 3-5 more rows, or until your desired band width is achieved. FO.
- Bottom Ties: On each side of the back band, attach yarn to the corner. Ch 60-80 (or desired length for ties). Sl st back down the chain. FO. Weave in ends.
- Neck Straps: Attach yarn to the top corner of one cup. Ch 70-90 (or desired length for neck strap). Sl st back down the chain. FO. Repeat for the second cup. Weave in ends.
Bikini Bottom (V-Shape Front & Back)
This pattern creates a V-shaped front and a wider triangle back. Adjust stitch counts and rows for coverage.
Front Panel
- Foundation: Ch 4.
- Row 1 (RS): Sc in 2nd ch from hook and in each of the next 2 ch. (3 sc)
- Row 2 (WS): Ch 1, turn. Sc in first st, inc in next st, sc in last st. (4 sc)
- Row 3 (RS): Ch 1, turn. Sc in each st across. (4 sc)
- Row 4 (WS): Ch 1, turn. Inc in first st, sc in each st across until last st, inc in last st. (6 sc)
- Rows 5-10 (or until desired front width): Repeat Rows 3 & 4 alternately. For every 2 rows, you increase by 2 stitches. Continue until the panel is wide enough to cover the front of your desired area (e.g., 10-14 rows total for a small/medium, ending with 12-16 sc). The number of stitches should correspond to half your desired full front width.
- Continue Straight (Optional): If you want more coverage at the sides of the front panel before increasing for the hips, work 2-4 rows of sc in each stitch across without increasing.
- FO: Fasten off, leaving a long tail for joining later.
Back Panel
- Foundation: Ch 4.
- Row 1 (RS): Sc in 2nd ch from hook and in each of the next 2 ch. (3 sc)
- Row 2 (WS): Ch 1, turn. Inc in first st, sc in next st, inc in last st. (5 sc)
- Row 3 (RS): Ch 1, turn. Inc in first st, sc in each st across until last st, inc in last st. (7 sc)
- Rows 4-16 (or until desired back width/coverage): Repeat Row 3. Each row increases by 2 stitches. Continue until the panel is wide enough to cover your backside. This will be more rows and wider than the front panel (e.g., 16-20 rows total for a small/medium, ending with 33-41 sc).
- FO: Fasten off, leaving a long tail for joining.
Joining Panels & Adding Ties
- Join Crotch: With right sides facing, use your yarn needle and the long tails to carefully whip stitch or mattress stitch the narrow ends of the front and back panels together. Ensure a neat, flat seam.
- Edging & Side Ties: Attach yarn to one side of the joined bottom (e.g., the top corner of the front panel).
- Round 1 (Edging): Ch 1. Work sc stitches evenly around the entire perimeter of the bottom panel (front, up the side, around the back, down the other side). For a neat edge, work 1 sc per row end, and 1 sc per stitch along the top edges of the front and back panels. Use stitch markers at the side seams and the center of the back/front if needed to ensure evenness. Sl st to first sc to join.
- Round 2 (Optional for thicker edge): Ch 1, sc in each sc around. Sl st to join.
- Side Tie 1: From where you finished your edging, ch 60-80 (or desired length for side tie). Sl st back down the chain to create a strong tie. Sl st into the body of the bikini bottom to secure. FO.
- Side Tie 2: Attach yarn to the opposite side of the bikini bottom (e.g., the other top corner of the front panel). Ch 60-80. Sl st back down the chain. Sl st into the body of the bikini bottom. FO.
- Weave in all remaining ends securely.
Pro Tips
- Yarn Choice is Key: Always choose mercerized cotton or a synthetic blend (like cotton/acrylic or specific swimwear yarns). These yarns hold their shape better when wet, dry faster, and are less likely to stretch out. Avoid wool, regular acrylic, or superwash yarns, which will sag and become heavy.
- Maintain Tight Tension: A tight, consistent tension is crucial. This creates a dense fabric that prevents gaping, provides better support, and minimizes water absorption. If your stitches are loose, go down a hook size.
- Consider a Lining: For modesty, comfort, and added structure, consider sewing a fabric lining into your bikini. You can purchase specific swimsuit lining fabric that is quick-drying and offers UV protection. Alternatively, insert removable bra cups into the top for extra shaping.
- Try It On As You Go: This is a custom garment! Regularly try on your cups and bottom panels as you work to ensure a perfect fit. Don't be afraid to add or subtract rows.
- Add Elastic for Security: For extra security and to prevent stretching over time, you can crochet around a thin piece of swimwear elastic along the edges of the top and bottom. Simply hold the elastic along the edge as you work your final border rows of single crochet.
- Secure All Ends: Weave in all yarn tails meticulously. Swimwear gets a lot of wear and movement, so ensure all ends are tucked away perfectly to prevent unraveling.
- Care Instructions: Handwash your crochet bikini in cool water with a mild detergent. Lay flat to dry away from direct sunlight to maintain its shape and color.
Frequently Asked Questions
What kind of yarn is best for a crochet bikini?
The best yarns are mercerized cotton or high-quality cotton/synthetic blends. Mercerized cotton is strong, has a lovely sheen, and resists stretching and fading. Blends can offer benefits like quicker drying times or added elasticity. Always prioritize yarns that are durable, colorfast, and designed for garments that will be exposed to water and sun. Avoid animal fibers (wool), most acrylics, and untreated cotton, as they absorb too much water, sag, and take a long time to dry.
Is a crochet bikini really waterproof, and will it sag when wet?
A crochet bikini is not inherently waterproof in the same way a synthetic fabric swimsuit is; it will absorb water. However, with the right yarn choice (mercerized cotton or blend) and a tight gauge, it will dry reasonably quickly and hold its shape well. The key is to use tight stitches to create a dense fabric. A fabric lining can significantly help with modesty and structure, further minimizing any potential sagging and speeding up drying.
How do I make my bikini custom fit my body perfectly?
Customization starts with your gauge swatch! Ensure your swatch matches the pattern's gauge. For the top, adjust the starting chain and the number of rows to get the perfect cup size. For the bottom, try on the front and back panels as you work, adding or subtracting rows to get your desired width and coverage. Don't hesitate to adjust the length of ties and bands. Measuring yourself frequently and comparing to the piece in progress is the best way to achieve a truly custom fit.
You've now got all the tools and instructions to embark on your exciting journey of crocheting a beautiful, custom-fit bikini! This project is a wonderful way to express your creativity and enjoy the summer season in a truly unique garment. We can't wait to see your stunning creations. Happy crocheting!