Imagine strolling through a sunny farmer's market, your vibrant blooms or fresh produce nestled perfectly in a handmade accessory that perfectly complements your style. Or picture yourself heading to the beach, essentials tucked neatly inside a sturdy, chic tote that you created with your own hands. That's the magic of the crochet basket bag – a versatile, stylish, and incredibly satisfying project that merges rustic charm with modern functionality. Get ready to embark on a creative journey that results in your new favorite everyday bag!
Welcome, fellow yarn enthusiasts, to a truly rewarding crochet adventure! This comprehensive guide provides a free, step-by-step pattern to create your very own sturdy and stylish crochet basket bag. Whether you're an experienced crocheter looking for a quick and fun project or a confident beginner ready to tackle a larger item, this pattern is designed to be clear, engaging, and ultimately, incredibly satisfying. We've poured love and detail into every stitch, ensuring you'll have all the information you need to create a beautiful, durable bag that will turn heads and serve you well for years to come.
Why You'll Love This Pattern
-
Versatile & Practical: This bag isn't just pretty; it's incredibly useful! Perfect for market trips, beach days, craft storage, or even as a chic home decor item for blankets or magazines. Its sturdy construction means it can handle a good amount of weight.
-
Beginner-Friendly with a Polished Finish: While it looks intricate, this pattern primarily uses basic stitches like single crochet (sc), making it accessible for those comfortable with foundational techniques. Detailed instructions ensure a professional-looking result.
-
Customizable: Easily adjust the height, experiment with different colors, or add embellishments to make this bag uniquely yours. The robust design lends itself well to personal touches.
-
Instant Gratification: Using a larger hook and sturdy yarn means this project works up relatively quickly, offering that satisfying feeling of a finished piece sooner rather than later.
-
Durable & Long-Lasting: Constructed with single crochet and a robust yarn, this bag is designed to withstand daily use, becoming a go-to item in your collection.
Materials Needed
-
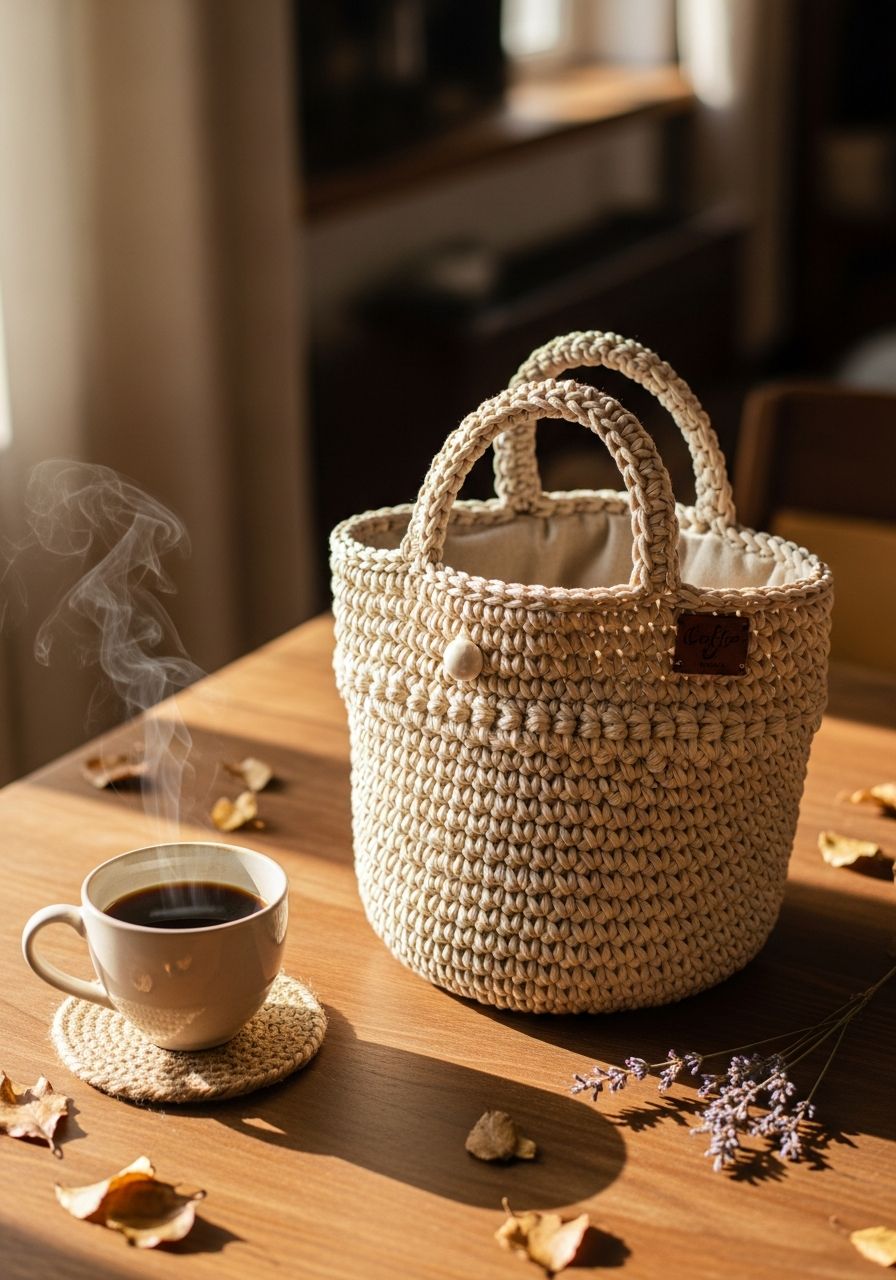
Yarn: Approximately 600-700 yards (550-640 meters) of Worsted Weight (Category 4) sturdy cotton, cotton blend, or macrame cord. A stiffer yarn will help the bag hold its shape better. (Sample shown uses Lion Brand 24/7 Cotton in Café Au Lait).
-
Crochet Hook: 5.0 mm (H-8) or size needed to obtain gauge.
-
Stitch Marker: Essential for working in continuous rounds.
-
Tapestry Needle: For weaving in ends.
-
Scissors: For cutting yarn.
Gauge & Sizing
Gauge: 4 sc and 4 rows = 1 inch (2.5 cm) using a 5.0 mm hook, measured after Round 4 of the base. It's crucial to check your gauge to ensure your bag turns out the intended size. A slightly tighter gauge is often better for a bag to maintain structure.
Finished Size (approximate):
- Base Diameter: 12 inches (30.5 cm)
- Height (excluding handles): 12 inches (30.5 cm)
- Handle Drop: 6 inches (15 cm)
Abbreviations
- ch: chain
- sl st: slip stitch
- sc: single crochet
- inc: increase (2 sc in the same stitch)
- st(s): stitch(es)
- R: Round
- BLO: back loop only
- * *: repeat instructions between asterisks
Step-by-Step Pattern
This pattern is worked in continuous rounds, meaning you will not join with a slip stitch at the end of each round unless specified. Use a stitch marker to keep track of the first stitch of each round.
Bottom of the Bag
-
Magic Ring: Make a magic ring.
-
R1: Ch 1, 8 sc into the magic ring. Pull ring tight. (8 sc)
-
R2: *Inc* in each st around. (16 sc)
-
R3: *Sc, inc* around. (24 sc)
-
R4: *Sc in next 2 sts, inc* around. (32 sc)
-
R5: *Sc in next 3 sts, inc* around. (40 sc)
-
R6: *Sc in next 4 sts, inc* around. (48 sc)
-
R7: *Sc in next 5 sts, inc* around. (56 sc)
-
R8: *Sc in next 6 sts, inc* around. (64 sc)
-
R9: *Sc in next 7 sts, inc* around. (72 sc)
-
R10: *Sc in next 8 sts, inc* around. (80 sc)
-
R11: *Sc in next 9 sts, inc* around. (88 sc)
-
R12: *Sc in next 10 sts, inc* around. (96 sc)
-
R13: *Sc in next 11 sts, inc* around. (104 sc)
-
R14: *Sc in next 12 sts, inc* around. (112 sc)
-
R15: *Sc in next 13 sts, inc* around. (120 sc)
Sides of the Bag
-
R16: Sc in BLO around. (120 sc) This round creates a defined edge for the bottom of the bag to turn upwards.
-
R17-R36: Sc in each st around. (120 sc) Work these rounds in regular single crochet, working into both loops. You will now be building the height of your bag. Repeat for 20 rounds, or until the bag measures desired height (approx. 12 inches/30.5 cm from the BLO round).
Handles
The handles are integrated into the top rounds of the bag. You will create chain spaces for the handles. Adjust chain length if you desire longer or shorter handles.
-
R37: Sc in next 25 sts, ch 20 (skip 20 sts), sc in next 40 sts, ch 20 (skip 20 sts), sc in last 15 sts. (80 sc, 40 ch)
-
R38: Sc in next 25 sts, 20 sc into the ch-20 space, sc in next 40 sts, 20 sc into the ch-20 space, sc in last 15 sts. (120 sc) Make sure to crochet firmly over the chain to create sturdy handles.
-
R39-R40: Sc in each st around. (120 sc) These final rounds will reinforce the handles and finish the top edge of the bag.
Finishing
-
Sl st into the next st to finish off the round.
-
Cut yarn, leaving a 6-inch tail. Fasten off.
-
Using your tapestry needle, weave in all loose ends securely. If desired, gently block your bag to help it maintain its shape, although with sturdy yarn and sc stitches, it should hold its form well.
Pro Tips
-
Yarn Choice is Key: For a basket bag that stands up on its own, choose a sturdy yarn. Cotton, macrame cord, or even a blend with some acrylic can work well. Avoid super-soft, drapey yarns if you want a rigid structure.
-
Stitch Markers are Your Best Friend: When working in continuous rounds, it's incredibly easy to lose your place. Always mark the first stitch of your round to stay on track and ensure accurate stitch counts.
-
Maintain Consistent Tension: Even tension is vital for a project like this. Inconsistent tension can lead to a wobbly base or uneven sides. Take breaks if your hands start to cramp.
-
Count Your Stitches: Seriously, count often! It's much easier to catch a mistake after a few stitches than after an entire round or several rounds.
-
Blocking for Perfection: While not always necessary for a sturdy basket, blocking can help even out your stitches, create sharper angles, and ensure your bag holds its intended shape beautifully. A light steam block or damp blocking can work wonders.
-
Adding a Lining: For extra durability, or to prevent small items from slipping through stitches, consider sewing a fabric lining into your finished bag. This can also add an extra pop of color or pattern.
Frequently Asked Questions
Can I use a different yarn weight for this pattern?
Absolutely! You can adapt this pattern to different yarn weights, but be aware that it will significantly change the finished size of your bag. If you use a thicker yarn (e.g., bulky or super bulky), your bag will be much larger, and you'll need a larger hook. Conversely, a thinner yarn will result in a smaller bag. Always adjust your hook size to match the yarn and check your gauge if you're aiming for a specific size.
How do I make sure my basket bag stands up straight and doesn't flop?
The key to a sturdy, upright basket bag lies in a few factors: your yarn choice, hook size, and tension. Use a firm, non-stretchy yarn like cotton or macrame cord. Opt for a hook size that is on the smaller side for your chosen yarn (this will create a dense fabric). Most importantly, maintain a consistent and relatively tight tension throughout your single crochet stitches. The BLO round for the base also helps create a strong transition from the bottom to the sides, encouraging the bag to stand tall.
Can I add a shoulder strap instead of handles?
Yes, you can definitely modify the handles to create a shoulder strap! Instead of creating two separate handle openings, you could: 1. Create a single, wider opening on opposite sides for a seamless strap. 2. Crochet a long, separate strap (e.g., using a row of sc or hdc for desired width and length) and then securely sew it to the top edges of the bag on the inside. This offers a different carrying style and can be very practical.
And there you have it – your very own handmade crochet basket bag, ready to accompany you on all your adventures! We hope you enjoyed creating this functional and fashionable accessory as much as we enjoyed designing it. Don't be afraid to experiment with colors and even add unique embellishments like tassels or pom-poms to truly make it your own. Happy crocheting!