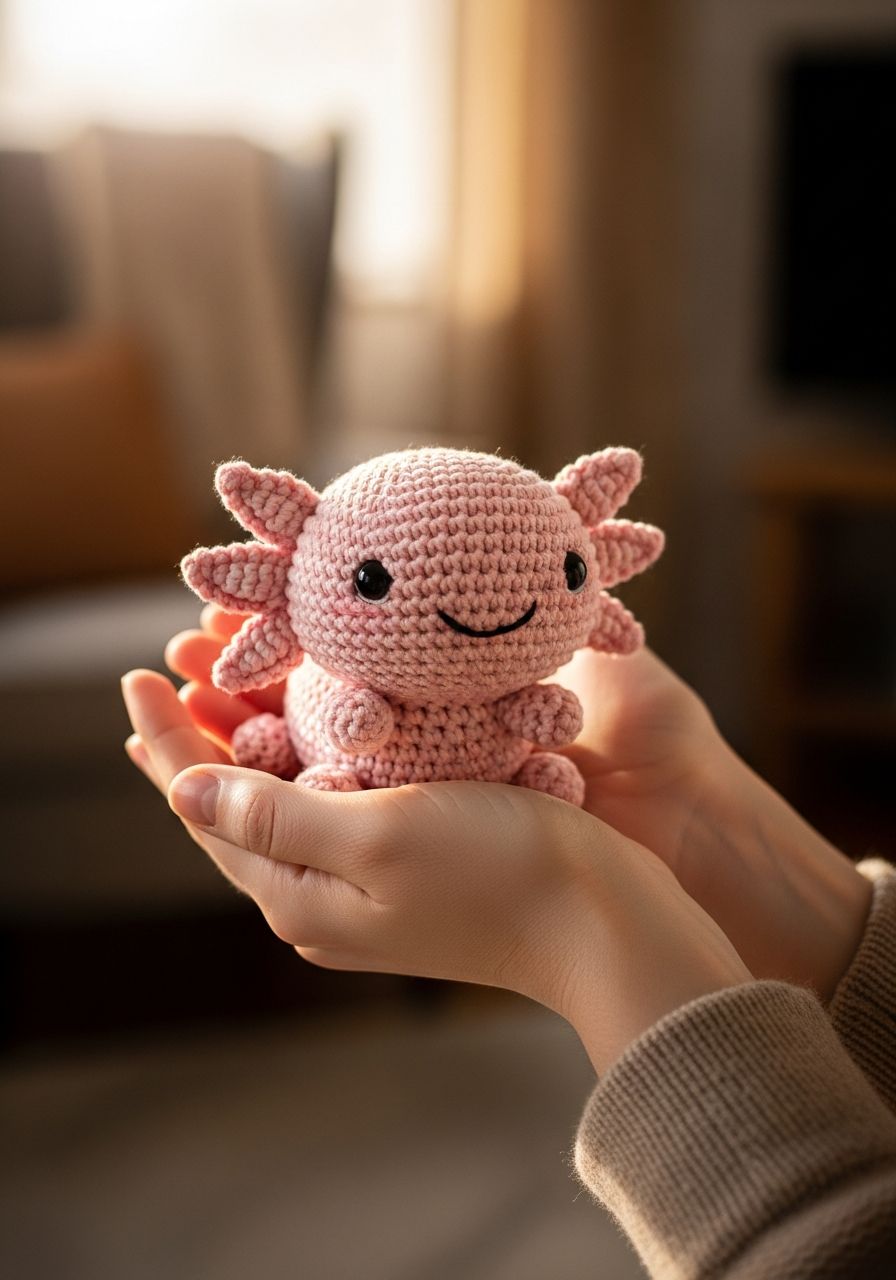
Picture this: a gentle, smiling aquatic friend, with feathery gills and an irresistibly cute demeanor, ready to bring a wave of joy into your home. Now imagine creating that adorable creature with your very own hands! This isn't just any amigurumi project; it's your chance to craft a truly unique and beloved companion. Get ready to dive into the enchanting world of the Crochet Axolotl Amigurumi, a free pattern designed to guide you through every fin and flipper, leaving you with a masterpiece that's as charming as it is huggable. Prepare to be utterly delighted by your amphibious creation!
Axolotls, also known as Mexican walking fish, are fascinating amphibians renowned for their permanent larval stage and charming external gills. Their unique appearance makes them incredibly popular subjects for amigurumi, and this pattern captures their distinctive features in a fun, accessible way. Whether you're an experienced crocheter looking for your next captivating project or a curious beginner eager to try amigurumi, this free pattern offers clear instructions and helpful tips to ensure your success. Let's gather our supplies and bring this lovable aquatic friend to life!
Why You'll Love This Pattern
This Crochet Axolotl Amigurumi pattern is designed with both charm and simplicity in mind. You'll adore how quickly this little friend comes together, making it a perfect weekend project or a thoughtful handmade gift. It utilizes fundamental crochet stitches, making it approachable for those new to amigurumi, while still offering enough detail to keep seasoned crocheters engaged. The finished axolotl is perfectly sized for cuddling, displaying on a shelf, or becoming a beloved toy. Plus, the customization options are endless – imagine a rainbow of axolotls in various colors! It's a fantastic way to practice your amigurumi shaping, attaching small parts, and creating a truly unique plushie that stands out from the crowd.
Materials Needed
- Yarn: Worsted weight (Aran/10-ply) yarn in your main body color (e.g., pink, white, blue) – approximately 50g. A small amount of contrasting color for gills (e.g., darker pink, red).
- Crochet Hook: 3.5mm (E/4) or a size suitable for your yarn to create tight stitches.
- Safety Eyes: 8mm or 10mm (black).
- Stuffing: Polyester fiberfill.
- Tapestry Needle: For weaving in ends and assembly.
- Stitch Marker: Essential for working in continuous rounds.
- Scissors.
Gauge & Sizing
Gauge is not critical for this project, but aim for tight stitches to prevent stuffing from showing through. If your stitches are too loose, go down a hook size. When using worsted weight yarn and a 3.5mm hook, your finished axolotl will measure approximately 7-8 inches long from head to tail, and about 3 inches tall, depending on your tension and stuffing.
Abbreviations
- MR: Magic Ring
- ch: Chain
- sc: Single Crochet
- hdc: Half Double Crochet
- dc: Double Crochet
- sl st: Slip Stitch
- inc: Increase (2 sc in one stitch)
- dec: Decrease (single crochet 2 together, use invisible decrease for a neater finish)
- st(s): Stitch(es)
- FO: Fasten Off
- (...) xN: Repeat instructions in parentheses N times
- [...]: Stitch count at the end of the round
Step-by-Step Pattern
Work in continuous rounds unless otherwise specified. Use a stitch marker to keep track of the beginning of each round.
Head & Body (Main Color)
- Magic Ring (MR): 6 sc into MR. [6]
- Round 1: Inc in each st around. [12]
- Round 2: (Sc, inc) x6. [18]
- Round 3: (Sc 2, inc) x6. [24]
- Round 4: (Sc 3, inc) x6. [30]
- Round 5: (Sc 4, inc) x6. [36]
- Round 6: (Sc 5, inc) x6. [42]
- Round 7-13: Sc in each st around. [42]
- Round 14: (Sc 5, dec) x6. [36] - Place safety eyes between Rounds 10 and 11, about 8 stitches apart. Secure backs.
- Round 15-16: Sc in each st around. [36]
- Round 17: (Sc 4, dec) x6. [30]
- Round 18-19: Sc in each st around. [30]
- Round 20: (Sc 3, dec) x6. [24] - Start stuffing firmly, shaping the head.
- Round 21-23: Sc in each st around. [24]
- Round 24: (Sc 2, dec) x6. [18]
- Round 25-27: Sc in each st around. [18] - Continue stuffing, making sure the body is evenly firm.
- Round 28: (Sc, dec) x6. [12]
- Round 29: Sc in each st around. [12] - Add final stuffing, ensuring a good shape.
- Round 30: Dec x6. [6]
- FO, leave a long tail. Using a tapestry needle, weave the tail through the front loop of each remaining stitch and pull tight to close. Weave in ends.
Gills (Make 3 - Contrasting Color)
These are worked in rows and then attached to the head.
- Ch 6.
- Starting in the 2nd ch from hook: sc, hdc, dc 2, sc in last ch. [6 sts]
- FO, leave a long tail for sewing.
Arms (Make 2 - Main Color)
- Magic Ring (MR): 6 sc into MR. [6]
- Round 1-5: Sc in each st around. [6]
- FO, leave a long tail for sewing. Do not stuff. Flatten the opening.
Legs (Make 2 - Main Color)
- Magic Ring (MR): 6 sc into MR. [6]
- Round 1-6: Sc in each st around. [6]
- FO, leave a long tail for sewing. Do not stuff. Flatten the opening.
Tail Fin (Main Color)
Worked in rows, then joined.
- Ch 10.
- Row 1: Sc in 2nd ch from hook, sc 8. Ch 1, turn. [9]
- Row 2: Sc 9. Ch 1, turn. [9]
- Row 3: Inc, sc 7, inc. Ch 1, turn. [11]
- Row 4: Sc 11. Ch 1, turn. [11]
- Row 5: Inc, sc 9, inc. Ch 1, turn. [13]
- Row 6: Sc 13. Ch 1, turn. [13]
- Row 7: Dec, sc 9, dec. Ch 1, turn. [11]
- Row 8: Sc 11. Ch 1, turn. [11]
- Row 9: Dec, sc 7, dec. Ch 1, turn. [9]
- Row 10: Sc 9.
- FO, leave a long tail for sewing.
Assembly
- Attach Gills: Position the three gills evenly on each side of the axolotl's head, slightly behind the eyes. Use your tapestry needle and the long tails to sew them securely in place. Weave in ends.
- Attach Arms: Sew the flattened arms to the sides of the body, just below the head/neck area (around Rounds 17-18 of the body). Secure firmly.
- Attach Legs: Sew the flattened legs to the underside of the body, towards the back (around Rounds 24-25 of the body). Ensure they are evenly spaced.
- Attach Tail Fin: Position the tail fin at the very end of the body, centered. Sew it securely along the bottom and sides. You can lightly stuff the base of the tail as you sew for a bit more shape if desired, but keep it mostly flat.
- Embroider Mouth (Optional): Using black embroidery floss or a thin strand of yarn, embroider a small, gentle smile just below the safety eyes.
- Weave in any remaining loose ends.
Pro Tips
- Invisible Decrease (Sc2tog): For a smoother finish on your amigurumi, especially when shaping, learn the invisible decrease. Insert your hook into the front loop of the first stitch, then into the front loop of the second stitch, yarn over, and pull through both loops (2 loops on hook), yarn over and pull through both loops on hook.
- Stuffing Technique: Stuff your axolotl firmly and evenly as you go. Use small pieces of fiberfill to avoid lumps. Pay special attention to the head to maintain its round shape. A blunt object (like the back of your hook or a chopstick) can help push stuffing into tight spots.
- Stitch Marker is Your Friend: Always use a stitch marker at the beginning of your rounds when working in a spiral. Move it up with each new round to avoid losing your place.
- Sewing Small Parts: When attaching the smaller pieces like gills, arms, and legs, use pins to hold them in place before sewing. This allows you to adjust their position and ensures they are symmetrical and well-placed. Take small, neat stitches that blend into the main body.
- Color Customization: Don't be afraid to experiment with colors! Axolotls come in various natural hues like pink, white, black, and even gold. You could also create whimsical rainbow axolotls.
Frequently Asked Questions
Q: How difficult is this pattern for beginners?
A: This pattern is designed to be beginner-friendly! It primarily uses basic stitches like single crochet, increases, and decreases. The step-by-step instructions are detailed, and there are specific tips for assembly and stuffing. If you're comfortable with basic crochet stitches, you should find this a manageable and rewarding project. Don't be intimidated by amigurumi; it's a fantastic way to expand your crochet skills!
Q: Can I use different yarn weights?
A: Yes, you can! Just be aware that changing yarn weight will alter the finished size of your axolotl. If you use a thicker yarn (e.g., bulky), your axolotl will be larger, and you'll likely need a larger hook size (check your yarn label for recommendations). If you use a thinner yarn (e.g., sport weight), your axolotl will be smaller, and you'll need a smaller hook. Always ensure your stitches are tight enough so the stuffing doesn't show through.
Q: What's the best way to secure safety eyes?
A: Safety eyes come with washers that snap onto the posts from the inside of your amigurumi. To ensure they are super secure, especially if the toy is for a child, you can add a drop of super glue to the washer before snapping it on. Alternatively, some crocheters melt the back of the post slightly with a lighter (carefully!) and then flatten it, which permanently fuses the back. Always ensure the eyes are placed symmetrically before securing them permanently.
We hope you've enjoyed crafting your very own Crochet Axolotl Amigurumi! This little aquatic friend is sure to bring a smile to anyone's face, whether it's a gift or a new addition to your own collection. Happy crocheting!