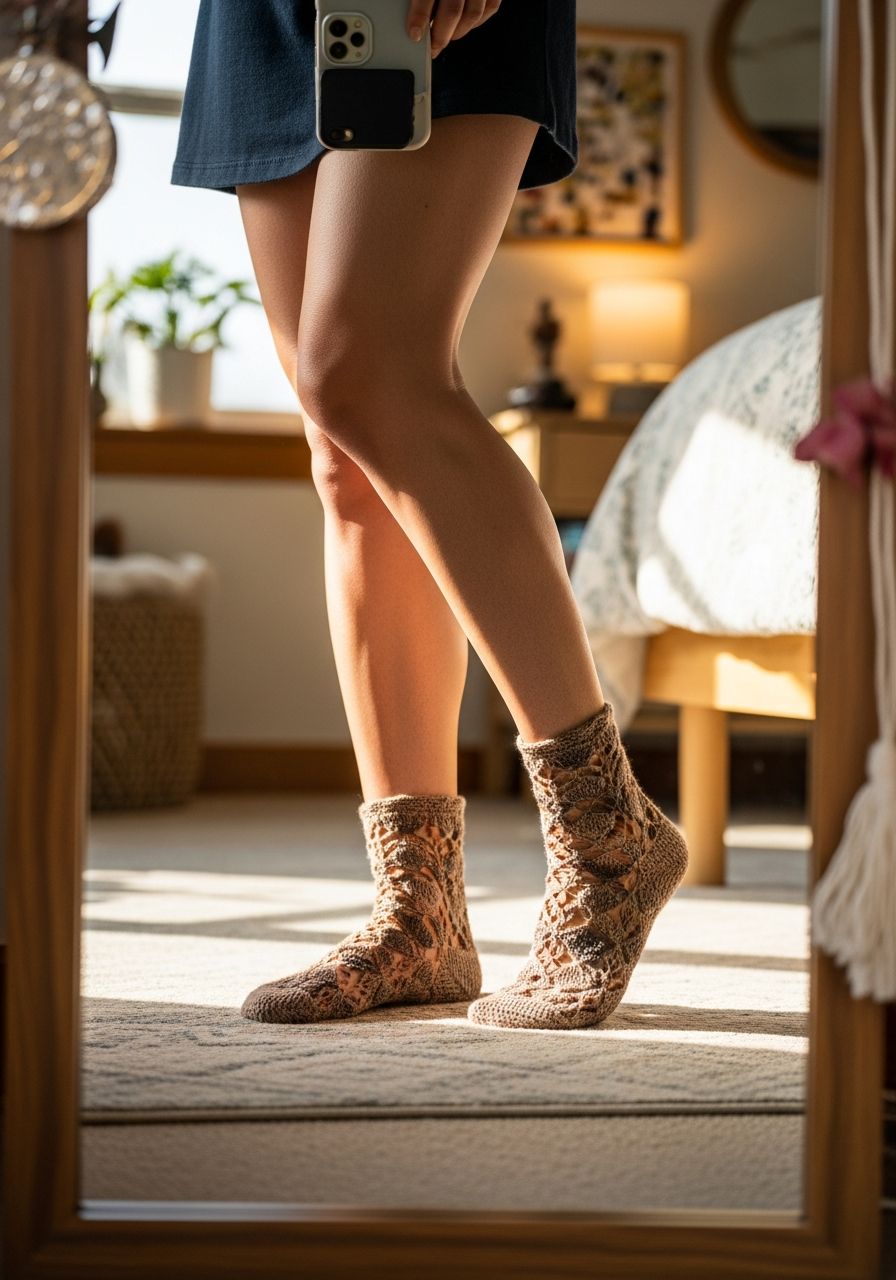
Imagine slipping your feet into a cloud of handcrafted comfort, a perfect embrace of warmth and softness that only a handmade treasure can provide. That's the blissful reality waiting for you with these delightful Crochet Ankle Socks! Forget scratchy, ill-fitting store-bought socks; today, you're going to create a pair tailored just for you (or a lucky loved one). This pattern isn't just about making socks; it's about crafting a little piece of everyday luxury, a tangible expression of your creativity that will bring comfort with every step.
Introduction
Welcome, fellow yarn enthusiasts, to a journey into the wonderful world of crochet socks! While often considered an advanced project, making crochet socks is incredibly rewarding and, with the right guidance, completely achievable for confident beginners and intermediate crocheters alike. This comprehensive guide and free pattern will walk you through every step of creating comfortable, stylish ankle socks using a classic heel-up construction. We'll cover everything from selecting the perfect yarn to mastering the heel and toe shaping, ensuring your first (or fiftieth!) pair is a resounding success.
Why You'll Love This Pattern
- Ultimate Comfort: Hand-crocheted socks offer a level of softness and custom fit that mass-produced socks simply can't match.
- Personalized Style: Choose your favorite colors and yarn textures to create socks that truly reflect your personality.
- Skill Building: This pattern introduces you to essential sock-making techniques like turning a heel and shaping a gusset, boosting your crochet repertoire.
- Quick & Satisfying: Ankle socks work up faster than full-length socks, offering a relatively quick gratification for your efforts.
- Perfect Handmade Gift: A pair of handmade socks makes a thoughtful and cherished gift for birthdays, holidays, or just because.
- Yarn Busting: A great project for using up those smaller skeins of sock-weight or sport-weight yarn you've been saving.
Materials Needed
- Yarn: Approx. 200-250 yards (180-230 meters) of Sport Weight (Category 2) or Light DK Weight (Category 3) yarn. A wool/nylon blend is highly recommended for durability, elasticity, and warmth. (Example: Patons Kroy Socks FX, Lion Brand Sock-Ease, or similar).
- Crochet Hook: 3.5mm (US E/4) or size needed to obtain gauge.
- Stitch Markers: At least 2-3, essential for marking rounds and specific stitches.
- Tapestry Needle: For weaving in ends and seaming.
- Scissors: For cutting yarn.
- Measuring Tape: Crucial for checking gauge and sizing.
Gauge & Sizing
Gauge is absolutely critical for socks! It ensures your socks will fit properly and have the desired fabric density. Take the time to make a swatch.
Recommended Gauge: 20 half double crochet (hdc) stitches and 16 rows = 4 inches (10 cm) in unblocked hdc.
How to Check Gauge: Chain 22. Hdc in the 2nd chain from hook and in each chain across (21 hdc). Chain 1, turn. Hdc in each stitch across. Repeat for 18 rows. Measure the center 4 inches (10 cm) of your swatch. If you have more stitches, try a larger hook. If you have fewer stitches, try a smaller hook.
Sizing Information (Women's Medium/Large - US Shoe Size 7-9):
This pattern is written for an adult foot with a circumference of approximately 8.5-9 inches (21.5-23 cm) and adjustable foot length. To adjust for smaller or larger sizes, you will need to modify the initial chain for the cuff, the number of stitches around the leg and foot, and the length of the foot. A good rule of thumb is to make the circumference of your sock about 1 inch (2.5 cm) smaller than the actual foot circumference for a snug fit.
Abbreviations
- ch: chain
- sc: single crochet
- hdc: half double crochet
- dc: double crochet
- sl st: slip stitch
- st(s): stitch(es)
- BLO: back loop only
- inc: increase (usually 2 sts in one st)
- dec: decrease (usually sc2tog or hdc2tog)
- sk: skip
- FO: fasten off
- pm: place marker
- RS: right side
- WS: wrong side
Step-by-Step Pattern
Construction Notes
These socks are worked from the cuff down, starting with a ribbed cuff, then the leg, followed by a heel flap and gusset, then the foot, and finally the toe.
Sizing Notes for Women's M/L (approx. US Shoe Size 7-9)
The total stitch count for the leg and foot will be 40 stitches. If you need to adjust size, ensure your starting chain for the cuff will create a ribbed band that stretches to fit comfortably around your ankle, and adjust subsequent stitch counts accordingly (in multiples of 2 for heel flap).
The Cuff
- Foundation Chain: Ch 11.
- Row 1 (WS): Sc in 2nd ch from hook and in each ch across. (10 sc)
- Row 2 (RS): Ch 1, turn. Sc in BLO of each st across. (10 sc)
- Repeat Row 2: Continue repeating Row 2 until you have 40 rows total. This will create a ribbed band approximately 8.5 inches (21.5 cm) long when slightly stretched.
- Join Cuff: Bring the short ends of the cuff together. Ch 1, sl st through the BLO of the last row and the corresponding loop of the starting chain across to form a tube. Turn the cuff so the seam is on the inside, and the RS is facing out.
The Leg
- Round 1: Ch 1 (does not count as a st). Work 40 hdc evenly around the long edge of the cuff, placing 1 hdc into the side of each of the 40 rows. Sl st to first hdc to join. (40 hdc)
- Round 2: Ch 1, hdc in each st around. Sl st to first hdc to join. (40 hdc)
- Repeat Round 2: Continue working even rounds of hdc until the leg measures approximately 1.5 inches (3.8 cm) from the top of the cuff, or desired leg length before the heel. (For Women's M/L, this is usually 6-7 rounds of hdc).
The Heel Flap
The heel flap is worked back and forth in rows on half of your stitches.
- Set Up: Ch 1, turn your work. You will now work across 20 sts for the heel flap.
- Row 1 (RS): Hdc in the first 20 sts. Leave the remaining 20 sts unworked for the instep. (20 hdc)
- Row 2 (WS): Ch 1, turn. Sc in each of the 20 sts across. (20 sc)
- Repeat Rows 1 & 2: Continue alternating Row 1 (hdc) and Row 2 (sc) for a total of 18 rows. This creates a sturdy heel flap. End on a Row 2 (sc) with WS facing you.
Turning the Heel
This section creates the cup of the heel using short rows. We'll divide the 20 heel flap stitches into three sections (6 sts, 8 sts, 6 sts).
- Row 1 (RS): Ch 1, turn. Hdc in the first 12 sts. Hdc2tog (hdc decrease) over the next 2 sts. Hdc in the next st. (14 sts, 1 dec). Leave remaining 5 sts unworked.
- Row 2 (WS): Ch 1, turn. Sk the first st. Sc in the next 7 sts. Sc2tog (sc decrease) over the next 2 sts. Sc in the next st. (10 sts, 1 dec). Leave remaining 5 sts unworked.
- Row 3 (RS): Ch 1, turn. Sk the first st. Hdc in the next 7 sts. Hdc2tog over the next 2 sts. Hdc in the next st. (8 sts, 1 dec).
- Row 4 (WS): Ch 1, turn. Sk the first st. Sc in the next 7 sts. Sc2tog over the next 2 sts.
- Row 5 (RS): Ch 1, turn. Sk the first st. Hdc in the next 6 sts. Hdc2tog over the next 2 sts.
- Row 6 (WS): Ch 1, turn. Sk the first st. Sc in the next 6 sts. Sc2tog over the next 2 sts.
- Row 7 (RS): Ch 1, turn. Sk the first st. Hdc in the next 6 sts. Hdc2tog over the next 2 sts. (8 sts remaining from original 20 heel flap stitches).
The Gusset
Now we'll work in the round again, picking up stitches along the sides of the heel flap to create the gusset, then decreasing to return to the original stitch count.
- Set Up Round (RS): Ch 1, do NOT turn. Work 8 hdc across the remaining heel stitches (from Turning the Heel). Pm in the last hdc.
- Work 10 hdc evenly down the side of the heel flap (1 hdc per 2 rows approximately, or adjust for your flap height). Pm in the last hdc.
- Work 20 hdc across the unworked instep stitches (from The Leg section). Pm in the last hdc.
- Work 10 hdc evenly up the other side of the heel flap. Pm in the last hdc.
- Sl st to the first hdc of this round (the first of the 8 heel stitches) to join. (Total of 8 + 10 + 20 + 10 = 48 hdc).
- Gusset Decrease Round 1: Ch 1. Hdc in each st until 2 sts before the first marker. Hdc2tog. Hdc in st with marker. Sk marker. Hdc in next st. Hdc2tog. Hdc in each st until 2 sts before the next marker. Hdc2tog. Hdc in st with marker. Sk marker. Hdc in next st. Hdc2tog. Hdc in each st to end of round. Sl st to first hdc to join. (44 hdc)
- Gusset Decrease Round 2: Ch 1. Hdc in each st around. Sl st to first hdc to join. (44 hdc)
- Repeat Gusset Decrease Rounds 1 & 2: Continue alternating these two rounds until you have 40 hdc remaining (original stitch count). Remove all markers except the one at the beginning of the round.
The Foot
Work even rounds of hdc until the sock reaches the desired length for the foot, approximately 1.5-2 inches (3.8-5 cm) shorter than the total foot length (from the back of the heel to the tip of the longest toe). For Women's M/L, this is usually 6-7 inches (15-18 cm) from the back of the heel. Keep the beginning of the round marker in place.
- Foot Rounds: Ch 1, hdc in each st around. Sl st to first hdc to join. (40 hdc)
- Continue until desired foot length is reached.
The Toe
We'll use decreases to shape the toe. Keep the beginning of the round marker at the side of the foot for accurate shaping.
- Round 1 (Decrease Round): Ch 1. *Hdc in next 8 sts, hdc2tog* repeat 4 times around. Sl st to first hdc to join. (36 hdc)
- Round 2 (Even Round): Ch 1. Hdc in each st around. Sl st to first hdc to join. (36 hdc)
- Round 3 (Decrease Round): Ch 1. *Hdc in next 7 sts, hdc2tog* repeat 4 times around. Sl st to first hdc to join. (32 hdc)
- Round 4 (Even Round): Ch 1. Hdc in each st around. Sl st to first hdc to join. (32 hdc)
- Round 5 (Decrease Round): Ch 1. *Hdc in next 6 sts, hdc2tog* repeat 4 times around. Sl st to first hdc to join. (28 hdc)
- Round 6 (Even Round): Ch 1. Hdc in each st around. Sl st to first hdc to join. (28 hdc)
- Round 7 (Decrease Round): Ch 1. *Hdc in next 5 sts, hdc2tog* repeat 4 times around. Sl st to first hdc to join. (24 hdc)
- Round 8 (Decrease Round): Ch 1. *Hdc in next 4 sts, hdc2tog* repeat 4 times around. Sl st to first hdc to join. (20 hdc)
- Round 9 (Decrease Round): Ch 1. *Hdc in next 3 sts, hdc2tog* repeat 4 times around. Sl st to first hdc to join. (16 hdc)
- Round 10 (Decrease Round): Ch 1. *Hdc in next 2 sts, hdc2tog* repeat 4 times around. Sl st to first hdc to join. (12 hdc)
- Final Round (Decrease Round): Ch 1. *Hdc in next st, hdc2tog* repeat 4 times around. Sl st to first hdc to join. (8 hdc)
Finishing
- Cut yarn, leaving a long tail (approx. 10-12 inches).
- Thread the tail onto your tapestry needle.
- Weave the needle through the remaining 8 stitches, pulling gently to cinch the toe closed.
- Securely weave in the tail on the inside of the sock.
- Weave in all other loose ends from the beginning of the cuff.
- (Optional but recommended) Block your socks for a more polished finish and better fit.
Pro Tips for Perfect Crochet Socks
- Yarn Choice Matters: For durable socks, opt for a yarn with at least 20-25% nylon or another synthetic fiber. This adds strength and elasticity, preventing holes and stretching out. Superwash wool blends are ideal as they are machine washable.
- Consistent Tension: Maintaining even tension throughout your project is key for a uniform fabric and a good fit. If you find your tension varies, take breaks, or try different hook grips.
- Seamless Joins: When joining rounds, ensure your slip stitch is not too tight, as this can create a visible seam line. A relaxed slip stitch will blend better.
- Blocking is Your Friend: While not strictly necessary for every crochet project, blocking socks can dramatically improve their appearance and fit. It evens out stitches, relaxes the fabric, and helps the sock conform better to the foot. Use sock blockers for the best results.
- Try On as You Go: Periodically try on your sock as you work, especially before starting the heel, gusset, and toe. This allows you to make minor adjustments to length and fit before it's too late.
- Reinforce High-Wear Areas: If you're prone to wearing out heels or toes, consider working these sections with a strand of reinforcing yarn (like a thin nylon thread) held together with your main yarn for extra durability.
Frequently Asked Questions
Can I use different yarn weights for this pattern?
Yes, you can, but you'll need to adjust your hook size and stitch counts significantly. If you use a heavier yarn (like worsted weight), your gauge will be much larger, resulting in a bigger sock with fewer stitches. Conversely, using a lighter yarn (like fingering weight) will require a smaller hook and more stitches to achieve a similar size. Always make a gauge swatch with your chosen yarn and hook, then calculate your new stitch count for the desired circumference before starting.
How do I make my crochet socks last longer?
Durability starts with yarn choice (wool/nylon blends are best). Proper care is also crucial: always follow the yarn label's washing instructions, typically machine wash on a gentle cycle in cold water and lay flat to dry. Avoid high heat from dryers, which can felt wool or damage elastic fibers. Consider darning any small holes as soon as they appear to prevent them from growing larger.
Are these crochet ankle socks suitable for beginners?
This pattern is suitable for confident beginners or intermediate crocheters. While it uses basic stitches (sc, hdc, sl st), the concepts of working in the round, turning a heel, and shaping a gusset introduce new techniques. If you're new to these, take your time, watch video tutorials for specific steps if needed, and don't be afraid to unravel and re-do sections. The satisfaction of completing your first pair will be well worth the effort!
There you have it – your complete guide to crocheting your very own pair of incredibly cozy Crochet Ankle Socks! From the first chain to the final woven end, each stitch is a step towards a beautifully handcrafted item that will bring joy and comfort to your feet. Embrace the process, savor the creation, and soon you'll be walking on clouds of your own making. Happy hooking!